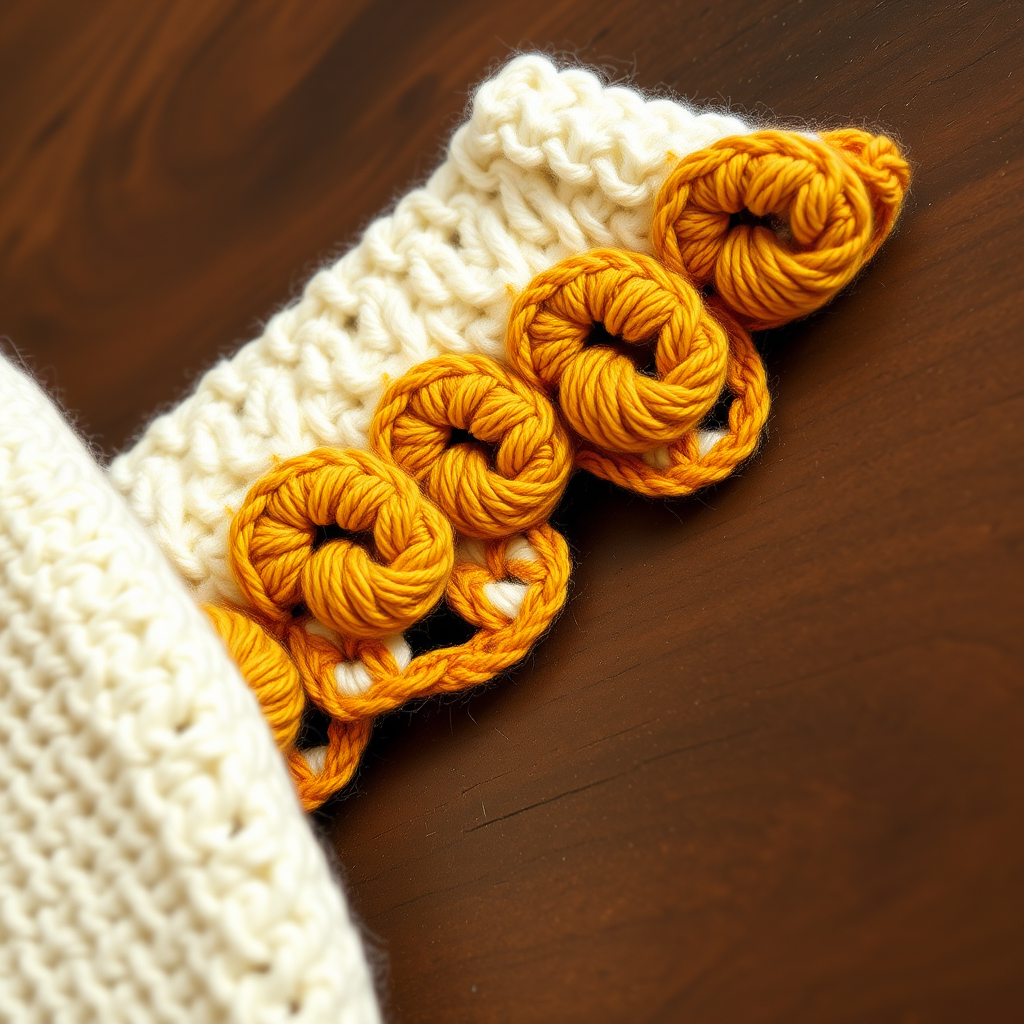
Whimsical Polka Dot Crochet Edging Free Pattern
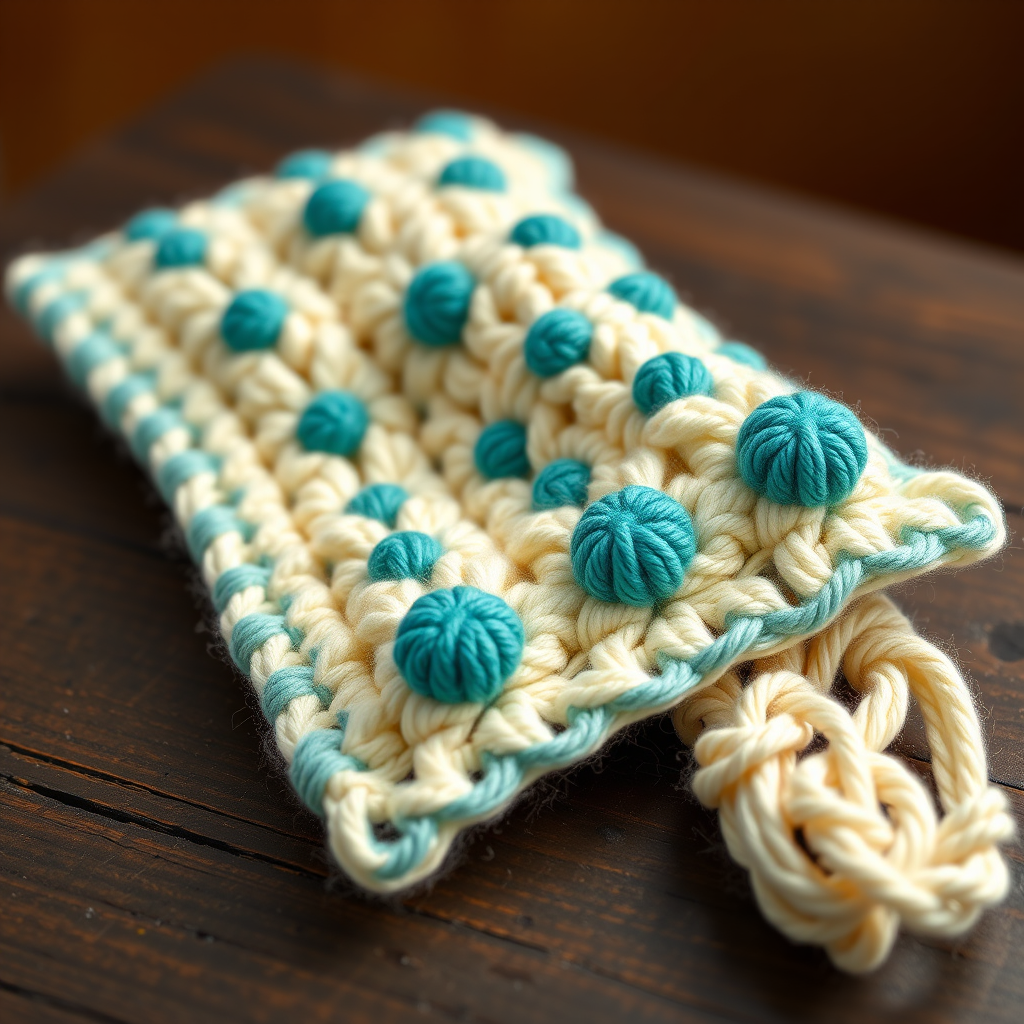
Whimsical Polka Dot Crochet Edging Free Pattern
Introduction
Welcome to this delightful crochet pattern that will add a touch of whimsy to your projects! The Whimsical Polka Dot Crochet Edging is perfect for blankets, scarves, or any fabric needing a playful finish. With its vibrant colors and charming design, this edging will surely enhance your handmade creations. Whether you're a seasoned crocheter or a beginner, this pattern is easy to follow and fun to make!
Materials Needed
- Yarn: Lightweight cotton yarn in two contrasting colors (e.g., soft cream for the base and vibrant teal for the polka dots).
- Hook: 3.5 mm crochet hook.
- Gauge: 22 stitches and 30 rows = 4 inches in single crochet.
Step-by-Step Instructions
- Foundation Row: Start by making a foundation row of single crochet (sc) along the edge of your project. Ensure that the total number of stitches is a multiple of 6 plus 1. This will allow the pattern to repeat correctly.
- Row 1: With Color A (the base color), chain 1 (ch 1) and single crochet in each stitch across the row. Once you reach the end, turn your work.
- Row 2: Chain 1 to begin. Now, you will create the polka dots:
- Single crochet in the next 5 stitches.
- Change to Color B (the contrasting color) and single crochet in the next stitch.
- Change back to Color A and continue to single crochet in the next 5 stitches.
Repeat this sequence across the row, ensuring you end with a single crochet in the last stitch. Turn your work.
- Row 3: Chain 1 to start. Single crochet in each stitch across the row. Turn your work.
- Row 4: Chain 1 to begin. This row will also feature the polka dots:
- Single crochet in the next stitch.
- Change to Color B and single crochet in the next stitch.
- Change back to Color A and single crochet in the next 4 stitches.
Repeat this pattern across the row, ensuring you end with a single crochet in the last stitch. Turn your work.
- Repeat: Continue repeating Rows 1-4 until you reach your desired length for the edging.
- Finish: Once you have reached the desired length, fasten off your yarn and weave in any loose ends using a yarn needle.
Enjoy your beautifully crafted Whimsical Polka Dot Crochet Edging! This charming detail will surely bring a smile to anyone who sees it.