Royal Crest Tiara Edging Free Pattern – Crochet a Regal Crown Trim

Crochet a Regal Crown Trim: The Royal Crest Tiara Edging Pattern
Elevate any blanket, pillow, or garment with this majestic tiara edging that mimics the elegant points of a princess crown. This unique crochet trim adds a touch of royal charm and intricate texture to your handmade treasures. Whether you're finishing a baby blanket fit for a little prince or princess, or adding a luxurious border to a throw pillow, this pattern transforms ordinary edges into something truly special.
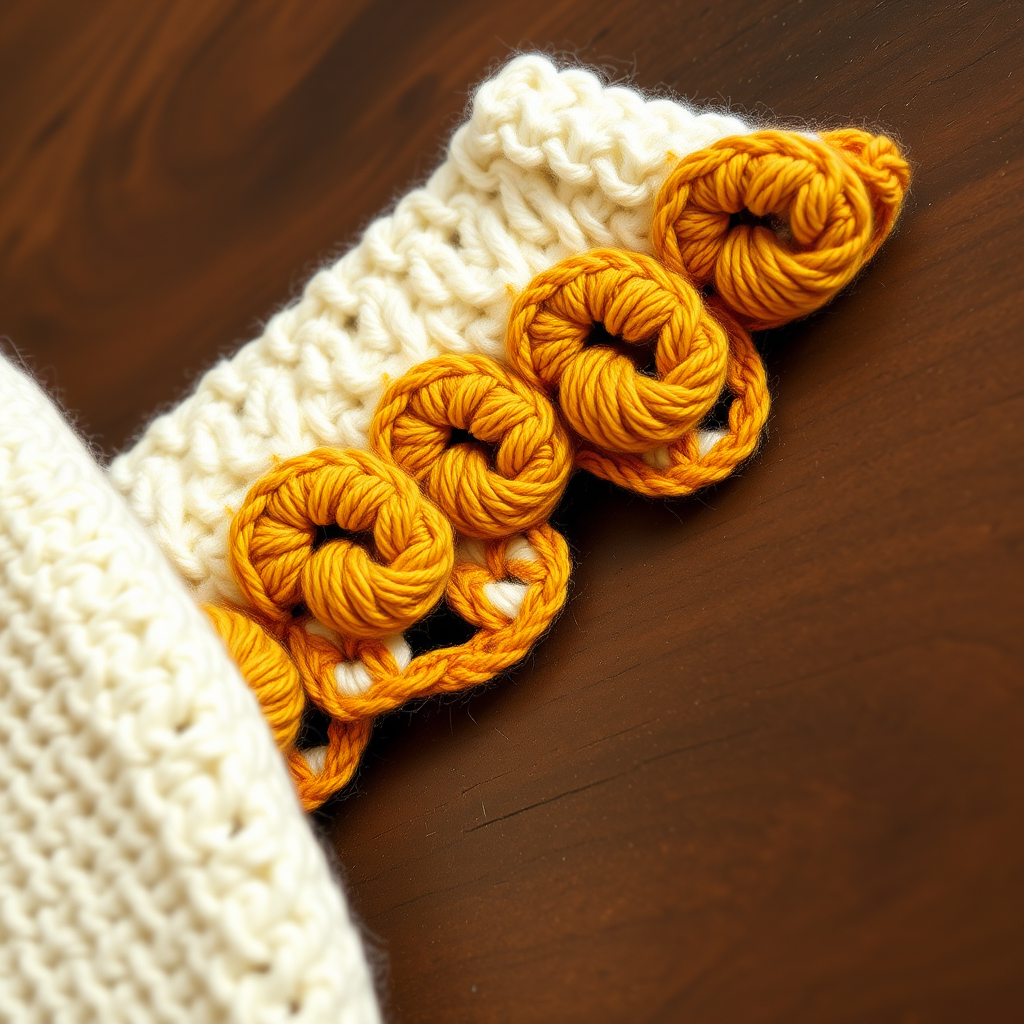
The Royal Crest Tiara Edging features a series of pointed arches with delicate picot details, resembling a crown's peaks. Worked in soft ivory with a shimmering gold trim, it creates a beautiful interplay of open spaces and dense stitches that lies flat and has a luxurious, handcrafted feel. This pattern is perfect for intermediate crocheters looking to add a distinctive finishing touch to their projects.
Materials Needed
Before you begin, gather the following supplies:
- Yarn: Worsted weight cotton or acrylic yarn in two contrasting colors (e.g., soft ivory and shimmering gold)
- Crochet Hook: 5.0 mm (H-8) crochet hook
- Yarn Needle: For weaving in ends
- Scissors: For cutting yarn
- Blocking Mats and Pins (optional): For finishing and shaping
Gauge: First 4 rows of edging = 4 inches wide; 5 points = 6 inches long. Gauge is important for achieving the correct proportions, though this edging is forgiving if your gauge is slightly off.
Understanding the Pattern Structure
This tiara edging is worked directly onto the edge of your project or as a standalone strip. It features a series of pointed arches with picot details, resembling a crown's peaks. The pattern is built in four main stages: the foundation row, the point base, the peak creation, and the tiara points themselves. An optional contrast trim adds a polished finish.
Step-by-Step Instructions
Foundation Row
- Attach your main color yarn to the edge of your project with a slip stitch.
- Chain 1, then work 1 single crochet (sc) into the same stitch.
- *Chain 3, skip 2 stitches, work 1 sc into the next stitch.*
- Repeat from * to * across the entire edge. End with 1 sc in the last stitch.
- Turn your work.
Pro Tip: If you're working this edging as a standalone strip, start with a foundation chain in multiples of 3 plus 1, then work the foundation row as described above.
Row 1 (Point Base)
- Chain 3 (this counts as your first double crochet, dc).
- Work 2 dc into the first sc.
- *Chain 1, skip the next chain-3 space, work 3 dc into the next sc.*
- Repeat from * to * across the row.
- End with 3 dc into the last sc.
- Turn your work.
This row creates the foundation clusters that will support the crown points. The chain-1 spaces between clusters create the open, airy feel of the edging.
Row 2 (Creating the Peaks)
- Chain 1.
- Work 1 sc into the first dc.
- *Chain 5, skip the next 2 dc, work 1 sc into the next dc (the middle dc of the 3-dc group).*
- Repeat from * to * across the row.
- End with 1 sc into the top of the turning chain.
- Turn your work.
Important: The chain-5 spaces you create in this row will become the arches of your tiara points. Make sure you're working into the middle dc of each 3-dc group to maintain the proper spacing.
Row 3 (Tiara Points)
- Chain 1.
- Work 1 sc into the first sc.
- *Into the next chain-5 space, work the following sequence:
- 1 sc
- 1 half double crochet (hdc)
- 3 dc
- Chain 3, slip stitch into the third chain from hook to form a picot
- 3 dc
- 1 hdc
- 1 sc
- Then work 1 sc into the next sc.*
- Repeat from * to * across the row.
- Fasten off.
Picot Detail: The picot at the tip of each point is what gives this edging its crown-like appearance. When forming the picot, make sure to slip stitch into the third chain from the hook firmly to create a neat, defined point.
Optional Contrast Trim
- With your contrasting color (e.g., shimmering gold), attach yarn to the base of the edging.
- Work 1 sc into each stitch along the bottom edge.
- This creates a neat, finished border and adds a pop of color.
Design Tip: The contrast trim not only adds visual interest but also helps stabilize the bottom edge of the edging, preventing it from curling.
Finishing
- Weave in all ends securely using your yarn needle.
- Block the edging gently to open up the lace points and give it a crisp, regal shape.
- To block, pin the edging to a blocking mat, stretching it slightly to open the points. Mist with water and allow to dry completely.
Tips for Perfect Results
- Yarn Choice: Cotton yarn holds its shape beautifully and shows stitch definition well. Acrylic is more forgiving and budget-friendly. Both work wonderfully for this pattern.
- Color Combinations: While ivory and gold create a classic royal look, don't be afraid to experiment! Deep burgundy with silver, or soft pink with pearl white, can create entirely different moods.
- Consistent Tension: Keep your tension even throughout, especially when working the chain-5 spaces and the picot points. This ensures uniform crown peaks.
- Counting Stitches: If you're working on a large project, place stitch markers every 20-30 stitches along your foundation row to help you keep track of your count.
Creative Ways to Use This Edging
While this tiara edging is perfect for baby blankets and nursery items, its versatility extends far beyond:
- Pillow Covers: Add a regal border to plain pillow covers for an instant upgrade.
- Garments: Use it to trim cardigans, shawls, or even the hem of a special dress.
- Table Linens: Create a luxurious edge on table runners or placemats for special occasions.
- Home Decor: Frame a wall hanging or add it to curtain tie-backs for a touch of elegance.
- Gift Wrapping: Create a standalone strip to use as an elegant ribbon for gift packages.
Conclusion
The Royal Crest Tiara Edging is a stunning addition to any crocheter's repertoire. With its elegant crown points, delicate picot details, and optional contrast trim, this pattern creates a truly regal finish that will make your handmade items stand out. The combination of open spaces and dense stitches creates beautiful texture, while the worsted weight yarn ensures the edging has a soft, plush feel.
Whether you're a seasoned crocheter looking for a new challenge or an ambitious beginner ready to expand your skills, this pattern offers a rewarding project with beautiful results. The step-by-step instructions are designed to be clear and comprehensive, ensuring you can recreate this majestic trim with confidence.
So gather your yarn, pick your colors, and get ready to add a touch of royal charm to your next project. Happy crocheting!