Whimsy Waves Curly Q Edging Free Pattern – Playful Crochet Trim
Whimsy Waves Curly Q Edging Free Pattern – Playful Crochet Trim
Are you looking to add a touch of whimsy and charm to your latest crochet project? Look no further! This delightful Curly Q Edging pattern features soft, bouncy spirals that dance along the edge of any blanket, pillow, or garment. It's the perfect way to transform a simple project into something truly special and handmade. Best of all, this pattern is beginner-friendly, using basic stitches to create a stunning, three-dimensional effect that will have everyone asking, "How did you do that?"
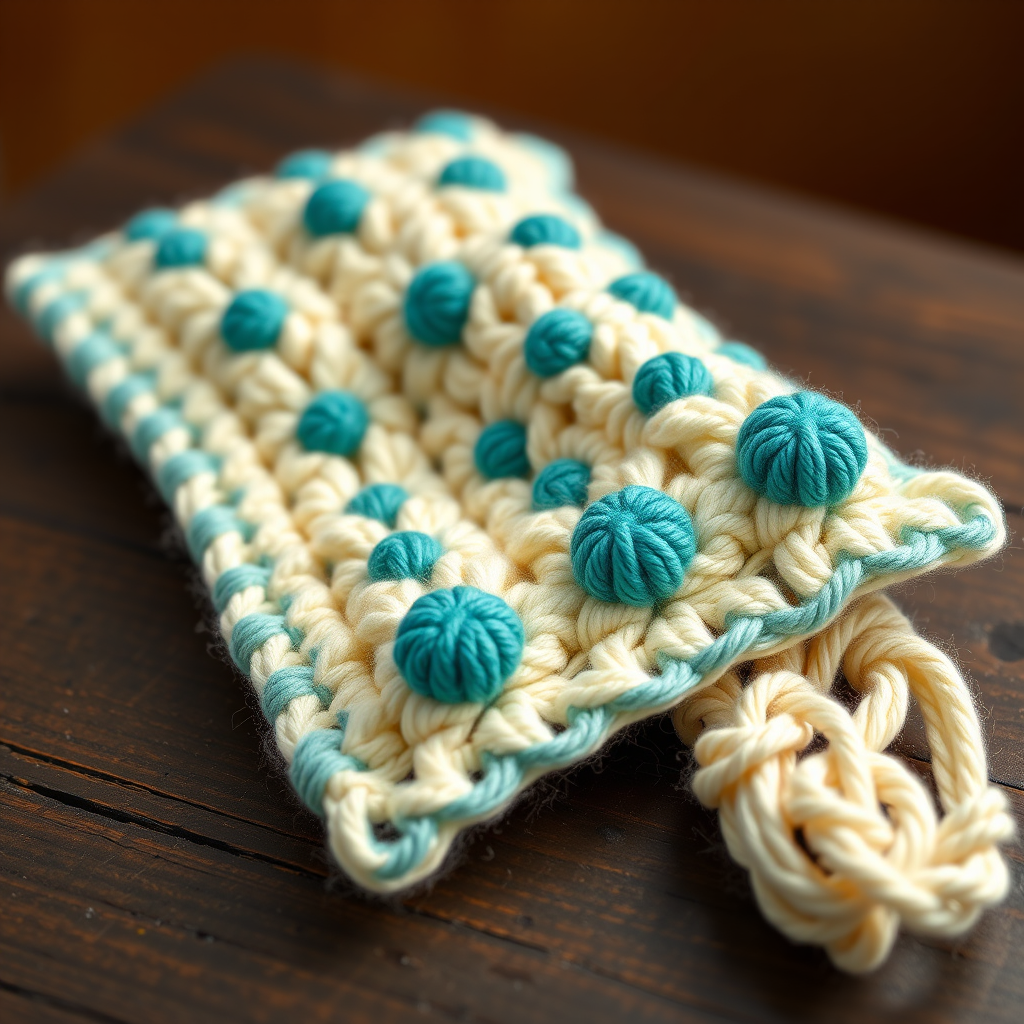
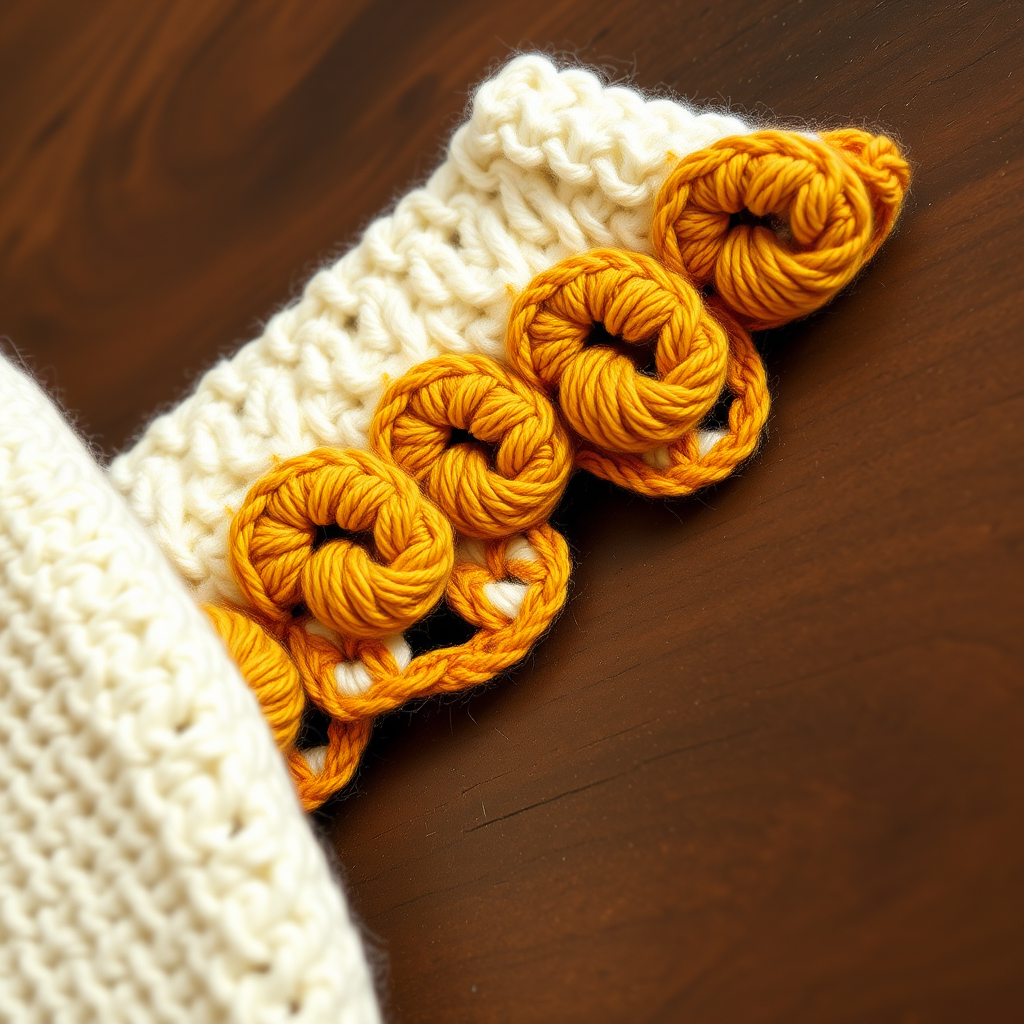
Imagine a cozy, cream-colored blanket adorned with playful, mustard-yellow spirals and a terracotta trim. That's the magic of this pattern! The curly Qs are plump, textured, and full of personality, adding a joyful, organic feel to your work. Whether you're a seasoned crocheter or just starting out, this pattern is easy to learn and endlessly charming. Let's dive in and create some whimsy!
Materials Needed
Before we begin, gather your materials. This project uses simple, readily available supplies:
- Yarn: Worsted weight cotton or acrylic yarn (e.g., Lion Brand 24/7 Cotton) in two contrasting colors – Main Color (MC) for the spirals and Accent Color (AC) for the optional trim. The sample uses a warm mustard yellow (MC) and a soft terracotta (AC).
- Hook: 5.0 mm (H-8) crochet hook
- Gauge: 4 sc = 1 inch (2.5 cm) in single crochet. Gauge is not critical for edging, but consistent tension helps maintain even spirals.
- Other: Yarn needle for weaving in ends, scissors, and pins for blocking (optional).
Step-by-Step Instructions
Let's get started! Follow these detailed instructions to create your own whimsical waves. This pattern is worked along a straight edge of your project.
Abbreviations
Before we begin, let's review the abbreviations used in this pattern:
- ch = chain
- sc = single crochet
- hdc = half double crochet
- dc = double crochet
- tr = treble crochet
- sl st = slip stitch
- st(s) = stitch(es)
- MC = Main Color
- AC = Accent Color
Pattern Notes
This edging is worked along a straight edge of your project. You can adjust the number of chains between spirals to fit your project's stitch count. The spirals are created by working multiple stitches into a single chain space, then curling the work. The pattern repeats every 6 stitches.
Foundation Row
- With MC, attach yarn to the edge of your project with a sl st.
- Ch 1, then work 1 sc in the same st and in each st across the edge. Do not turn. (Adjust the number of sc to fit your edge; the pattern repeats every 6 sts.)
Spiral Edging Row
- Ch 1, turn. Work 1 sc in the first st.
- *Ch 6, skip 2 sts, work 1 sc in the next st. Ch 6, skip 2 sts, work 1 sc in the next st.*
- Repeat from * to * across the edge, ending with a sc in the last st. (You will have a series of ch-6 loops.)
Creating the Curly Qs
- Turn your work so you are working along the ch-6 loops. Work a sl st into the first ch-6 loop to secure it.
- In the same ch-6 loop, work the following sequence: 3 sc, 3 hdc, 3 dc, 3 tr, then ch 3, sl st into the top of the last tr to form a small picot.
- Now, work back down the loop: 3 tr, 3 dc, 3 hdc, 3 sc. Sl st into the same ch-6 loop to close. This creates the first curly Q.
- Repeat step 7-8 for each ch-6 loop across the edge. Fasten off MC.
Accent Trim (Optional)
- Attach AC with a sl st at the beginning of the edging.
- Ch 1, work 1 sc in each st along the base of the edging (the sc row), and work 2 sc in each ch-6 loop space between the curly Qs. This adds a neat, finished look and highlights the spirals.
- Fasten off and weave in all ends.
Finishing
- Gently block the edging by pinning it flat and steaming lightly to set the curls. Allow to dry completely before removing pins.
And there you have it – a beautiful, whimsical Curly Q Edging that will add a playful, handmade touch to any project! The combination of the bouncy spirals and the crisp accent trim creates a stunning contrast that's sure to impress. Whether you're edging a baby blanket, a throw pillow, or a garment, this pattern is a joy to make and a delight to behold.
Happy crocheting, and may your hooks always be busy with whimsy!