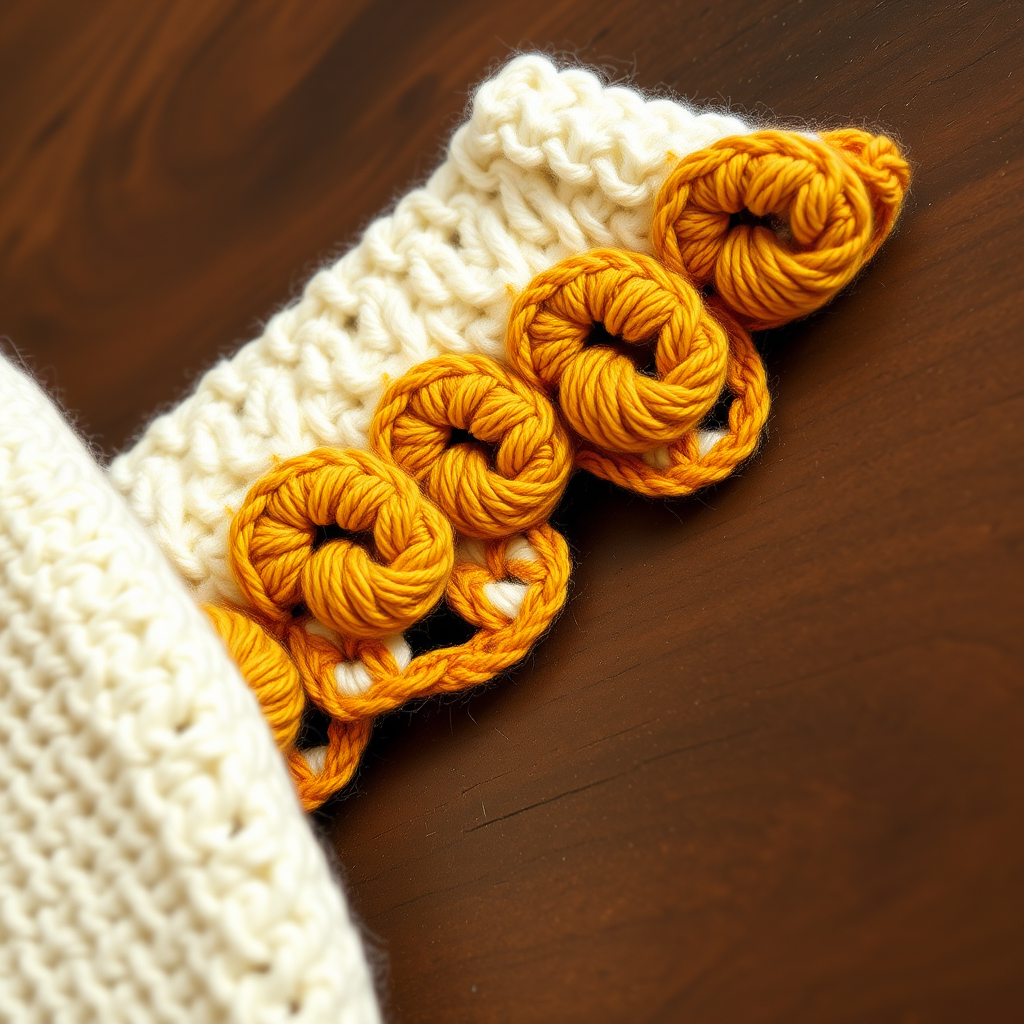
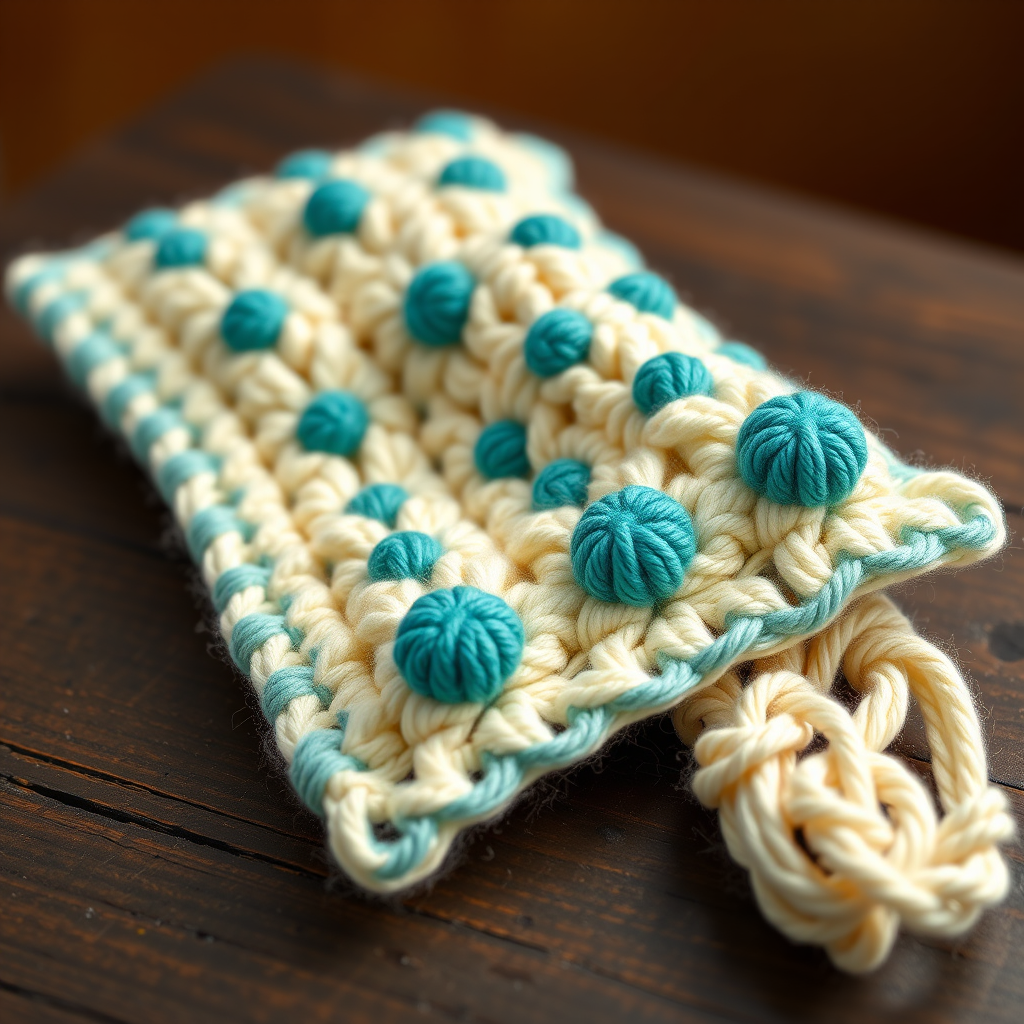
The Polka Dot Picot Edge: A Modern Crochet Edging Free Pattern

Add a Playful Touch: The Polka Dot Picot Edge Crochet Edging
Are you looking for a way to elevate your handmade projects from simple to stunning? The Polka Dot Picot Edge is the perfect solution. This modern crochet edging combines the classic elegance of picots with the playful, textured charm of raised bobble "polka dots." Whether you're finishing a baby blanket, a kitchen towel, or a garment hem, this pattern adds a whimsical, sophisticated border that is sure to impress. Best of all, it's a free pattern designed to be accessible for confident beginners.
Materials Needed
Before you begin, gather the following supplies. Using the recommended materials will help you achieve the best results, but feel free to substitute with similar worsted weight yarns.
- Yarn: Worsted weight cotton or acrylic yarn in two contrasting colors:
- Main Color (MC): For the base and finishing rows (e.g., Lily Sugar'n Cream or Lion Brand 24/7 Cotton).
- Accent Color (AC): For the polka dots (e.g., a contrasting shade of the same brand).
- Crochet Hook: Size G (4.0 mm) or size needed to match gauge. Tip: For more pronounced dots, consider using a slightly larger hook (e.g., H/5.0 mm) for Row 3 only.
- Other: Yarn needle for weaving in ends, scissors.
Gauge: First 2 rows of edging = 1 inch in width. Gauge is not critical, but consistent tension is important for even dots.
Step-by-Step Instructions
This edging is worked directly onto the edge of your project. The pattern is written for a straight edge, but can be adapted for curves by skipping stitches as needed. The polka dots are created using a modified bobble stitch worked in the Accent Color.
Abbreviations
- ch: chain
- sc: single crochet
- dc: double crochet
- sl st: slip stitch
- MC: Main Color
- AC: Accent Color
- st(s): stitch(es)
- bobble: A group of 4 dc worked into the same stitch, then joined at the top. (Yarn over, insert hook, yarn over, pull up loop, yarn over, pull through 2 loops) 4 times in same stitch, yarn over, pull through all 5 loops on hook.
Row 1: Foundation Row (MC)
With MC, attach yarn to the edge of your project with a slip stitch. This creates a secure starting point.
- *Ch 1, sc in same st (the stitch where you attached).
- Ch 3, skip next 2 sts (or approximately 1/2 inch along the edge).
- Sc in next st.*
- Repeat from * to * across the entire edge. You are creating a series of ch-3 spaces separated by single crochets.
- At the end, ch 1, turn your work.
Row 2: Picot Base (MC)
This row creates the delicate scalloped picot base that the polka dots will sit on.
- Sl st into the first ch-3 space from Row 1.
- *Ch 3, sl st into the same ch-3 space (this forms a picot – a small loop).
- Ch 1, sc in the next sc from Row 1.
- Ch 1, sl st into the next ch-3 space.*
- Repeat from * to * across the row. Each ch-3 space from Row 1 will now have a picot.
- At the end, fasten off MC and weave in ends.
Row 3: Polka Dot Row (AC)
Now we add the playful polka dots! Attach AC with a sl st into the first picot from Row 2.
- *Ch 2 (this counts as the first dc of the bobble).
- Work a bobble using AC into the same picot: (Yarn over, insert hook into the picot, yarn over, pull up loop, yarn over, pull through 2 loops) 4 times. You will have 5 loops on your hook. Yarn over and pull through all 5 loops. This creates the raised polka dot.
- Ch 2, sl st into the next picot.*
- Repeat from * to * across the row. Each picot will now have a bobble "dot" on top.
- Fasten off AC and weave in ends.
Row 4: Finishing Row (MC)
This row secures the dots and gives the edging a clean, finished look.
- Attach MC with a sl st into the first polka dot (the top of the first bobble).
- *Ch 1, sc into the top of the polka dot (the same bobble).
- Ch 2, sc into the next sl st between dots (the sl st that connects two dots).*
- Repeat from * to * across the row.
- Fasten off and weave in all ends.
Pro Tip for Perfect Dots
For a more pronounced, spherical dot, try using a larger hook (e.g., H/5.0 mm) for Row 3 only. Alternatively, you can work a 5-dc bobble instead of 4 for an even bigger dot. Experiment to find the look you love!
Your Polka Dot Picot Edge is now complete. This modern, textured border will add a unique and charming finish to any project. Happy crocheting!