Crochet Bag Patterns
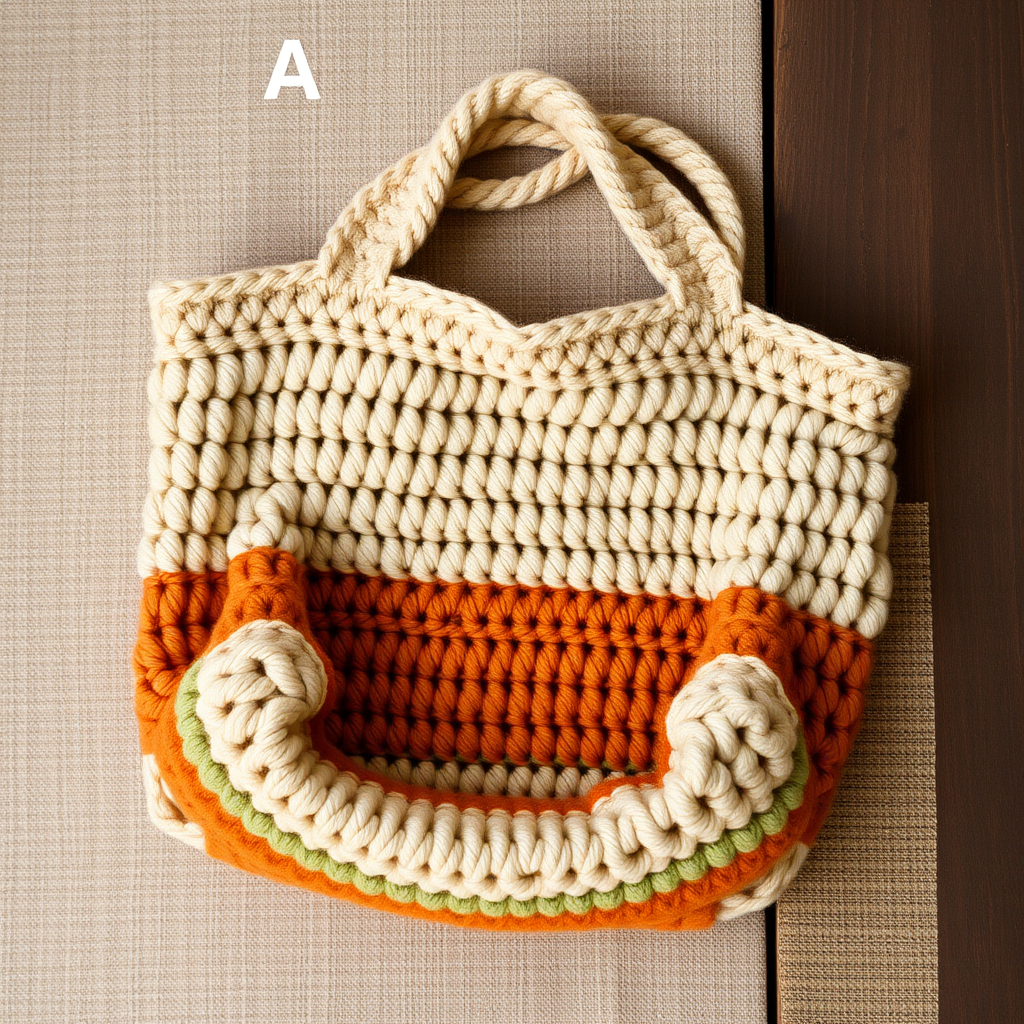
The Retro Checkerboard Tote Free Pattern
Anonymous
•
July 05, 2026

The Retro Checkerboard Tote Free Pattern
Embrace the nostalgia of the early 2000s with this vibrant checkerboard tote, perfect for adding a pop of color to any outfit. This crochet project combines classic motifs with a modern twist, making it a must-have accessory for vintage lovers.
Materials Needed
- Yarn: Worsted weight cotton yarn in two contrasting colors (e.g., bright pink and lime green)
- Hook: 5.0 mm crochet hook
- Gauge: 14 stitches and 16 rows = 4 inches in single crochet
Step-by-Step Instructions
Creating the Body of the Tote
- Begin with Color A: Start by making a slip knot and chaining 41.
- Row 1: Insert your hook into the second chain from the hook. Make a single crochet (sc) in each chain across. Turn your work. (You should have 40 sc.)
- Row 2: Chain 1, then make a sc in each sc across. Turn your work.
- Repeat Row 2: Continue repeating Row 2 for 10 more rows. You should have a total of 11 rows in Color A.
- Switch to Color B: Change to your second color and repeat Row 2 for 12 rows.
- Alternate Colors: Continue alternating colors every 12 rows until you have completed 5 blocks of each color. This will create a beautiful checkerboard pattern.
- Finish Up: Once you have completed the required blocks, fasten off your yarn and weave in all ends using a yarn needle.
Assembling the Tote
- Fold the Piece: Fold your crochet piece in half, ensuring that the checkerboard pattern matches up perfectly.
- Seam the Sides: Using a whip stitch with Color A, seam the sides of the tote together. Make sure to keep your stitches even for a neat finish.
- Create the Handles: Attach Color A at the top corner of the tote. Chain 60 to create the first handle, then attach it to the opposite top corner of the tote.
- Repeat for the Other Side: Create the second handle in the same manner, ensuring both handles are of equal length.
- Reinforce the Handles: To provide extra durability, make a single crochet around each handle for 2 rows. This will help the handles withstand daily use.
- Final Touches: Fasten off your yarn and weave in all ends to ensure a clean finish.
Congratulations! You have successfully created your very own Retro Checkerboard Tote. This vibrant bag is not only a stylish accessory but also a testament to your crafting skills. Enjoy using it or gifting it to someone special!
Also Check Out: We think you'd love this beautiful pattern on our sister site: Y2K Monochromatic Gradient Beanie with Striped Colorwork - Free Pattern