The Autumn Scholar Satchel: Free Pattern

The Autumn Scholar Satchel: Free Crochet Pattern
Introduction
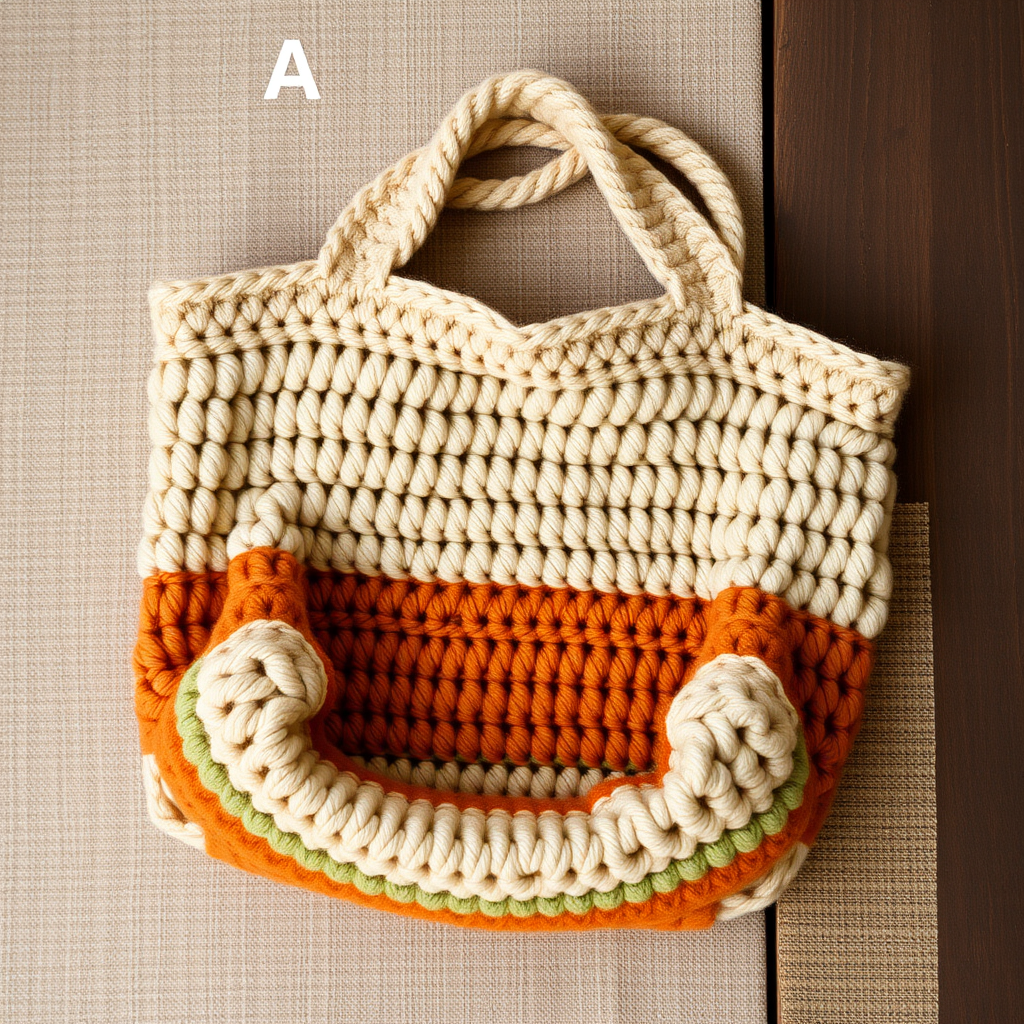
If you have never picked up a crochet hook before, this is the perfect first real project for you. The Autumn Scholar Satchel is a sturdy, structured tote with a classic academic feel, worked almost entirely in one simple stitch so you can build confidence with every round. It is made in a dense single crochet fabric that holds its shape beautifully, so it can carry books, a laptop, or your daily essentials without stretching out of shape. The finished bag looks clean and timeless: a warm camel body, a deep navy contrast trim at the top, and matching navy handles sewn neatly inside. Best of all, it is made from just two colors of yarn and one hook, so there is nothing complicated to learn before you begin.
Materials Needed
- Yarn (main color, MC): Worsted weight (Category 4) cotton or cotton-acrylic blend, approximately 400 yards in warm camel/ochre.
- Yarn (contrast color, CC): Worsted weight (Category 4) cotton or cotton-acrylic blend, approximately 100 yards in deep navy.
- Crochet hook: G/6 (4.0 mm) crochet hook. (The "G/6" is the US size and "4.0 mm" is the metric size; they are the same hook.)
- Stitch markers: At least 4, to mark the corners of the base and the beginning of each round.
- Tapestry needle: A large blunt needle with an eye big enough for worsted yarn, used for sewing handles and weaving in ends.
- Scissors: Any sharp pair for cutting yarn.
- Measuring tape or ruler: For checking gauge and measuring the base and body as you go.
- Finished size: Approximately 12 inches wide x 10 inches tall (not counting handles), with a flat rectangular base about 12 inches long and 3.5 inches deep. Handles are about 30 inches long before attaching.
Abbreviations and Beginner Glossary
- ch - chain. Make a loop with the yarn, wrap the yarn over the hook, and pull it through the loop on your hook. That is one chain stitch. Chains form the foundation you build on.
- sc - single crochet. Insert your hook into the next stitch, wrap the yarn over the hook, pull up a loop (you now have 2 loops on the hook), wrap the yarn over again, and pull it through both loops. One single crochet is complete.
- sl st - slip stitch. Insert your hook into the next stitch, wrap the yarn over the hook, and pull it through both the stitch and the loop on your hook in one motion. It creates almost no height and is used to join rounds.
- st / sts - stitch / stitches. A "stitch" is one completed sc, ch, or sl st in your fabric.
- MC - main color (the warm camel/ochre yarn).
- CC - contrast color (the deep navy yarn).
- rep - repeat. Do the same instruction again.
- beg - beginning. Used when referring to the start of a row or round.
- turn - flip your work over so you can work back across the row you just made.
- join - join with a slip stitch. After working all the way around a round, insert your hook into the first stitch of that round and make a slip stitch to close the circle.
- round - one complete circle of stitches worked in the round (in a spiral or joined circle).
- row - one straight line of stitches worked flat, back and forth.
- fasten off - cut the yarn a few inches from your work, then pull the tail all the way through the last loop on your hook to lock it.
- weave in ends - thread a yarn tail onto a tapestry needle and sew it back and forth through the inside of the fabric so it disappears and cannot unravel.
- gauge - how many stitches and rows fit in 4 inches of fabric. It tells you whether your bag will come out the right size.
Gauge
16 sc x 18 rows = 4 inches (10 cm) in single crochet.
Gauge matters because it is the only way to know your bag will match the finished size listed above. If your stitches are bigger than the pattern's, your bag will come out larger and floppier; if they are smaller, it will come out smaller and stiffer. To check your gauge, crochet a small practice square: chain 21, then single crochet in the second chain from the hook and in each chain across (20 sc). Work 20 rows of single crochet (chain 1, turn at the start of each row). Lay the square flat, place a ruler across the middle, and count how many stitches fit in 4 inches and how many rows fit in 4 inches. If you have more than 16 stitches in 4 inches, try a larger hook; if you have fewer, try a smaller hook. Your gauge square can also be your practice piece before you start the bag.
Beginner Tips Before You Start
- Use stitch markers at every corner. When you work around the base, place a marker in each of the four corner stitches. This stops you from accidentally adding or losing stitches at the turns, which is the most common beginner mistake.
- Mark the first stitch of every round. Because the body is worked in joined rounds, it is easy to lose track of where a round begins. Put a marker in the first stitch of each round and move it up as you go.
- Do not pull your yarn too tight. Tension is the number one reason beginners' bags come out too small. Hold the yarn gently; your stitches should be snug but easy to insert your hook into.
- Count your stitches at the end of every round. The pattern tells you the exact stitch count in parentheses. If your count is off, fix it before moving on, because errors multiply as the bag grows.
- Work the base first and check its size. The base should measure about 12 inches long and 3.5 inches deep before you begin the body. If it is far off, adjust your hook size before continuing.
- Keep your work flat and untwisted. When you join the base into the round, make sure the edge is not twisted, or the bag will lean.
Step-by-Step Instructions
Base (worked flat)
Row 1: With MC, ch 41. Sc in the 2nd ch from the hook and in each ch across. (40 sc)
Row 2: Ch 1, turn, sc in each st across. (40 sc)
Rows 3-54: Rep Row 2 (ch 1, turn, sc in each st across) until the piece measures 12 inches from the beginning. (40 sc in each row) Do not fasten off.
Body (worked in the round)
Round 1: Ch 1. Working along the long edge you just finished, sc evenly into the side of each row (about 40 sts along this long side). Place a stitch marker in the corner stitch. Continue sc evenly along the short end (about 12 sts), place a marker in the corner stitch, sc evenly along the other long side (about 40 sts), place a marker in the corner stitch, then sc evenly along the remaining short end (about 12 sts), place a marker in the last corner stitch. Join with sl st to the first sc of the round. (104 sts)
Round 2: Ch 1, sc in each st around, join with sl st to the first sc. (104 sts)
Rounds 3-45: Rep Round 2 (ch 1, sc in each st around, join with sl st to the first sc) until the body measures 10 inches from the base. (104 sts in each round) Fasten off MC.
Trim
Round 1: Join CC at the top edge. Ch 1, sc in each st around, join with sl st to the first sc. (104 sts)
Round 2: Ch 1, sc in each st around, join with sl st to the first sc. (104 sts) Fasten off CC.
Handles (make 2)
Row 1: With CC, ch 61. Sc in the 2nd ch from the hook and in each ch across. (60 sc) Fasten off, leaving a long tail (about 24 inches) for sewing.
Repeat Row 1 to make the second handle. (60 sc)
Assembly
Step 1: Fold each handle in half to find its center. Position the handles on the inside of the bag, about 4 inches apart, with each end overlapping the top trim by about 2 inches. Pin or hold them in place.
Step 2: Thread the long CC tail onto the tapestry needle and sew each handle end securely to the inside of the bag, stitching back and forth through the handle and the bag fabric several times. Repeat for all four handle ends.
Assembly and Finishing
Seaming the handles: Use the long tail of CC and a tapestry needle. Bring the needle up through the handle and down through the bag fabric, then back up again, working in small stitches around the entire 2-inch overlap. Go around the overlap twice for extra strength, since handles take the most wear.
Weaving in ends: Thread each yarn tail onto the tapestry needle and sew it back and forth through the inside of the fabric for about 2 inches, changing direction once or twice so it cannot pull out. Trim the yarn close to the fabric.
Blocking: Lightly mist the finished bag with water (or soak it briefly and gently press out the excess water in a towel). Shape it into a neat rectangle, stuff it lightly with a towel to hold the shape, and let it dry completely away from direct heat. This evens out your stitches and helps the bag hold its structure.
Pro Tips and Variations
- Change the colors: Swap the camel and navy for any two colors you love. Try a cream body with a forest green trim, or a charcoal body with a mustard trim for a modern look.
- Adjust the size: To make a smaller bag, start with a shorter foundation chain (for example, ch 31 for a narrower base) and work fewer rows in the base. To make a larger bag, add chains and rows. Keep the body rounds the same; just work until the body reaches your desired height.
- Substitute yarn: Any worsted weight (Category 4) yarn works, but cotton or a cotton blend gives the sturdiest, most structured bag. Acrylic alone will be softer and stretchier.
- Add a lining: For extra durability, sew a simple fabric lining to the inside of the bag by hand, attaching it just below the contrast trim. This is optional but makes the bag even more practical for books and a laptop.