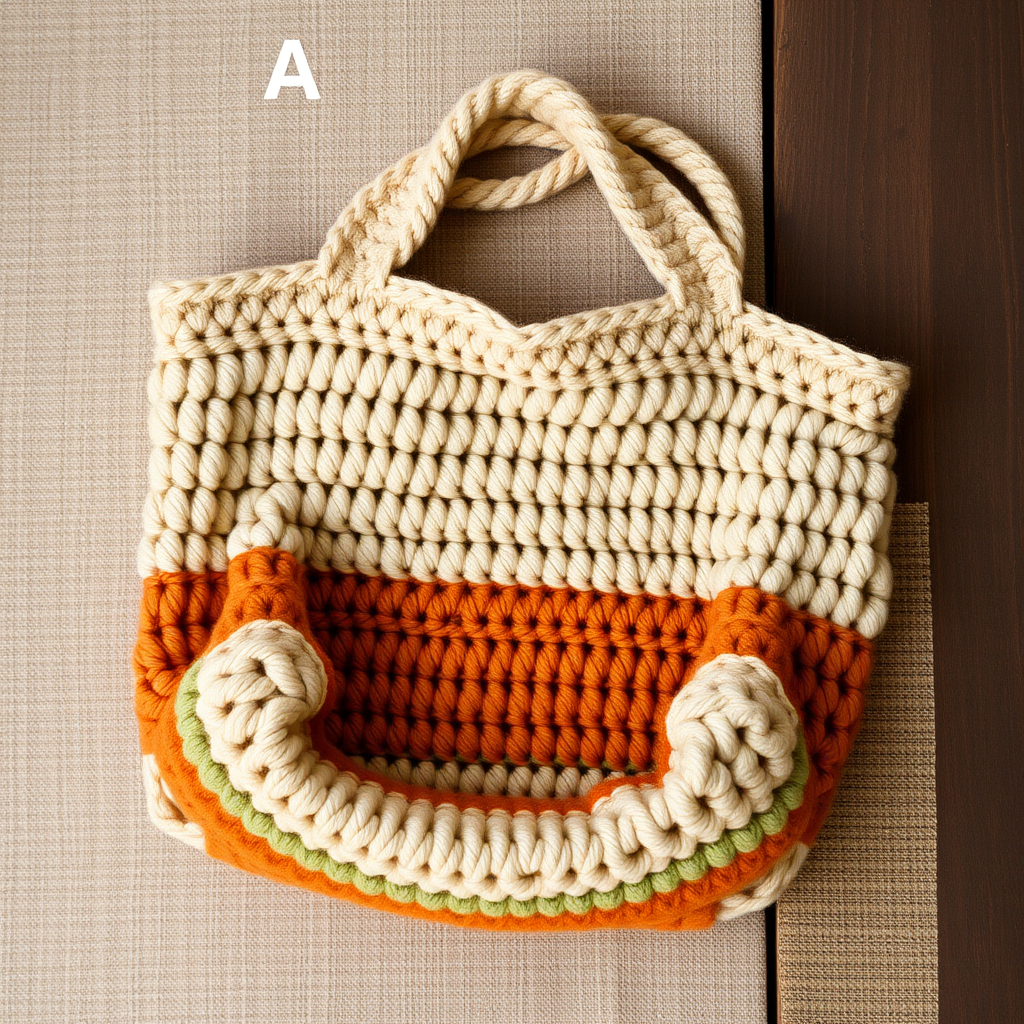
Sunset Ombre Market Tote Free Pattern

Sunset Ombre Market Tote: A Free Crochet Pattern for a Stunning Gradient Bag
Imagine strolling through a farmers' market with a bag that captures the very essence of a summer sunset. This isn't just any tote—it's a stunning gradient masterpiece that transitions from warm coral to soft peach to creamy white, creating a dip-dye effect that looks far more complex than it actually is. Whether you're hauling fresh produce or carrying your daily essentials, this spacious and sturdy market bag is as practical as it is beautiful. The best part? This free crochet pattern is beginner-friendly, using only basic single crochet stitches and simple color changes to create a professional-looking result. Let's dive in and create your new favorite carryall!
Materials Needed for Your Market Tote
Before we begin, gather these supplies to ensure a smooth crocheting experience:
- Yarn: Worsted weight cotton yarn in 3 colors:
- Color A: Coral (approx 200g)
- Color B: Peach (approx 200g)
- Color C: Cream (approx 200g)
- Hook: H/8 (5.0 mm) crochet hook
- Other: Yarn needle for weaving in ends, scissors
Gauge: 15 single crochet (sc) x 17 rows = 4 inches. Gauge is important for achieving the correct finished size, so take a moment to check your tension.
Step-by-Step Instructions for the Sunset Ombre Tote
This pattern is worked in continuous rounds (spiral), meaning you won't join at the end of each round. Use a stitch marker to keep track of your rounds. The bag is built from the bottom up, starting with a flat circle and then working straight up the sides.
Bag Body: Creating the Base
We'll start with Color A (Coral) to create a flat, circular base. This is achieved by increasing evenly in each round.
Round 1: With Color A, make a magic ring, work 6 sc into ring. (6 sts)
Round 2: 2 sc in each st around. (12 sts)
Round 3: *Sc in next st, 2 sc in next st* repeat around. (18 sts)
Round 4: *Sc in next 2 sts, 2 sc in next st* repeat around. (24 sts)
Round 5: *Sc in next 3 sts, 2 sc in next st* repeat around. (30 sts)
Round 6: *Sc in next 4 sts, 2 sc in next st* repeat around. (36 sts)
Round 7: *Sc in next 5 sts, 2 sc in next st* repeat around. (42 sts)
Round 8: *Sc in next 6 sts, 2 sc in next st* repeat around. (48 sts)
Round 9: *Sc in next 7 sts, 2 sc in next st* repeat around. (54 sts)
Round 10: *Sc in next 8 sts, 2 sc in next st* repeat around. (60 sts)
Round 11: *Sc in next 9 sts, 2 sc in next st* repeat around. (66 sts)
Round 12: *Sc in next 10 sts, 2 sc in next st* repeat around. (72 sts)
Round 13: *Sc in next 11 sts, 2 sc in next st* repeat around. (78 sts)
Round 14: *Sc in next 12 sts, 2 sc in next st* repeat around. (84 sts)
Round 15: *Sc in next 13 sts, 2 sc in next st* repeat around. (90 sts)
Round 16: *Sc in next 14 sts, 2 sc in next st* repeat around. (96 sts)
Round 17: *Sc in next 15 sts, 2 sc in next st* repeat around. (102 sts)
Round 18: *Sc in next 16 sts, 2 sc in next st* repeat around. (108 sts)
Round 19: *Sc in next 17 sts, 2 sc in next st* repeat around. (114 sts)
Round 20: *Sc in next 18 sts, 2 sc in next st* repeat around. (120 sts)
Your work should now be a flat circle. Now we'll start working the sides of the bag.
Working the Sides with Color A
Now we'll work even (without increases) to create the vertical walls of the bag.
Rounds 21-30: Sc in each st around for 10 rounds. (120 sts each round)
Creating the Ombre Color Transition
Here's where the magic happens! We'll use a special technique to create a crisp, clean color change line. The "back loop only" (BLO) stitch creates a subtle, beautiful ridge that separates the colors.
Round 31: Work sc in the Back Loop Only (BLO) with Color A. (120 sts)
Round 32: Switch to Color B (Peach). Sc in each st around. (120 sts)
Rounds 33-46: Continue with Color B, working sc in each st around for 15 rounds. (120 sts each round)
Round 47: Work sc in the Back Loop Only (BLO) with Color B. (120 sts)
Round 48: Switch to Color C (Cream). Sc in each st around. (120 sts)
Rounds 49-62: Continue with Color C, working sc in each st around for 15 rounds. (120 sts each round)
Creating the Handle Openings
Now we'll create the openings for your handles. This is done by creating chain spaces that you'll work into on the next round.
Round 63: With Color C, sc in first 30 sts, ch 25, skip 25 sts, sc in next 40 sts, ch 25, skip 25 sts, sc in last 30 sts. (120 sts + 2 ch-25 spaces)
Tip: The chain creates a gap that will become your handle. The skipped stitches are the top of the handle opening.
Round 64: Sc in each st and each ch around. (170 sts)
Note: You will work 1 sc into each of the 120 stitches from the previous round, plus 1 sc into each of the 25 chains in both chain spaces (50 chains total). This gives you 170 stitches.
Round 65: Sc in each st around. (170 sts)
Round 66: Sl st to finish, fasten off and weave in ends.
Finishing Touches
Your bag is almost complete! Here's how to finish it off for a polished look.
- Shape the Base: Fold the bag flat so the handle openings align on the sides. The bottom will naturally form a flat base. If you prefer a more defined flat bottom, you can sew the bottom corners closed with a yarn needle and matching yarn.
- Weave in Ends: Using your yarn needle, carefully weave in all loose ends from your color changes and the final fasten-off. Make sure to weave them in securely so they don't come undone with use.
- Block (Optional): If desired, you can lightly block your bag to even out the stitches and give it a more professional shape. Simply wet the bag, gently squeeze out excess water, and lay it flat to dry in the desired shape.
Congratulations! You've just created a beautiful Sunset Ombre Market Tote. The subtle ribbed texture at the color transitions adds a professional touch, and the sturdy cotton yarn ensures your bag will hold up to countless trips to the market, beach, or anywhere else your day takes you. This pattern is perfect for using up scrap yarn in your favorite gradient colors—feel free to experiment with different color combinations to make it uniquely yours. Happy crocheting!