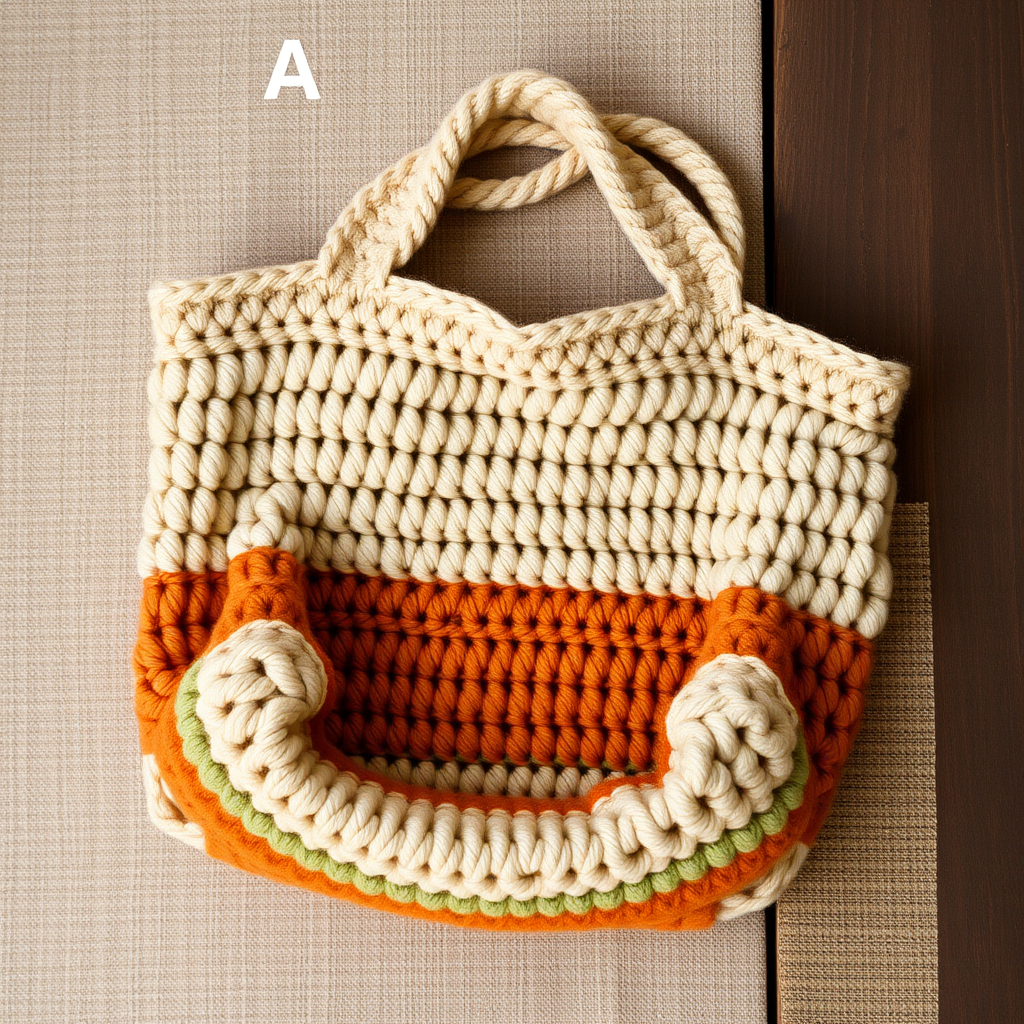
Prismatic Halo Clutch Free Pattern – Crochet a Kaleidoscope Evening Bag

Introducing the Prismatic Halo Clutch: A Kaleidoscope Evening Bag
Carry a burst of color with this geometric crochet clutch, where jewel-toned yarns form a dazzling prismatic mosaic. This structured yet soft bag is perfect for adding a handmade statement to any outfit. Whether you're heading to a dinner party or a casual brunch, the Prismatic Halo Clutch is a vibrant accessory that showcases your crochet skills and your love for bold, colorful design.
This pattern is surprisingly beginner-friendly, using only basic single crochet stitches and simple increases. The magic happens through strategic color changes that create concentric rings of amethyst, sapphire, emerald, topaz, ruby, and garnet. The result is a stunning hexagonal panel that feels like a mosaic masterpiece. With two identical panels seamed together, you'll have a roomy clutch that's both practical and eye-catching.
Let's dive into this free pattern and create a bag that's sure to turn heads!
Materials Needed
Before you begin, gather the following supplies. Having everything ready will make your crochet session smooth and enjoyable.
Yarn
- Worsted weight cotton yarn in 6 colors (approximately 100g of each):
- Color A: Amethyst (purple)
- Color B: Sapphire (blue)
- Color C: Emerald (green)
- Color D: Topaz (yellow)
- Color E: Ruby (red)
- Color F: Garnet (pink)
Hook & Notions
- 5.0 mm crochet hook (US H-8)
- Yarn needle (for weaving in ends and seaming)
- Stitch markers (optional, but helpful for keeping track of rounds)
- Scissors
Gauge
16 sc x 18 rows = 4 x 4 inches (10 x 10 cm) in single crochet. Gauge is important for achieving the correct finished size, so take a moment to check your tension.
Step-by-Step Instructions
This clutch is worked in two identical hexagonal panels, then seamed together. Each panel features a central motif with radiating color segments. Follow these detailed instructions carefully, and you'll have beautiful panels in no time.
Panel (Make 2)
Round 1: With color A (Amethyst), make a magic ring. Work 6 single crochet (sc) into the ring. Pull the tail to tighten the ring closed. Join with a slip stitch (sl st) to the first sc. (6 sc)
Round 2: Ch 1 (counts as first sc here and throughout? No, ch 1 is just a turning chain, not a stitch). Work 2 sc in each sc around. Join with sl st to first sc. (12 sc)
Round 3: Ch 1, *sc in next sc, 2 sc in next sc* repeat from * to * around. Join with sl st. (18 sc)
Round 4: Ch 1, *sc in next 2 sc, 2 sc in next sc* repeat from * to * around. Join with sl st. (24 sc)
Round 5: Change to color B (Sapphire). Ch 1, working in back loops only (BLO) for this round, sc in each sc around. Join with sl st. (24 sc) Note: Working in the back loops creates a subtle ridge that adds texture and definition to the color change.
Round 6: Ch 1, *sc in next 3 sc, 2 sc in next sc* repeat from * to * around. Join with sl st. (30 sc)
Round 7: Ch 1, sc in each sc around. Join with sl st. (30 sc)
Round 8: Change to color C (Emerald). Ch 1, *sc in next 4 sc, 2 sc in next sc* repeat from * to * around. Join with sl st. (36 sc)
Round 9: Ch 1, sc in each sc around. Join with sl st. (36 sc)
Round 10: Change to color D (Topaz). Ch 1, *sc in next 5 sc, 2 sc in next sc* repeat from * to * around. Join with sl st. (42 sc)
Round 11: Ch 1, sc in each sc around. Join with sl st. (42 sc)
Round 12: Change to color E (Ruby). Ch 1, *sc in next 6 sc, 2 sc in next sc* repeat from * to * around. Join with sl st. (48 sc)
Round 13: Ch 1, sc in each sc around. Join with sl st. (48 sc)
Round 14: Change to color F (Garnet). Ch 1, *sc in next 7 sc, 2 sc in next sc* repeat from * to * around. Join with sl st. (54 sc)
Round 15: Ch 1, sc in each sc around. Join with sl st. (54 sc)
Round 16: Change to color A (Amethyst). Ch 1, *sc in next 8 sc, 2 sc in next sc* repeat from * to * around. Join with sl st. (60 sc)
Round 17: Ch 1, sc in each sc around. Join with sl st. (60 sc)
Round 18: Change to color B (Sapphire). Ch 1, *sc in next 9 sc, 2 sc in next sc* repeat from * to * around. Join with sl st. (66 sc)
Round 19: Ch 1, sc in each sc around. Join with sl st. (66 sc)
Round 20: Change to color C (Emerald). Ch 1, *sc in next 10 sc, 2 sc in next sc* repeat from * to * around. Join with sl st. (72 sc)
Round 21: Ch 1, sc in each sc around. Join with sl st. (72 sc)
Round 22: Change to color D (Topaz). Ch 1, *sc in next 11 sc, 2 sc in next sc* repeat from * to * around. Join with sl st. (78 sc)
Round 23: Ch 1, sc in each sc around. Join with sl st. (78 sc)
Round 24: Change to color E (Ruby). Ch 1, *sc in next 12 sc, 2 sc in next sc* repeat from * to * around. Join with sl st. (84 sc)
Round 25: Ch 1, sc in each sc around. Join with sl st. (84 sc)
Round 26: Change to color F (Garnet). Ch 1, *sc in next 13 sc, 2 sc in next sc* repeat from * to * around. Join with sl st. (90 sc)
Round 27: Ch 1, sc in each sc around. Join with sl st. (90 sc)
Fasten off and weave in all loose ends. Repeat the entire process to create a second identical panel.
Seaming the Panels
Now it's time to join your two beautiful panels into a clutch.
- Place the two panels together with wrong sides facing (the inside of the bag should be the wrong side).
- Using color A (Amethyst) and a tapestry needle, thread a length of yarn.
- Whip stitch around three sides of the hexagon, leaving one straight edge open. This open edge will be the top opening of your clutch. The hexagon has six sides; you'll sew along five of them, leaving one side completely open. Wait, let's clarify: A hexagon has 6 sides. To make a bag, you'll want to leave one side open for the opening. So you'll whip stitch around the other 5 sides. However, the pattern says "three sides" – this might be a typo. Let's think: If you fold a hexagon in half, you get a shape with a straight top edge. You'd sew along the three sides that are not the top. Actually, a hexagon folded in half gives you a trapezoid-like shape with a straight top. You'd sew the three sides that form the bottom and two angled sides. Let's go with the pattern's instruction: whip stitch around three sides, leaving one straight edge open. This will create a pouch shape. If you're unsure, lay the panels together and visualize which sides need to be joined to create a bag with a straight opening.
- Turn the bag right side out through the opening.
Creating the Handles
The handles are simple crochet chains that add a functional and stylish touch.
- Attach color A (Amethyst) yarn to one corner of the opening with a slip stitch.
- Chain (ch) 80 stitches. This will be the length of your handle. Adjust the number of chains if you prefer a shorter or longer handle.
- Slip stitch to the opposite corner of the opening to secure the handle. Fasten off.
- Repeat on the other side of the opening to create a second handle. This means you'll attach yarn to the other corner and chain 80, then slip stitch to the remaining corner.
- Weave in all loose ends.
Finishing Touches
Your Prismatic Halo Clutch is almost complete! Here are a few optional steps to add polish and functionality.
- Closure: Add a magnetic snap closure or a button loop at the center of the opening to keep your belongings secure. To add a magnetic snap, follow the manufacturer's instructions for attaching it to the fabric. For a button loop, you can crochet a small chain and attach it to one side, with a button sewn on the other side.
- Blocking: Block the bag lightly to shape. This will help the panels lie flat and give the clutch a more professional finish. To block, dampen the bag with a spray bottle, gently shape it, and let it dry flat.
And there you have it – your very own Prismatic Halo Clutch! This stunning accessory is a testament to the beauty of color and the joy of handmade craftsmanship. Wear it with pride, and enjoy the compliments that are sure to come your way.
Happy crocheting!