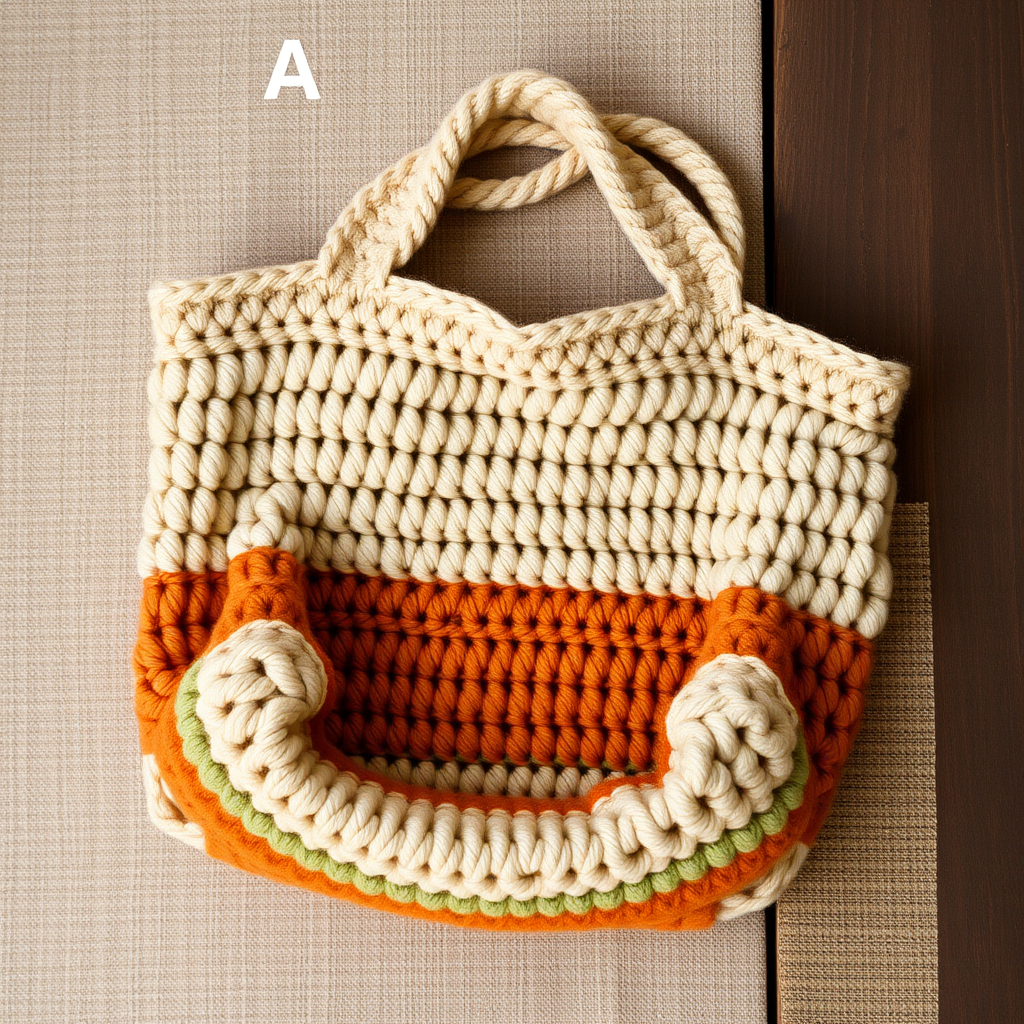
Mosaic Meadow Tote Free Pattern – A Crocheted Patchwork Garden

Mosaic Meadow Tote Free Pattern – A Crocheted Patchwork Garden
Carry a piece of a wildflower meadow with this stunning mosaic crochet tote, built from two identical square panels. The rich, earthy palette and textured stitchwork make it a unique, heirloom-quality accessory. This free pattern is perfect for intermediate crocheters looking to expand their skills, but with clear instructions, even a confident beginner can tackle this beautiful project. The result is a soft, structured rectangle with a cozy, handmade boho aesthetic that you'll be proud to carry everywhere.
This bag is more than just an accessory; it's a statement. The mosaic-style pattern, created with crossed stitches and long vertical stitches, produces a woven, textured effect that mimics the look of a patchwork garden. The earthy tones of cream, sage green, dusty rose, golden ochre, and deep terracotta blend harmoniously, creating a rich, visual tapestry. Let's dive into this rewarding project and create a tote that's both functional and a true work of art.
Materials Needed
Before you begin, gather all your materials. Having everything ready will make the process smooth and enjoyable.
- Yarn: Worsted weight cotton yarn in 5 colors:
- A (Cream): For the foundation and borders
- B (Sage Green): For the mosaic pattern
- C (Dusty Rose): For the mosaic pattern
- D (Golden Ochre): For the mosaic pattern
- E (Deep Terracotta): For the mosaic pattern and straps
- Crochet Hook: 5.0 mm (H-8) crochet hook
- Tapestry Needle: For seaming and weaving in ends
- Scissors: For cutting yarn
- Stitch Markers (optional): To help keep track of rows
Gauge
14 dc x 8 rows = 10 cm (4 inches) square
It's crucial to check your gauge before starting. If your gauge is off, the final size of the bag will be different, which will affect the strap placement and overall look. If you have more stitches per 10 cm, try a larger hook. If you have fewer, try a smaller hook.
Step-by-Step Instructions
This bag is made from two identical crocheted squares, each worked in a mosaic-style pattern using single crochet and front loop only stitches. The squares are then seamed together and finished with sturdy straps. Follow these detailed instructions carefully, and you'll have a beautiful tote in no time.
Square 1 (Make 2)
This is the main body of the bag. You will make two identical squares, so take your time with the first one to get the pattern down.
Foundation: With color A (Cream), ch 41.
Row 1: Dc in 4th ch from hook and in each ch across. (39 dc) Turn.
Note: The first 3 chains count as your first double crochet, so you'll have 39 dc total.
Row 2: Ch 3 (counts as dc), dc in each dc across. Turn. (39 dc)
This row creates a clean base for the mosaic pattern.
Row 3 (Mosaic pattern start): Ch 1, sc in first dc. *Skip next dc, dc in next dc, working behind the dc just made, dc in the skipped dc (crossed double crochet).* Repeat from * to * across, ending with sc in last dc. Turn.
This is the crossed double crochet stitch. It creates a beautiful X pattern. The key is to work the second dc behind the first one you just made.
Row 4: Ch 3, dc in each stitch across. Turn.
This is a plain dc row that separates the mosaic rows.
Row 5: Ch 1, sc in first dc. *Dc in next dc, working in front of the dc just made, dc in the dc 2 rows below (long dc).* Repeat from * to * across, ending with sc in last dc. Turn.
This is the long double crochet stitch. You'll insert your hook into the dc two rows below, creating a long vertical stitch that adds texture and depth.
Rows 6-40: Repeat Rows 4 and 5, but change colors every 4 rows in this sequence: B, C, D, E, A, B, C, D, E, A. Fasten off after Row 40.
Here's the color sequence broken down:
- Rows 6-9: Color B (Sage Green)
- Rows 10-13: Color C (Dusty Rose)
- Rows 14-17: Color D (Golden Ochre)
- Rows 18-21: Color E (Deep Terracotta)
- Rows 22-25: Color A (Cream)
- Rows 26-29: Color B (Sage Green)
- Rows 30-33: Color C (Dusty Rose)
- Rows 34-37: Color D (Golden Ochre)
- Rows 38-40: Color E (Deep Terracotta)
When changing colors, do so at the end of the last row of the current color. Pull the new color through the last loop of the final stitch to make a clean transition.
Make a second square following the exact same instructions. Set both aside.
Seaming
Now it's time to join the two squares to form the bag body.
Step 1: Place the two squares with right sides together. Make sure the edges are aligned perfectly.
Step 2: Using color A (Cream) and a tapestry needle, whip stitch along three sides, leaving the top open.
The whip stitch is a simple over-and-over stitch. Insert your needle through both layers, going from back to front, and pull the yarn through. Continue this along the entire edge.
Step 3: Turn the bag right side out. The seam will be on the inside, giving your bag a clean, professional finish.
Straps (Make 2)
These straps are sturdy and comfortable, perfect for carrying your essentials.
Row 1: With color E (Deep Terracotta), ch 101. Sc in 2nd ch from hook and in each ch across. (100 sc) Turn.
This creates a long strip that will be folded to make a double-thick strap.
Row 2: Ch 1, sc in each sc across. Fasten off.
This second row adds thickness and stability.
Repeat to make a second strap.
Attach Straps
Proper strap attachment is crucial for a durable bag.
Step 1: Fold each strap in half lengthwise and sew the long edges together to create a sturdy strap.
Use a tapestry needle and color E yarn to whip stitch the long edges together. This creates a strong, padded strap.
Step 2: Attach one end of each strap to the inside of the bag at the top edge, about 5 cm (2 inches) from the side seams.
Position the strap ends on the inside of the bag, ensuring they are evenly spaced. Sew securely with a needle and thread, making multiple passes to ensure they hold firmly.
Step 3: Repeat for the other end of the strap on the opposite side of the bag.
Finishing
The final touches make all the difference.
Step 1: Weave in all ends using a tapestry needle. Make sure to weave them in securely so they don't come loose with use.
Step 2 (Optional): Add a fabric lining for extra durability. Cut a piece of fabric to fit the inside of the bag, leaving a seam allowance. Sew the fabric into a bag shape and insert it into the crochet bag. Fold the top edge of the fabric over and hand-stitch it to the inside of the crochet bag.
Congratulations! You've completed your Mosaic Meadow Tote. This beautiful, textured bag is now ready to carry your belongings in style. The rich colors and intricate stitchwork will surely turn heads and spark conversations. Enjoy your new handmade treasure!