Meadow Muse Floral Backpack Free Pattern – Textured Crochet with Woven Strap

Introducing the Meadow Muse Floral Backpack
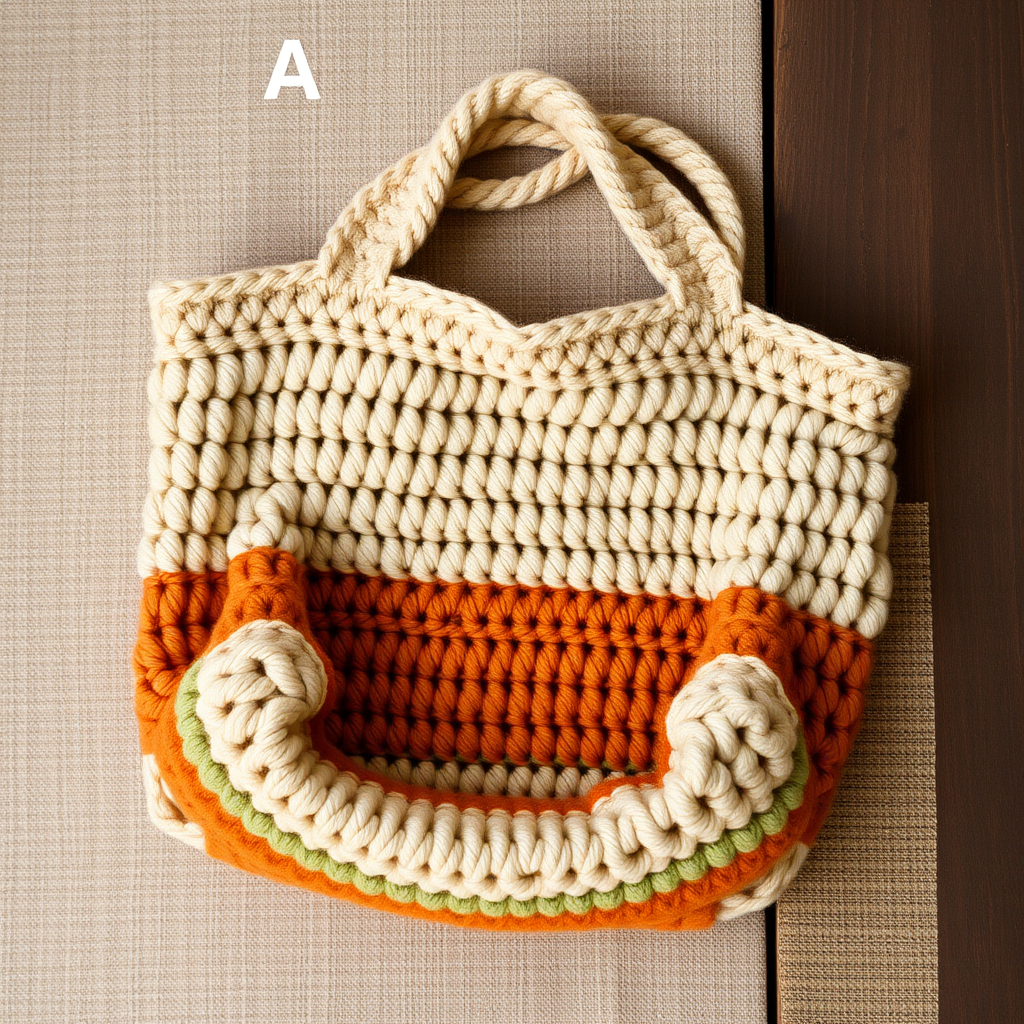
Carry a piece of the meadow with you wherever you go! The Meadow Muse Floral Backpack is a charming, textured crochet project that combines the beauty of a lush floral garden with the practicality of a sturdy, everyday bag. This unique design features a dense, textured stitch for the main body, adorned with three-dimensional crocheted flowers and delicate leaves. The rustic, bohemian aesthetic is finished with long, woven-looking straps and a cream drawstring closure. This is a truly one-of-a-kind accessory that makes a wonderful gift or a delightful treat for your own handmade collection. With clear, step-by-step instructions, even a confident beginner can bring this garden-inspired backpack to life.
Materials Needed
Before you begin, gather the following materials to ensure a smooth and enjoyable crochet session:
- Yarn: Worsted weight cotton yarn in the following colors (approx. 400g total):
- Sage Green (for the main body and straps)
- Cream (for the leaves and drawstring)
- Dusty Rose (for the flowers)
- Butter Yellow (for the flower centers)
- Hook: 5.0 mm crochet hook (US H-8)
- Other: Yarn needle for sewing and weaving in ends, scissors
Gauge: 16 single crochet (sc) x 18 rows = 4 x 4 inches. It's always a good idea to check your gauge to ensure your backpack turns out the right size.
Step-by-Step Instructions
Follow these detailed instructions to create your own Meadow Muse Floral Backpack. Take your time, and enjoy the process!
Part 1: Backpack Body (Make 2 Panels)
You will create two identical rectangular panels for the front and back of the backpack.
Panel 1 (Front):
- With your sage green yarn, make a slip knot and chain (ch) 36.
- Row 1: Single crochet (sc) in the 2nd chain from your hook, and then sc in each chain across. You should have 35 sc stitches. Chain 1 and turn your work.
- Rows 2-30: Sc in each stitch across (35 sc). Chain 1 and turn your work at the end of each row.
- After completing Row 30, fasten off your yarn, leaving a tail to weave in later.
Panel 2 (Back):
- Repeat the exact same instructions as Panel 1 to create the back panel. You will have two identical rectangles.
Part 2: Floral Motifs (Make 3)
These beautiful three-dimensional flowers will be the star of the backpack's front panel.
- With your dusty rose yarn, make a magic ring.
- Round 1: Chain 1 (this does not count as a stitch), then work 8 single crochet (sc) into the magic ring. Pull the ring tight to close. Slip stitch (sl st) to join with the first sc. (8 sc)
- Round 2 (Creating Petals): Chain 3. In the same stitch, work 2 double crochet (dc). Chain 2. Then, slip stitch (sl st) into the next stitch. This creates your first petal.
- Repeat from * around: *Ch 3, 2 dc in the next st, ch 2, sl st in the next st.* Continue this pattern until you have created all 8 petals. End by slip stitching into the first chain of the round to join.
- Fasten off, leaving a long tail (about 12 inches) for sewing the flower onto the backpack.
- Embroider the Center: Thread your yarn needle with the butter yellow yarn. Create a French knot in the very center of the flower. To do this, bring the needle up from the back to the front, wrap the yarn around the needle 2-3 times, and insert the needle back down close to where it came up. Gently pull through to form a knot. Secure the yarn on the back.
- Repeat this entire process to make a total of 3 flowers.
Part 3: Leaf Motifs (Make 6)
These simple leaves will perfectly complement the flowers.
- With your cream yarn, chain (ch) 6.
- Row 1: Sc in the 2nd chain from the hook. Then, half double crochet (hdc) in the next chain, double crochet (dc) in the next chain, hdc in the next chain, and finally sc in the last chain. This creates a leaf shape. Chain 1 and turn.
- Row 2: Sc in each stitch across (5 sc).
- Fasten off, leaving a long tail for sewing. Repeat to make a total of 6 leaves.
Part 4: Assembly
Now it's time to bring all the pieces together.
- Join the Panels: Place your front and back panels together, with the wrong sides (the inside of the bag) facing each other. The right sides should be facing out.
- Using your sage green yarn and starting at one top corner, single crochet (sc) through both layers of the panels. Work your way down the side, across the bottom, and up the other side. Leave the top edge completely open. Fasten off and weave in the ends.
- Attach the Flowers and Leaves: Lay your backpack flat with the front panel facing you. Arrange the 3 flowers and 6 leaves in a pleasing cluster on the front panel. Once you're happy with the placement, use the long yarn tails to sew each piece securely onto the bag. Weave in all ends.
Part 5: Straps (Make 2)
These sturdy, woven-looking straps are crocheted in a simple, dense stitch.
- With your sage green yarn, chain (ch) 8.
- Row 1: Sc in the 2nd chain from the hook and in each chain across (7 sc). Chain 1 and turn.
- Rows 2-40: Sc in each stitch across (7 sc). Chain 1 and turn at the end of each row.
- After Row 40, fasten off, leaving a long tail for sewing.
- Repeat to make the second strap.
- Attach the Straps: Sew one strap securely to the inside or outside of each side seam of the backpack. Position them about 2 inches down from the top edge. Make sure they are securely attached to withstand the weight of your belongings.
Part 6: Drawstring Closure
This simple drawstring will gather the top of your backpack closed.
- With your cream yarn, chain (ch) 100. Fasten off.
- Weave the drawstring through the top edge of the backpack. Start at the front center, and weave it in and out of the stitches all the way around the top opening, ending back at the front center.
- Tie the two ends of the drawstring in a simple bow to close your backpack.
Congratulations! You've just completed your very own Meadow Muse Floral Backpack. This beautiful, textured bag is perfect for a day out, a trip to the market, or as a unique gift. Enjoy your handmade, garden-inspired accessory!