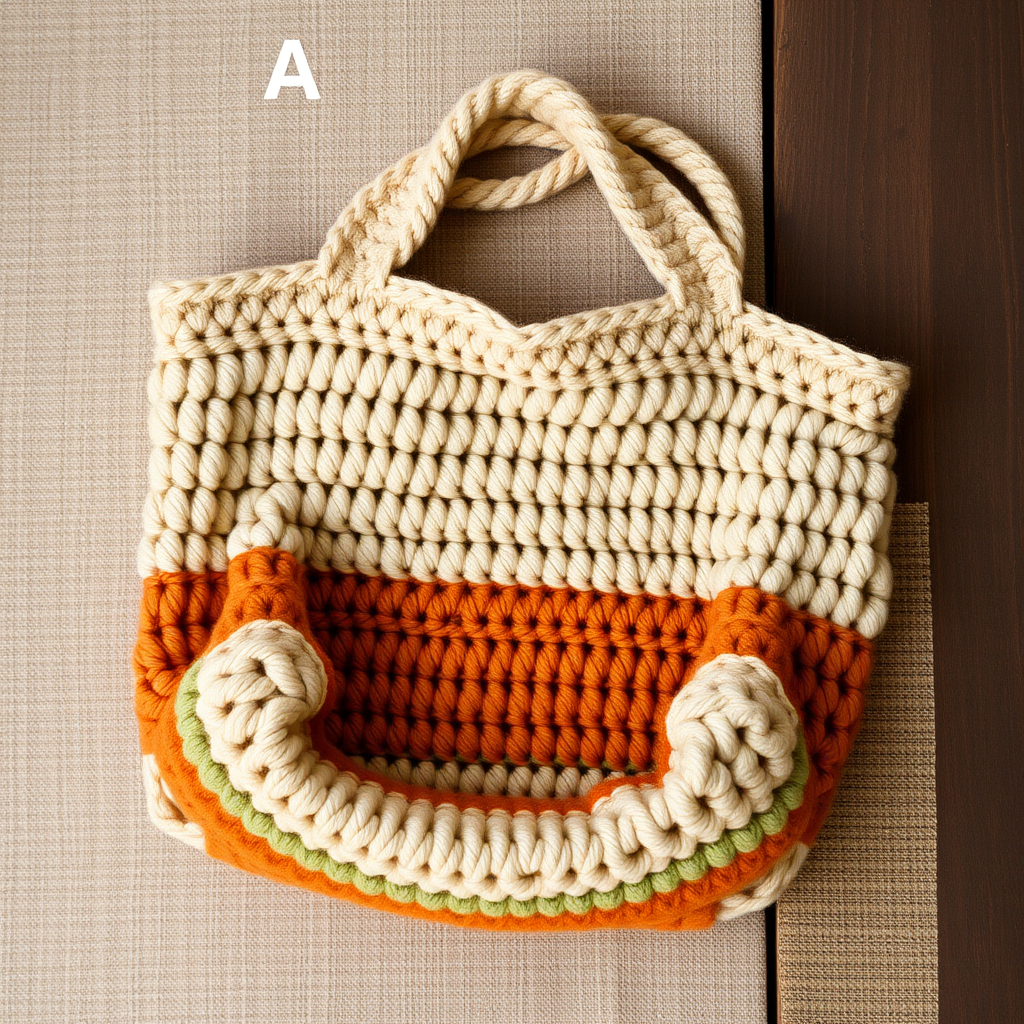
Meadow Breeze Flower Granny Square Tote Bag Free Pattern

Carry a Sunlit Meadow: The Meadow Breeze Flower Granny Square Tote Bag
Imagine strolling through a sun-drenched meadow, carrying a basket of fresh flowers and farmers' market finds. That dreamy, pastoral feeling is now something you can create and carry with you every day. Introducing the Meadow Breeze Flower Granny Square Tote Bag—a charming, handmade accessory that blends the classic granny square technique with delicate floral motifs and a soft, pastel palette.
This isn't just a bag; it's a statement piece. Constructed from 12 individual flower granny squares, this tote features a beautiful 3x4 grid layout. Each square is a miniature garden, with a blush pink flower at its heart, surrounded by sage green leaves and a buttery yellow border, all framed by a warm cream background. The sturdy, worsted-weight cotton yarn ensures your bag is as durable as it is beautiful, making it perfect for everything from grocery runs to beach days. Whether you're a seasoned crocheter or a confident beginner looking for a rewarding project, this free pattern will guide you through every step to create a stunning, heirloom-quality accessory.
Materials Needed: Gathering Your Meadow Palette
Before you begin, let's gather your supplies. This project uses simple, readily available materials to create a professional-looking finish.
Yarn
You will need worsted weight cotton yarn for its durability, stitch definition, and eco-friendly feel. A great choice is Lion Brand 24/7 Cotton. Here is the color breakdown:
- Main Color (MC): Cream – for the square backgrounds, assembly, edging, and handles.
- Color A: Blush Pink – for the flower centers.
- Color B: Sage Green – for the leaves/petals.
- Color C: Butter Yellow – for the inner border.
- Color D: Sky Blue – for the outer border (used in the final round of the squares).
Hook & Notions
- 5.0 mm (H-8) crochet hook
- Yarn needle for weaving in ends and sewing pieces together
- Scissors
- Stitch markers (optional, but helpful)
- Fabric for optional lining (cotton or canvas), plus matching thread and needle
Gauge
To ensure your bag comes together perfectly, it's crucial to match the gauge. One granny square should measure 4 inches x 4 inches (10 cm x 10 cm) after blocking. Blocking is essential for this project as it evens out the stitches and ensures all your squares are uniform before assembly.
Step-by-Step Instructions: Crafting Your Meadow Breeze Tote
Follow these detailed instructions carefully, and you'll have a beautiful tote bag in no time. We'll break this down into manageable sections.
Part 1: The Flower Granny Square (Make 12)
This is the heart of your project. Each square is worked in the round, building from the flower center outwards. Take your time with the first one, and the rest will fly by.
Round 1 (Flower Center - Color A): Make a magic ring. Chain 3 (this counts as your first double crochet). Work 11 more double crochet (dc) into the ring. Slip stitch (sl st) to the top of the beginning chain-3 to join. You should have 12 dc stitches total.
Round 2 (Petals - Color A): Chain 1, single crochet (sc) in the same stitch. *Chain 3, skip the next dc, sc in the next dc.* Repeat from * around. You will end with a chain-3 loop. Slip stitch to the first sc to join. Fasten off Color A. You should have 6 chain-3 loops, which will form the base of your petals.
Round 3 (Leaves - Color B): Join Color B in any chain-3 loop. Chain 3 (counts as a dc), then work (1 dc, chain 2, 2 dc) all in the same loop. This creates your first corner. *In the next chain-3 loop, work (2 dc, chain 2, 2 dc).* Repeat from * around. Slip stitch to the top of the beginning chain-3 to join. Fasten off Color B. You will now have 6 petal clusters.
Round 4 (Inner Border - Color C): Join Color C in any chain-2 corner space. Chain 3 (counts as a dc), then work (2 dc, chain 2, 3 dc) in the same corner space. *Chain 1, work 3 dc in the next chain-2 corner space, chain 1, then work (3 dc, chain 2, 3 dc) in the next corner.* Repeat from * around, ending with a chain 1. Slip stitch to the top of the beginning chain-3 to join. Fasten off Color C. This round transforms your flower into a square shape.
Round 5 (Outer Border - MC): Join your Cream (MC) yarn in any chain-2 corner space. Chain 3 (counts as a dc), then work (2 dc, chain 2, 3 dc) in the same corner. *Chain 1, work 3 dc in the next chain-1 space, chain 1, work 3 dc in the next chain-1 space, chain 1, then work (3 dc, chain 2, 3 dc) in the next corner.* Repeat from * around, ending with a chain 1. Slip stitch to the top of the beginning chain-3 to join. Fasten off and weave in all loose ends.
Blocking: Repeat this process to make 12 identical squares. Once complete, block all squares to the correct 4-inch gauge. To block, pin each square to a flat surface, mist with water, and allow to dry completely. This step is non-negotiable for a professional finish.
Part 2: Assembling the Squares
Now that you have 12 beautiful, uniform squares, it's time to bring them together.
Arrange: Lay out your squares in a 3x4 rectangle. This means 3 squares across (width) and 4 squares tall (height). This will be the body of your bag. Play with the arrangement to ensure the flower colors are nicely distributed.
Seaming: With your Cream (MC) yarn and yarn needle, whip stitch the squares together. Important: Work through the back loops only of the stitches on both squares. This creates a nearly invisible, flat seam on the front. Carefully match the corners and edges of each square. Seam all vertical joins first, then all horizontal joins, to form one large, solid rectangle.
Part 3: Forming the Bag Body
With your large rectangle complete, you'll now fold it into a bag.
Fold: Fold the rectangle in half so the short ends meet. Your piece will now be 3 squares wide and 2 squares tall. The fold will be the bottom of your bag.
Seam the Sides: Using your Cream (MC) yarn and yarn needle, single crochet the side seams together. Start at the bottom fold and work your way up to the top edge. This creates a sturdy, seamless-looking side. Repeat on the other side. Leave the top edge completely open.
Part 4: Top Edging
This neat edging finishes the raw top edge of your bag and provides a clean base for the handles.
Round 1: Join your Cream (MC) yarn at the top edge of the bag. Chain 1, then single crochet evenly around the entire top opening. A good rule of thumb is to work approximately 2 sc for each square edge. Slip stitch to the first sc to join.
Round 2: Chain 1, then single crochet in each single crochet around. Slip stitch to the first sc to join. Fasten off and weave in the end.
Part 5: Creating and Attaching the Handles
These sturdy, crocheted handles are comfortable to carry and complete the bag's look.
Make the Handles (Make 2): With your Cream (MC) yarn, chain 90. Row 1: Single crochet in the 2nd chain from the hook and in each chain across. You should have 89 single crochet stitches. Row 2: Chain 1, turn, and single crochet in each single crochet across. Fasten off, leaving a long tail (about 12 inches) for sewing.
Attach the Handles: Position each handle on the inside of the bag at the top edge. Space them about 4 inches apart, centering them on the front and back panels. Using the long yarn tails and a yarn needle, sew the handles securely to the inside of the bag. Sew through the handle and the crochet fabric of the bag, making several passes to ensure it's very secure.
Part 6: Optional Lining (For Extra Polish)
While not required, a fabric lining adds structure, prevents items from slipping through the stitches, and gives your bag a truly professional, finished interior.
Cut & Sew: Measure the interior dimensions of your finished bag. Cut two pieces of your chosen fabric (cotton or canvas) to that size, adding a 1-inch seam allowance on all sides. With right sides together, sew the side and bottom seams of the fabric. Leave the top open.
Insert & Attach: Place the fabric lining inside the crochet bag. Fold the top edge of the fabric over by about 1/2 inch and press. Hand-stitch the folded top edge of the lining to the inside of the crochet edging, using a blind stitch for an invisible finish.
And there you have it—your very own Meadow Breeze Flower Granny Square Tote Bag! This project is a labor of love that results in a functional piece of art. Perfect for gifting or treating yourself, this bag is sure to become a cherished staple for seasons to come. Happy crocheting!