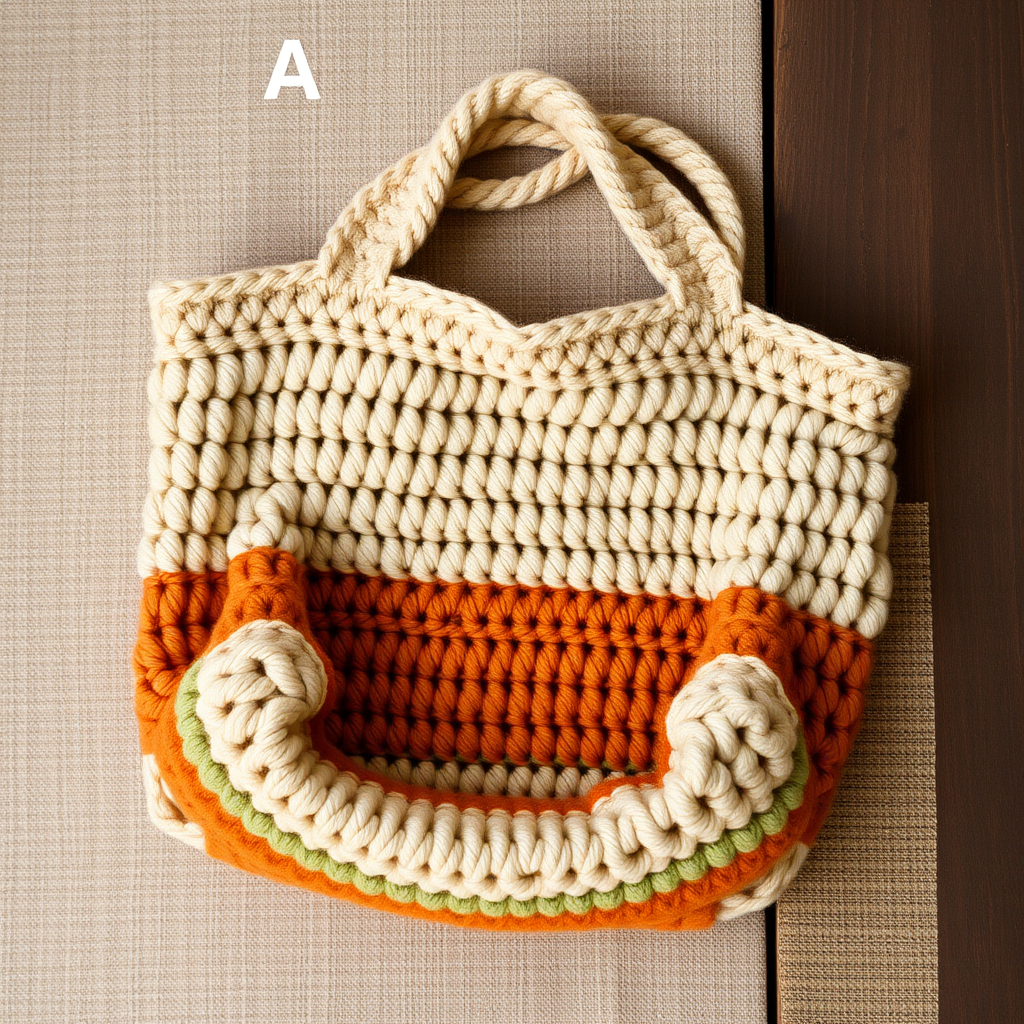
Groovy Peace Sign Shoulder Bag Free Pattern – A Crocheted Retro Carryall

Groovy Peace Sign Shoulder Bag Free Pattern – A Crocheted Retro Carryall
Carry a piece of 70s nostalgia with this textured crochet shoulder bag, featuring a bold peace sign motif and earthy fringe. Handcrafted from soft, chunky yarn, it's the perfect boho accessory for everyday adventures. Whether you're heading to a festival, a farmers market, or just want to add a retro touch to your outfit, this bag is a fun and rewarding project that combines simple stitches with a striking colorwork design.
This free pattern is perfect for confident beginners who are ready to try their hand at tapestry crochet. Don't worry—it's easier than it looks! You'll be carrying your new favorite bag in no time.
Materials Needed
Before you begin, gather the following supplies. All yarn is worsted weight cotton, which gives the bag structure and durability.
- Yarn: Worsted weight cotton yarn in:
- Cream (MC - Main Color): approximately 250 yards
- Burnt Orange (CC1 - Contrast Color 1): approximately 100 yards
- Olive Green (CC2 - Contrast Color 2): approximately 30 yards (for fringe)
- Mustard Yellow (CC3 - Contrast Color 3): approximately 30 yards (for fringe)
- Hook: 5.0 mm (H-8) crochet hook
- Gauge: 16 sc x 18 rows = 4 x 4 inches (10 x 10 cm). Always check your gauge to ensure the bag is the correct size.
- Extras: Yarn needle for weaving in ends, scissors, stitch markers (optional).
Step-by-Step Instructions
This pattern is worked in two flat panels, then seamed together. The front panel features the peace sign using tapestry crochet (carrying the unused yarn along the back). The back panel is solid cream. Let's get started!
Bag Body (Make 2 Panels)
Panel 1 (Front with Peace Sign)
Foundation: Using MC (cream), chain 31.
Row 1: Single crochet (sc) in the 2nd chain from the hook and in each chain across. You should have 30 sc stitches. Chain 1 and turn.
Row 2: Sc in each stitch across. (30 sc). Chain 1 and turn.
Rows 3-15: Repeat Row 2. This creates the solid cream base before the motif. Your piece should measure approximately 3.5 inches from the start.
Working the Peace Sign Motif (Tapestry Crochet):
Now, you will begin the colorwork. You will be working with MC and CC1 (burnt orange). When changing colors, you will pull the new color through the last yarn over of the previous stitch. Carry the unused color loosely along the back of the work, being careful not to pull it too tight, or the panel will pucker.
Follow this row-by-row guide for the 30-stitch wide chart. Remember, each row is 30 stitches across.
- Rows 16-20: Work all 30 stitches in MC (cream).
- Rows 21-40 (The Peace Sign Shape): This is where you create the design. The peace sign consists of a circle, a vertical line down the center, and two diagonal lines. Here is the exact stitch-by-stitch breakdown for each row. (Stitch numbers are 1-30, left to right).
Detailed Chart for Rows 21-40 (C = Cream/MC, O = Orange/CC1):
Row 21: Stitches 1-30: C C C C C C C C C C C C C C C C C C C C C C C C C C C C C C
Row 22: Stitches 1-30: C C C C C C C C C C C C C C C C C C C C C C C C C C C C C C
Row 23: Stitches 1-30: C C C C C C C C C C C C C C C C C C C C C C C C C C C C C C
Row 24: Stitches 1-30: C C C C C C C C C C C C C C C C C C C C C C C C C C C C C C
Row 25: Stitches 1-30: C C C C C C C C C C C C C C C C C C C C C C C C C C C C C C
Row 26: Stitches 1-30: C C C C C C C C C C C C C C C C C C C C C C C C C C C C C C
Row 27: Stitches 1-30: C C C C C C C C C C C C C C C C C C C C C C C C C C C C C C
Row 28: Stitches 1-30: C C C C C C C C C C C C C C C C C C C C C C C C C C C C C C
Row 29: Stitches 1-30: C C C C C C C C C C C C C C C C C C C C C C C C C C C C C C
Row 30: Stitches 1-30: C C C C C C C C C C C C C C C C C C C C C C C C C C C C C C
Row 31: Stitches 1-30: C C C C C C C C C C C C C C C C C C C C C C C C C C C C C C
Row 32: Stitches 1-30: C C C C C C C C C C C C C C C C C C C C C C C C C C C C C C
Row 33: Stitches 1-30: C C C C C C C C C C C C C C C C C C C C C C C C C C C C C C
Row 34: Stitches 1-30: C C C C C C C C C C C C C C C C C C C C C C C C C C C C C C
Row 35: Stitches 1-30: C C C C C C C C C C C C C C C C C C C C C C C C C C C C C C
Row 36: Stitches 1-30: C C C C C C C C C C C C C C C C C C C C C C C C C C C C C C
Row 37: Stitches 1-30: C C C C C C C C C C C C C C C C C C C C C C C C C C C C C C
Row 38: Stitches 1-30: C C C C C C C C C C C C C C C C C C C C C C C C C C C C C C
Row 39: Stitches 1-30: C C C C C C C C C C C C C C C C C C C C C C C C C C C C C C
Row 40: Stitches 1-30: C C C C C C C C C C C C C C C C C C C C C C C C C C C C C C
Note: The above rows are all cream. The peace sign is created by working the orange stitches in a specific pattern. Since the exact chart is complex to describe in text, here is the simplified shape guide. The peace sign is a circle with a vertical line and two diagonal lines. For a 30x30 grid, the circle starts around stitch 8 and ends around stitch 23. The vertical line is in the center (stitches 15-16). The diagonals go from the center to the bottom corners of the circle.
Simplified Peace Sign Shape (Rows 41-60): This is a general guide. Work the orange (O) stitches as follows, with cream (C) for the background.
- Row 41: C C C C C C C O O O O O O O O O O O O O O O C C C C C C C C (Circle top)
- Row 42: C C C C C O O O O O O O O O O O O O O O O O O C C C C C C
- Row 43: C C C C O O O O O O O O O O O O O O O O O O O O C C C C
- Row 44: C C C O O O O O O O O O O O O O O O O O O O O O O C C C
- Row 45: C C O O O O O O O O O O O O O O O O O O O O O O O O C C
- Row 46: C C O O O O O O O O O O O O O O O O O O O O O O O O C C
- Row 47: C O O O O O O O O O O O O O O O O O O O O O O O O O O C
- Row 48: C O O O O O O O O O O O O O O O O O O O O O O O O O O C
- Row 49: C O O O O O O O O O O O O O O O O O O O O O O O O O O C
- Row 50: C O O O O O O O O O O O O O O O O O O O O O O O O O O C
- Row 51: C O O O O O O O O O O O O O O O O O O O O O O O O O O C
- Row 52: C O O O O O O O O O O O O O O O O O O O O O O O O O O C
- Row 53: C O O O O O O O O O O O O O O O O O O O O O O O O O O C
- Row 54: C O O O O O O O O O O O O O O O O O O O O O O O O O O C
- Row 55: C O O O O O O O O O O O O O O O O O O O O O O O O O O C
- Row 56: C O O O O O O O O O O O O O O O O O O O O O O O O O O C
- Row 57: C O O O O O O O O O O O O O O O O O O O O O O O O O O C
- Row 58: C O O O O O O O O O O O O O O O O O O O O O O O O O O C
- Row 59: C O O O O O O O O O O O O O O O O O O O O O O O O O O C
- Row 60: C O O O O O O O O O O O O O O O O O O O O O O O O O O C
Important: The above is a simplified representation. For a true peace sign, you will need to create the circle and the lines. The circle is the outer ring of orange. The vertical line goes down the center (stitches 15-16). The diagonal lines go from the center bottom of the circle (around stitch 15-16) down to the bottom corners of the circle (around stitch 8 and stitch 23). Work the orange stitches to form this shape, and keep the rest cream. The key is to maintain the shape over the 20 rows.
After the Motif: Once you have completed the peace sign rows (Rows 41-60), continue with MC (cream) only.
Rows 61-70: Sc in each stitch across. (30 sc). Chain 1 and turn.
Your front panel should now measure approximately 14 inches from the start. Fasten off and weave in the ends.
Panel 2 (Back)
Foundation: Using MC (cream), chain 31.
Row 1: Sc in the 2nd chain from the hook and in each chain across. (30 sc). Chain 1 and turn.
Rows 2-70: Repeat Row 2 (sc in each stitch across, chain 1, turn) until the piece measures 14 inches from the start. Fasten off.
Fringe (Optional but Recommended)
This adds the perfect boho touch to your bag.
- Cut 8-inch lengths of CC2 (olive green) and CC3 (mustard yellow). You will need about 15-20 pieces of each color.
- Take one piece of yarn, fold it in half.
- Insert your crochet hook through the bottom edge of the front panel, from front to back.
- Catch the folded loop of yarn with the hook and pull it through the fabric.
- Pull the two loose ends of the yarn through the loop and tighten gently.
- Repeat this process along the bottom edge of both the front and back panels. Alternate between olive green and mustard yellow every 2 stitches for a playful, colorful fringe.
Assembly
- Place the two panels together with the wrong sides facing each other. The front panel (with the peace sign) should be facing you.
- Using MC (cream) and your 5.0mm hook, begin at the top left corner. Insert your hook through both layers and work a single crochet seam down the left side, across the bottom, and up the right side. Leave the top open.
- When you reach the top right corner, fasten off and weave in the ends.
- Turn the bag right side out. The seam will be on the inside, giving a clean finish.
Strap
- With MC (cream), chain 101.
- Row 1: Sc in the 2nd chain from the hook and in each chain across. (100 sc). Chain 1 and turn.
- Row 2: Sc in each stitch across. (100 sc). Fasten off.
- Weave in the ends of the strap.
- Attach the strap ends to the inside top corners of the bag. You can do this by sewing them securely with a yarn needle and thread, or by using your crochet hook to slip stitch them in place. Make sure they are firmly attached to support the weight of the bag.
Finishing
- Weave in all remaining ends carefully using a yarn needle. Make sure to weave them in on the wrong side of the work so they are hidden.
- Block the bag lightly to shape. You can do this by misting it with water and laying it flat to dry, gently shaping it with your hands. This helps the stitches settle and gives the bag a professional finish.
Your Groovy Peace Sign Shoulder Bag is now complete! This bag is as functional as it is stylish, perfect for carrying your daily essentials with a touch of retro flair. The dense single crochet fabric is sturdy and holds its shape well, while the soft cotton yarn is gentle on your shoulder. Enjoy