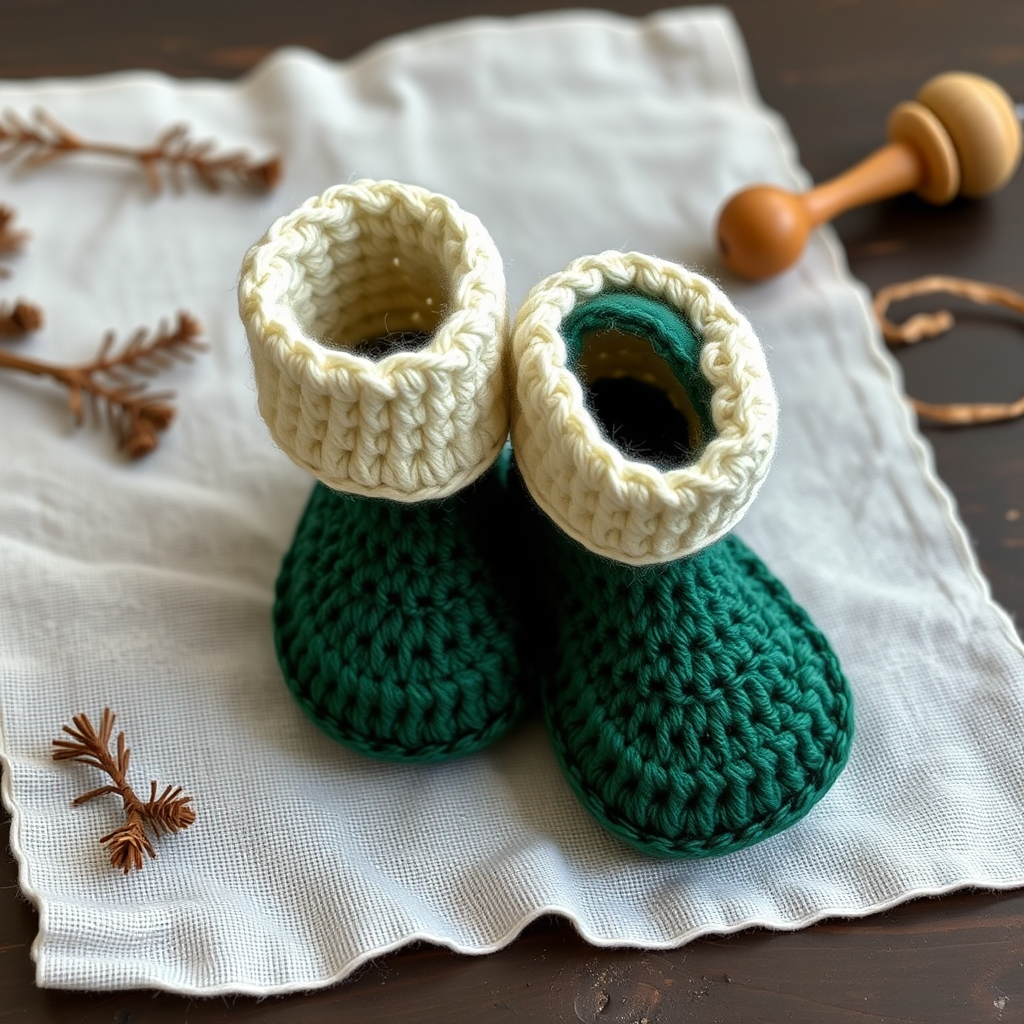
Whispering Willow Baby Booties Free Pattern
Whispering Willow Baby Booties: A Free Beginner-Friendly Crochet Pattern
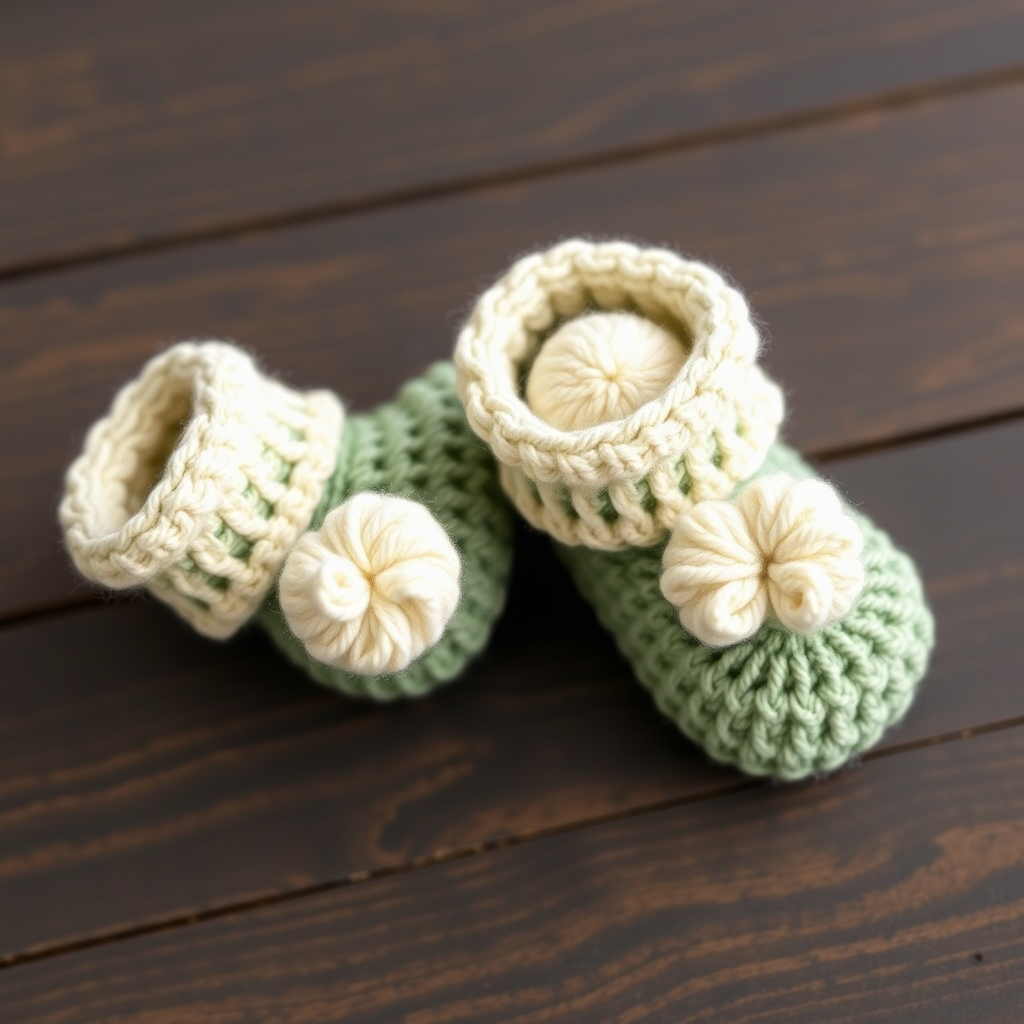
Wrap tiny toes in the softest embrace with these charming flat-knit booties, featuring a delicate leaf stitch and a dreamy pompom finish. This quick, rewarding project is perfect for both beginners and experienced crocheters alike. Whether you're crafting a heartfelt handmade baby shower gift or simply looking for a satisfying weekend project, these adorable booties are sure to delight. Designed for 0-3 months, they make a beautiful and practical present that will be treasured.
Materials Needed
Before you begin, gather the following supplies to ensure a smooth and enjoyable crocheting experience:
- Yarn: Worsted weight (4) cotton or acrylic blend in two colors:
- Main Color (MC): Soft sage green (approx. 50g)
- Contrast Color (CC): Cream or ivory for the cuff and pompom (approx. 25g)
- Crochet Hook: E/4 (3.5 mm) hook
- Other Tools: Yarn needle for weaving in ends and sewing, scissors
Gauge: 18 stitches and 16 rows = 10 cm (4 inches) in single crochet. Always check your gauge to ensure the correct finished size.
Step-by-Step Instructions
Finished Size: 0-3 months (approx. 9 cm / 3.5 inches sole length)
Abbreviations
ch = chain, sc = single crochet, hdc = half double crochet, dc = double crochet, sl st = slip stitch, st(s) = stitch(es), sk = skip, rnd = round, rep = repeat, sc2tog = single crochet 2 together (decrease)
Special Stitch: Leaf Cluster
Worked over 3 sts: *Yarn over, insert hook in next st, yarn over, pull up a loop, yarn over, pull through 2 loops (2 loops on hook). Yarn over, insert hook in same st, yarn over, pull up a loop, yarn over, pull through 2 loops (3 loops on hook). Yarn over, insert hook in same st, yarn over, pull up a loop, yarn over, pull through 2 loops (4 loops on hook). Yarn over, pull through all 4 loops.* (This creates a bobble-like leaf texture)
Part 1: The Sole (Make 2)
With sage green yarn (MC), ch 10.
- Row 1: sc in 2nd ch from hook and in each ch across (9 sc). Turn.
- Row 2: ch 1, 2 sc in first st, sc in next 7 sts, 2 sc in last st (11 sc). Turn.
- Row 3: ch 1, 2 sc in first st, sc in next 9 sts, 2 sc in last st (13 sc). Turn.
- Row 4: ch 1, 2 sc in first st, sc in next 11 sts, 2 sc in last st (15 sc). Turn.
- Rows 5-8: ch 1, sc in each st across (15 sc). Turn.
- Row 9 (decrease for heel): ch 1, sc2tog, sc in next 11 sts, sc2tog (13 sc). Turn.
- Row 10: ch 1, sc2tog, sc in next 9 sts, sc2tog (11 sc). Turn.
- Row 11: ch 1, sc2tog, sc in next 7 sts, sc2tog (9 sc). Turn.
Fasten off and weave in ends. This creates the sole with a rounded toe and a slightly narrower heel. Repeat for the second bootie.
Part 2: Side and Ankle (Worked Flat)
With sage green (MC), attach yarn to the center of the heel edge of the sole using a slip stitch.
- Row 1 (Right side): ch 1, work 1 sc in each st around the entire sole edge, working 2 sc in each corner st to turn smoothly. Join with sl st to first sc. (You should have approximately 40 sc). Do not turn.
- Row 2: ch 1, working in back loops only, sc in each st around. Join with sl st. (This creates a neat base edge).
- Row 3: ch 1, sc in each st around (40 sc). Join.
- Row 4: ch 1, sc in next 10 sts (toe area), now work a decrease: sc2tog over next 2 sts, sc in next 6 sts, sc2tog over next 2 sts, sc in next 10 sts (heel area), sc in remaining sts to end. Join. (38 sc)
- Row 5: ch 1, sc in next 9 sts, sc2tog, sc in next 6 sts, sc2tog, sc in next 9 sts, sc in remaining sts. Join. (36 sc)
- Row 6: ch 1, sc in next 8 sts, sc2tog, sc in next 6 sts, sc2tog, sc in next 8 sts, sc in remaining sts. Join. (34 sc)
- Row 7: ch 1, sc in next 7 sts, sc2tog, sc in next 6 sts, sc2tog, sc in next 7 sts, sc in remaining sts. Join. (32 sc)
- Row 8: ch 1, sc in next 6 sts, sc2tog, sc in next 6 sts, sc2tog, sc in next 6 sts, sc in remaining sts. Join. (30 sc)
- Row 9: ch 1, sc in next 5 sts, sc2tog, sc in next 6 sts, sc2tog, sc in next 5 sts, sc in remaining sts. Join. (28 sc)
- Row 10: ch 1, sc in each st around (28 sc). Join.
- Row 11: ch 1, sc in next 4 sts, sc2tog, sc in next 6 sts, sc2tog, sc in next 4 sts, sc in remaining sts. Join. (26 sc)
- Row 12: ch 1, sc in each st around (26 sc). Join.
- Row 13: ch 1, sc in next 3 sts, sc2tog, sc in next 6 sts, sc2tog, sc in next 3 sts, sc in remaining sts. Join. (24 sc)
- Row 14: ch 1, sc in each st around (24 sc). Join.
- Row 15: ch 1, sc in next 2 sts, sc2tog, sc in next 6 sts, sc2tog, sc in next 2 sts, sc in remaining sts. Join. (22 sc)
- Row 16: ch 1, sc in each st around (22 sc). Join.
- Row 17: ch 1, sc in next 1 st, sc2tog, sc in next 6 sts, sc2tog, sc in next 1 st, sc in remaining sts. Join. (20 sc)
- Row 18: ch 1, sc in each st around (20 sc). Join. Fasten off and weave in ends. This creates the bootie body with a shaped toe and heel.
Part 3: The Cuff (Worked Flat, Back and Forth)
With cream yarn (CC), attach to the back center of the bootie opening with a slip stitch.
- Row 1: ch 1, sc in each st around (20 sc). Turn.
- Row 2: ch 1, sc in each st across (20 sc). Turn.
- Row 3: ch 1, *Leaf Cluster in next st, sc in next st* rep from * to * across (10 leaf clusters). Turn.
- Row 4: ch 1, sc in each st across (20 sc). Turn.
- Row 5: ch 1, sc in each st across (20 sc). Turn.
- Row 6: ch 1, sc in each st across (20 sc). Fasten off, leaving a long tail for sewing.
Part 4: Finishing Touches
Fold the cuff down over the bootie body. Using the long tail, sew the cuff edge to the bootie body with a whip stitch, going through both layers to secure the fold. Weave in all ends.
Part 5: The Pompom (Make 2)
Using cream yarn (CC), make a pompom approximately 3 cm (1.2 inches) in diameter. You can use a store-bought pompom maker, cardboard circles, or even a fork for this. Attach one pompom securely to the center of the toe area of each bootie, sewing it firmly in place with the yarn needle.
Part 6: Second Bootie
Repeat all steps to make the second bootie, ensuring the leaf clusters on the cuff are oriented the same way (e.g., all facing the same direction when worn).
Congratulations! You've just completed a pair of adorable Whispering Willow Baby Booties. These make a wonderful, heartfelt gift for a new baby or a lovely addition to your own little one's wardrobe. Enjoy watching those tiny toes stay cozy and stylish!