Cloudberry Fuzz Booties Free Pattern – Crochet Cozy Marshmallow Slippers

Cloudberry Fuzz Booties: Crochet Cozy Marshmallow Slippers for Tiny Toes
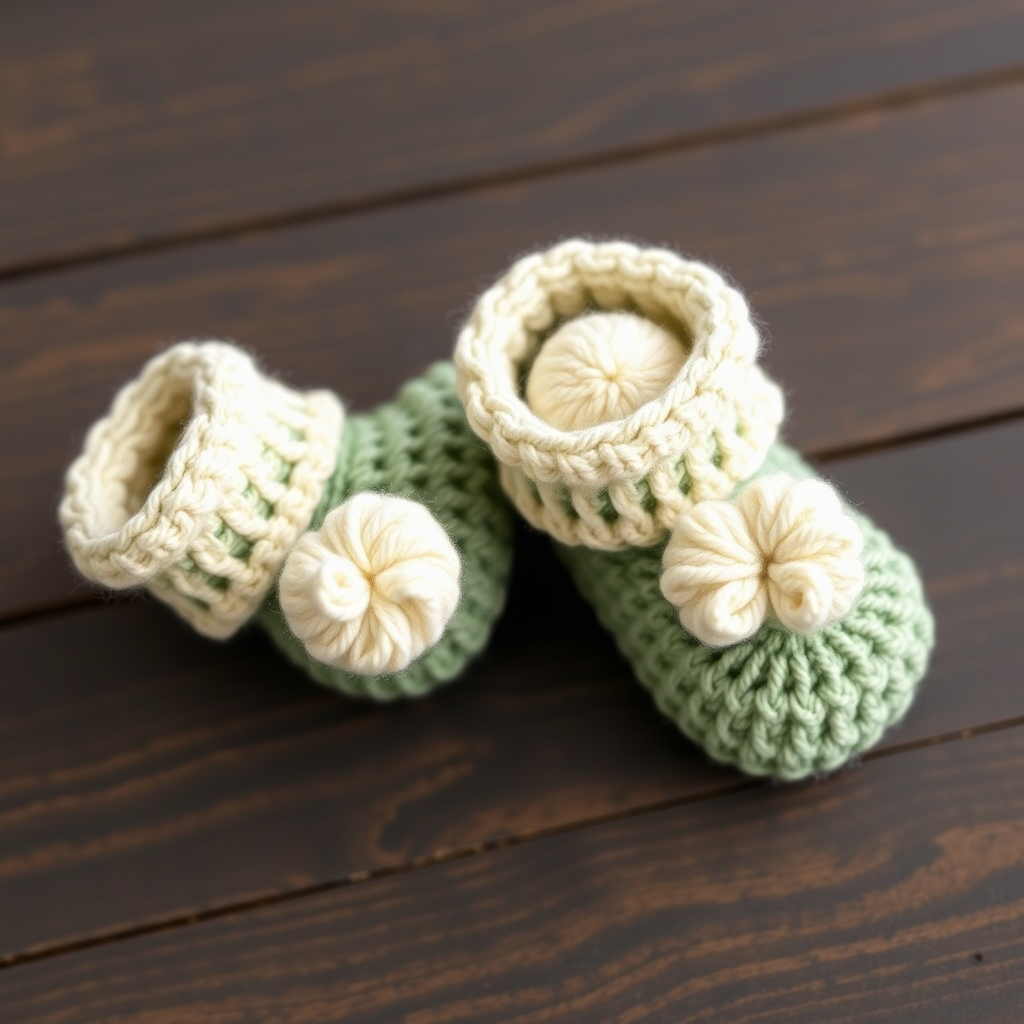
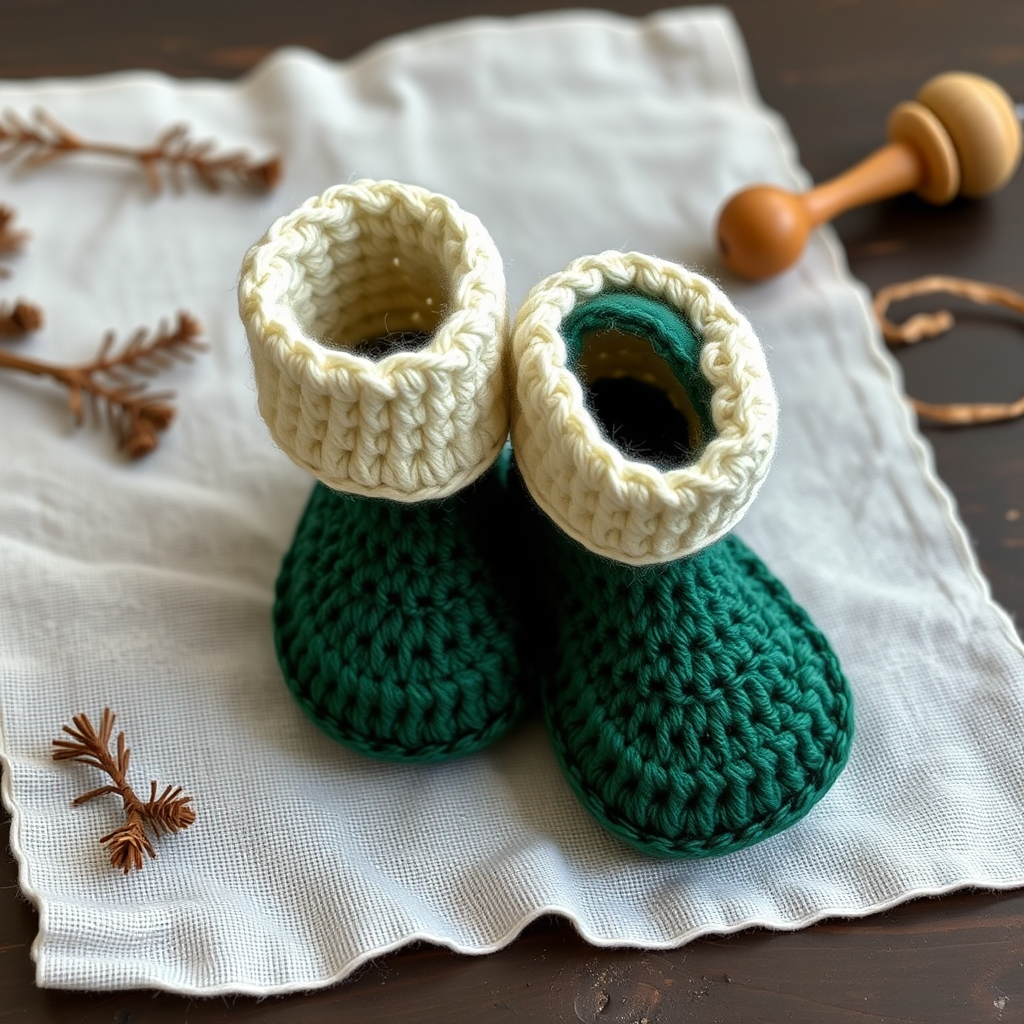
There is something truly magical about wrapping a newborn's feet in handcrafted warmth. The Cloudberry Fuzz Booties are the perfect blend of modern luxury and timeless heirloom craftsmanship—a pair of faux fur crochet booties that look like fluffy marshmallows, complete with a delicate scalloped cuff and a sturdy, hidden suede-style sole. Whether you're a seasoned crocheter or a brave beginner looking for your next project, these booties are designed to be approachable, forgiving, and utterly adorable. The contrast between the cloud-soft faux fur body and the crisp blush pink cuff creates a visual and tactile experience that will make any gift recipient swoon.
In this comprehensive guide, we'll walk you through every single step—from gathering your materials to weaving in those final ends. By the time you finish, you'll have a pair of booties that look like they came straight from a boutique nursery, but with the love and intention that only handmade items can carry.
Materials Needed
Before you begin, gather all your supplies. Having everything at arm's reach makes the process smoother and more enjoyable. Here's your complete shopping list:
Yarn Requirements
- Yarn A (Main Body): Lion Brand Go for Faux Fur (or similar bulky faux fur yarn, 100% polyester, 100g/100m) in "Cloud White" – 1 skein. This is the star of the show, giving the booties their signature marshmallow fuzz.
- Yarn B (Cuff): Lion Brand Babysoft (or similar DK weight cotton/acrylic blend) in "Blush Pink" – 1 skein. This creates the delicate, defined scalloped cuff that contrasts beautifully with the fuzzy body.
- Yarn C (Sole): Lion Brand Wool-Ease Thick & Quick (or similar super bulky wool blend) in "Oatmeal" – a small amount. This provides a sturdy, warm base for the booties.
Hooks and Tools
- Crochet hook size 6.0 mm (J/10) – for working with the faux fur yarn
- Crochet hook size 4.0 mm (G/6) – for the cuff and sole
- Tapestry needle – for weaving in ends and sewing pieces together
- Stitch markers – to keep track of your rounds
- Scissors
Gauge Information
With the 6.0mm hook and faux fur yarn: 4 single crochets x 4 rows = 4 inches. Note: Gauge is flexible for booties since they stretch and mold to tiny feet, but maintaining consistent tension throughout is key to achieving a professional finish.
Step-by-Step Instructions
Let's dive into the pattern. We'll work in three main sections: the sole, the bootie body, and the cuff. Take your time, read each step carefully, and don't hesitate to refer back to the abbreviations list if you need a refresher.
Abbreviations
ch = chain | sc = single crochet | hdc = half double crochet | dc = double crochet | sl st = slip stitch | st(s) = stitch(es) | rnd = round | inc = increase (2 sc in same st) | dec = decrease (sc 2 together)
SIZE: 0-6 months (approximately 3.5 inch sole length). This pattern is designed to be snug but not tight—perfect for tiny wiggly toes.
Part 1: The Sole (Make 2)
Using Yarn C (Oatmeal super bulky) and the 4.0mm hook.
The sole is the foundation of your bootie. It's worked in continuous rounds, creating an oval shape that will cradle your baby's foot.
Rnd 1: Chain 8. Work 3 single crochets into the 2nd chain from your hook. Then, single crochet in the next 5 chains. Finally, work 3 single crochets into the last chain. Now you'll work along the other side of the foundation chain: single crochet in the next 5 chains. (16 stitches total)
Rnd 2: Increase in the next 3 stitches (that's 2 sc in each of the next 3 sts). Then, single crochet in the next 5 stitches. Increase in the next 3 stitches again. Single crochet in the next 5 stitches. (22 stitches total)
Rnd 3: (Single crochet in the next stitch, then increase in the next stitch) – repeat this sequence 3 times. Then, single crochet in the next 5 stitches. Repeat the (sc, inc) sequence 3 more times. Finally, single crochet in the next 5 stitches. (28 stitches total)
Rnd 4: Single crochet in each stitch around. (28 stitches total)
Fasten off and weave in your ends. Set this piece aside. Repeat to make the second sole.
Part 2: The Bootie Body (Make 2)
Using Yarn A (Cloud White faux fur) and the 6.0mm hook.
This is where the magic happens. Working with faux fur yarn can feel a bit different at first—the key is to feel for the stitches with your fingers rather than relying solely on your eyes. Trust the process!
Rnd 1: With the right side of the sole facing you, attach the faux fur yarn with a slip stitch to any stitch along the edge. Chain 1 (this counts as your first single crochet). Now, work 1 single crochet into each stitch around the entire sole, working through both loops of the sole's edge. Join with a slip stitch to the first single crochet. (28 stitches)
Rnd 2-4: Chain 1, single crochet in each stitch around, join with a slip stitch to the first single crochet. (28 stitches each round)
These three rounds create the foot height of the bootie. The bootie should now look like a little cup that's ready to hold a tiny foot.
Rnd 5 (Toe Shaping): Chain 1. Single crochet in the next 10 stitches. Now, decrease (sc 2 together) once. Single crochet in the next 4 stitches. Decrease once more. Single crochet in the next 10 stitches. Join with a slip stitch. (26 stitches)
Rnd 6: Chain 1. Single crochet in the next 9 stitches. Decrease once. Single crochet in the next 4 stitches. Decrease once. Single crochet in the next 9 stitches. Join with a slip stitch. (24 stitches)
Rnd 7: Chain 1. Single crochet in the next 8 stitches. Decrease once. Single crochet in the next 4 stitches. Decrease once. Single crochet in the next 8 stitches. Join with a slip stitch. (22 stitches)
Rnd 8: Chain 1. Single crochet in each stitch around. Join with a slip stitch. (22 stitches)
Fasten off, leaving a long tail (about 12-15 inches) for sewing the cuff later. Set aside and repeat for the second bootie.
Part 3: The Scalloped Cuff (Make 2)
Using Yarn B (Blush Pink DK) and the 4.0mm hook.
The cuff is what elevates these booties from cute to absolutely stunning. The scalloped edge is surprisingly simple to create and adds that delicate, heirloom-quality finish.
Rnd 1: Attach Yarn B to the back center of the bootie opening (this is where you fastened off the bootie body). Chain 1, then single crochet evenly around the entire opening. Join with a slip stitch to the first single crochet. (22 stitches)
Rnd 2: Chain 2 (this counts as your first half double crochet). Work 1 half double crochet in the same stitch. Then, work 2 half double crochets in each stitch around. Join with a slip stitch to the top of the chain-2. (44 stitches)
Rnd 3 (Scallop Edge): Chain 1. Single crochet in the first stitch. *Skip the next stitch. Work 5 double crochets in the next stitch. Skip the next stitch. Single crochet in the next stitch.* Repeat from * to * around the entire cuff. Join with a slip stitch to the first single crochet.
You should now have 11 beautiful scallops forming a delicate, ruffled edge. Fasten off and weave in your ends.
Part 4: Finishing Touches
Now comes the satisfying part—putting it all together!
Step 1: Fold the Cuff
Gently fold the cuff down over the bootie body. The scalloped edge should sit about halfway down the faux fur body, creating that beautiful contrast between the fuzzy white and the smooth pink.
Step 2: Sew the Cuff in Place
Using the long tail you left from the bootie body, thread your tapestry needle. Using a whip stitch, carefully sew the cuff edge to the bootie body. Pro tip: Only catch the inside loops of the cuff stitches so that your seam remains completely invisible from the outside. This takes a little patience but makes a world of difference in the final look.
Step 3: Weave in All Ends
Take your time to weave in every loose end securely. With faux fur yarn, you can be a bit more generous with how much you weave in, as the fuzz will help hide any imperfections.
Step 4 (Optional): Add Sole Grip
For extra traction on slippery floors, you can glue or sew a small piece of leather or suede to the bottom of each sole. This is especially helpful once baby starts trying to stand!
Final Thoughts
And there you have it—your very own pair of Cloudberry Fuzz Booties! These little beauties are perfect for baby showers, newborn photoshoots, or just because you want to spoil a tiny human with something handmade and full of love.
Remember, crochet is a journey, not a race. If your first bootie isn't perfect, that's okay—the second one will be even better, and the love you put into each stitch is what truly matters. These booties are designed to be beginner-friendly, so don't be afraid to give them a try even if you're new to the craft.
We'd love to see your finished Cloudberry Fuzz Booties! Share your creations on social media with the hashtag #CloudberryBooties and tag us so we can admire your handiwork. Happy crocheting!