Whispering Pines Forest Floor Baby Sockslippers Free Crochet Pattern – Mossy Textured Slipper Booties

Whispering Pines Forest Floor Baby Sockslippers: Free Crochet Pattern
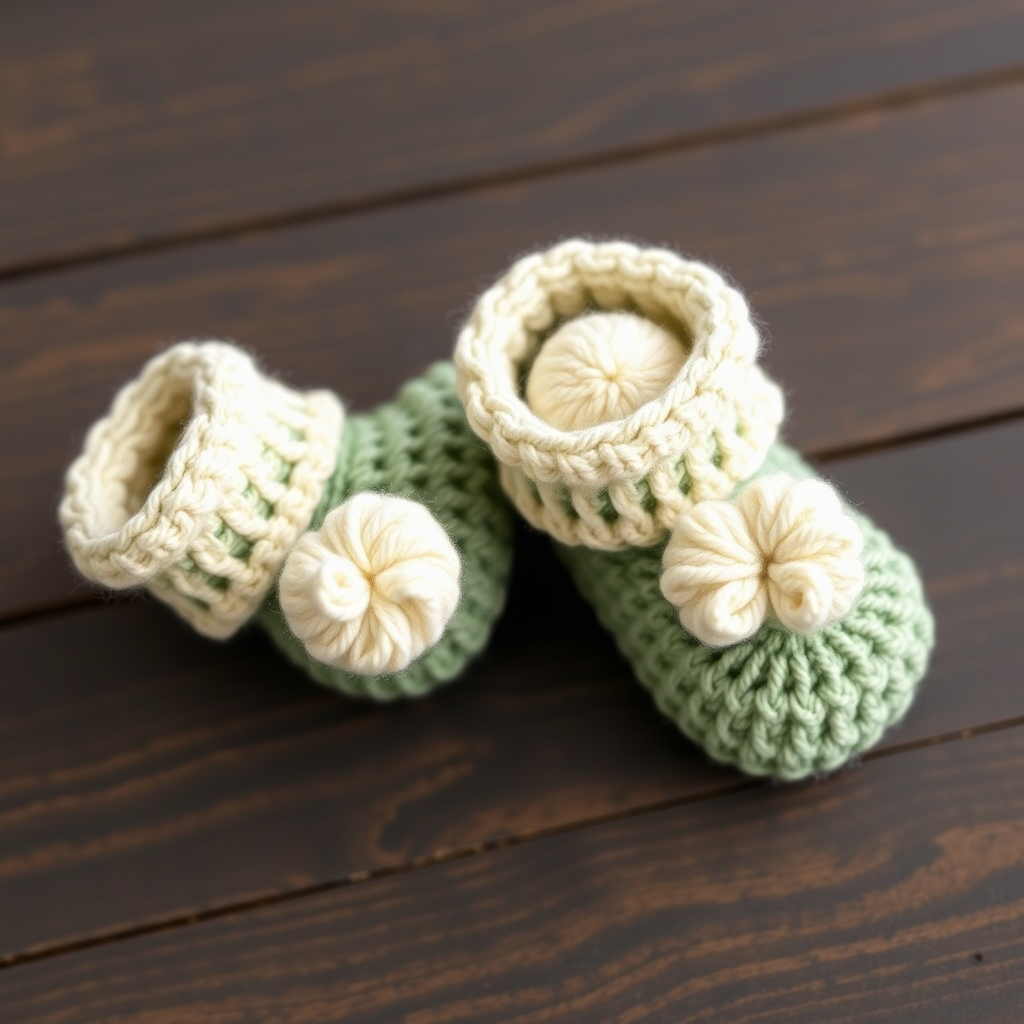
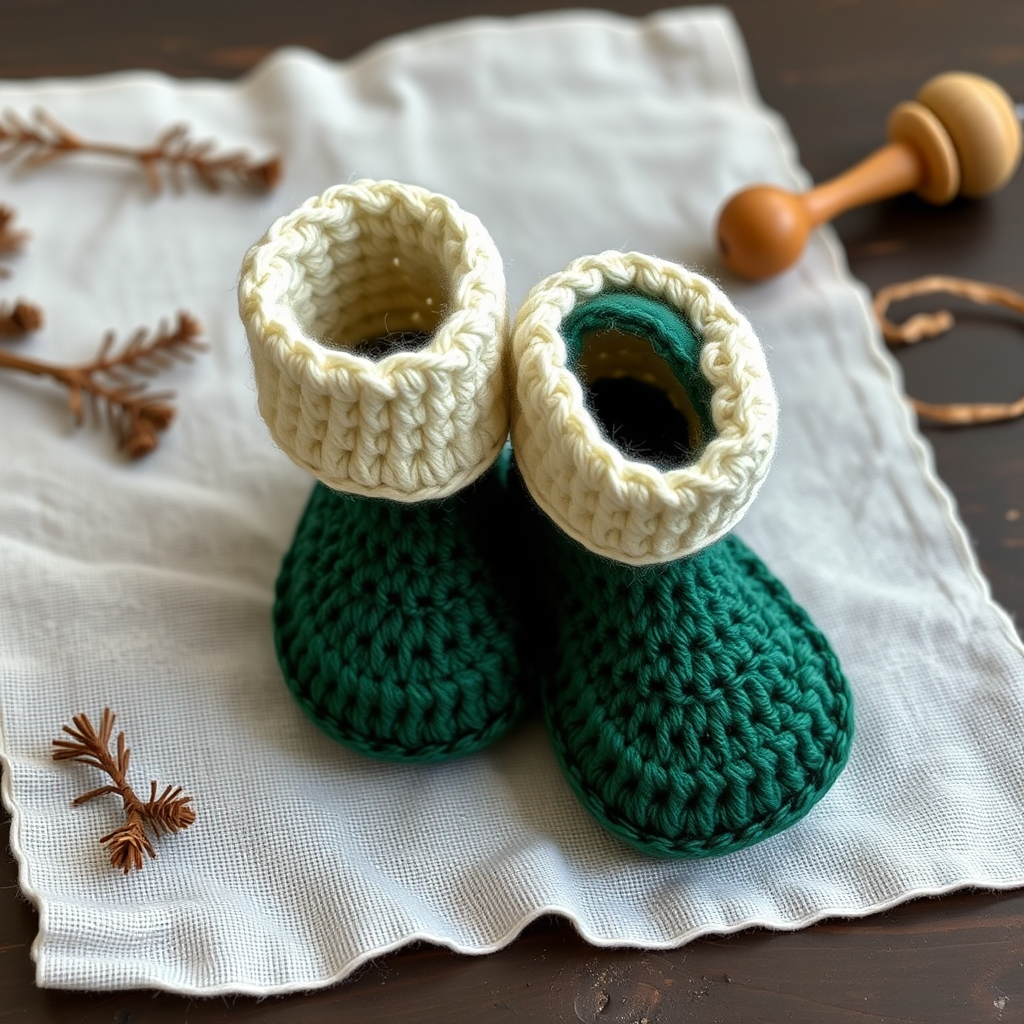
Step into a woodland wonderland with these enchanting crochet baby sockslippers! Featuring a lush moss-stitch texture and earthy forest tones, this pattern creates soft, flexible booties that keep tiny toes warm and snug. The Whispering Pines Forest Floor Sockslippers are the perfect handmade gift for a new baby, combining rustic charm with practical comfort. Whether you're a seasoned crocheter or just starting your crafting journey, this pattern is designed to guide you through every step with clarity and ease.
These adorable slipper booties feature a rich forest green main body, accented with heathery moss and cream bands, and finished with a delicate openwork cuff. The textured moss stitch mimics the soft, bumpy surface of a forest floor, making these booties as delightful to touch as they are to look at. Let's gather our materials and begin this cozy woodland adventure!
Materials Needed
Before we dive into the pattern, let's ensure you have everything you need. Here's a complete list of materials required for this project:
Yarn
- Worsted weight yarn in three shades:
- Forest Green (MC) – Main color for the body
- Mossy Heather (CC1) – Contrasting band color
- Cream (CC2) – Second contrasting band and cuff color
- Approximately 100g total of yarn (adjust based on size)
Hook and Notions
- US Size G/6 (4.0 mm) crochet hook
- Stitch markers (to track rounds)
- Yarn needle for weaving in ends
- Scissors
Gauge
16 sc x 18 rows = 4 inches (10 cm) in moss stitch pattern. Always check your gauge to ensure the correct size. Adjust hook size if needed to achieve gauge.
Sizes
This pattern includes instructions for three sizes: 0-3 months (3-6 months, 6-12 months). The stitch counts for each size are provided in parentheses throughout the pattern.
Step-by-Step Instructions
This pattern is worked in continuous rounds unless otherwise noted. Always use a stitch marker to track your rounds. Let's begin!
Part 1: The Sole (Make 2 – one for each foot)
With Forest Green (MC), chain 7 (9, 11).
Round 1: Work 2 single crochet (sc) in the 2nd chain from the hook. Sc in the next 4 (6, 8) chains. Work 3 sc in the last chain. Now, working on the opposite side of the foundation chain, sc in the next 4 (6, 8) chains. Finally, sc in the first chain again (where you made the initial 2 sc). You should now have 14 (18, 22) stitches total.
Round 2: Work 2 sc in each of the next 2 stitches. Sc in the next 4 (6, 8) stitches. Work 2 sc in each of the next 3 stitches. Sc in the next 4 (6, 8) stitches. Work 2 sc in the last stitch. You should now have 20 (24, 28) stitches.
Round 3: *Work 2 sc in the next stitch, sc in the next stitch* – repeat this sequence 2 times. Sc in the next 4 (6, 8) stitches. *Work 2 sc in the next stitch, sc in the next stitch* – repeat this sequence 3 times. Sc in the next 4 (6, 8) stitches. Work 2 sc in the next stitch, then sc in the last stitch. You should now have 26 (30, 34) stitches.
Fasten off and weave in the ends securely. Set the soles aside – they will form the foundation of your slippers.
Part 2: The Upper Foot (Worked from the Sole Upward)
With Forest Green (MC), join the yarn with a slip stitch to the center back of the sole (the middle of the heel area).
Round 1: Working in the back loops only, single crochet (sc) in each stitch around. This creates a neat edge and helps the slipper stand up properly. You should have 26 (30, 34) stitches.
Round 2: With MC, sc in each stitch around. This is a plain round to establish the body of the slipper.
Round 3: Switch to Mossy Heather (CC1). Sc in each stitch around.
Round 4: With CC1, sc in each stitch around. This creates the first contrasting band.
Round 5: Switch back to Forest Green (MC). Sc in each stitch around.
Round 6: With MC, sc in each stitch around.
Round 7: Switch to Cream (CC2). Sc in each stitch around.
Round 8: With CC2, sc in each stitch around. This completes the second contrasting band.
Part 3: Toe Shaping
Now we'll shape the toe of the slipper. This section involves decreases (sc2tog) to create a rounded, snug fit.
Round 9: Switch to Forest Green (MC). Sc in the next 8 (10, 12) stitches. Work sc2tog (single crochet 2 together – insert hook, yarn over, pull up loop, insert hook in next stitch, yarn over, pull up loop, yarn over and pull through all 3 loops on hook). Sc in the next 6 (8, 10) stitches. Work sc2tog. Sc in the next 8 (10, 12) stitches. You should now have 24 (28, 32) stitches.
Round 10: Sc in the next 7 (9, 11) stitches. Work sc2tog. Sc in the next 6 (8, 10) stitches. Work sc2tog. Sc in the next 7 (9, 11) stitches. You should now have 22 (26, 30) stitches.
Round 11: Sc in the next 6 (8, 10) stitches. Work sc2tog. Sc in the next 6 (8, 10) stitches. Work sc2tog. Sc in the next 6 (8, 10) stitches. You should now have 20 (24, 28) stitches.
Round 12: Sc in the next 5 (7, 9) stitches. Work sc2tog. Sc in the next 6 (8, 10) stitches. Work sc2tog. Sc in the next 5 (7, 9) stitches. You should now have 18 (22, 26) stitches.
Round 13: Sc in the next 4 (6, 8) stitches. Work sc2tog. Sc in the next 6 (8, 10) stitches. Work sc2tog. Sc in the next 4 (6, 8) stitches. You should now have 16 (20, 24) stitches.
For sizes 3-6 months and 6-12 months only: Repeat Round 13 until you have 16 (18) stitches remaining. This ensures the toe is properly shaped for larger sizes.
For all sizes: Fasten off, leaving a long tail (about 12 inches). Thread the tail through a yarn needle and weave it through the front loops of the remaining stitches. Pull tight to close the toe opening, then secure the yarn with a few small stitches. Weave in the end.
Part 4: The Cuff (Worked Around the Opening)
With Cream (CC2), join the yarn with a slip stitch at the back of the ankle opening (the center back where you started the upper foot).
Round 1: Chain 1 (this does not count as a stitch). Single crochet (sc) evenly around the opening. You should have approximately 24 (28, 32) stitches. Join with a slip stitch to the first sc.
Round 2: Switch to Forest Green (MC). *Sc in the next stitch, chain 1, skip the next stitch* – repeat this sequence around the entire opening. Join with a slip stitch to the first sc. This creates the delicate openwork pattern.
Round 3: Chain 1. Sc in each sc and in each chain-1 space around. Join with a slip stitch to the first sc. This fills in the openwork and creates a sturdy cuff.
Round 4: Switch to Mossy Heather (CC1). Sc in each stitch around. Join with a slip stitch. Fasten off and weave in all ends.
Part 5: Finishing Touches
Weave in all remaining ends using your yarn needle. Ensure all tails are securely hidden inside the slipper.
Optional embellishment: For extra woodland charm, you can add a small leather or felt leaf appliqué to the side of each slipper. Simply cut a leaf shape from felt or leather and sew it securely to the side of the slipper using matching thread.
Blocking: Gently block the slippers to shape. To do this, lightly mist them with water and shape them with your hands. Allow them to dry completely before gifting or using.
Tips for Perfect Results
- Stitch markers are essential – Since this pattern is worked in continuous rounds, it's easy to lose your place. Use a stitch marker at the beginning of each round and move it up as you go.
- Check your gauge – The correct gauge ensures the slippers fit properly. If your slippers are coming out too small, try a larger hook. If they're too big, use a smaller hook.
- Keep tension consistent – Try to maintain an even tension throughout your work. This will help the moss stitch texture look uniform and beautiful.
- Weave ends as you go – To save time at the end, weave in ends as you complete each section rather than waiting until the very end.
These Whispering Pines Forest Floor Baby Sockslippers make a wonderful gift for baby showers, newborn arrivals, or as a special handmade keepsake. The earthy color palette and textured stitch pattern create a unique, nature-inspired look that parents will treasure. The soft, flexible construction ensures baby's toes stay warm and comfortable, whether at home or on the go.
We hope you enjoy creating these charming woodland booties! The combination of the moss stitch texture, contrasting bands, and delicate cuff creates a truly special finished piece. Happy crocheting, and may your crafting journey be filled with cozy, handmade warmth!