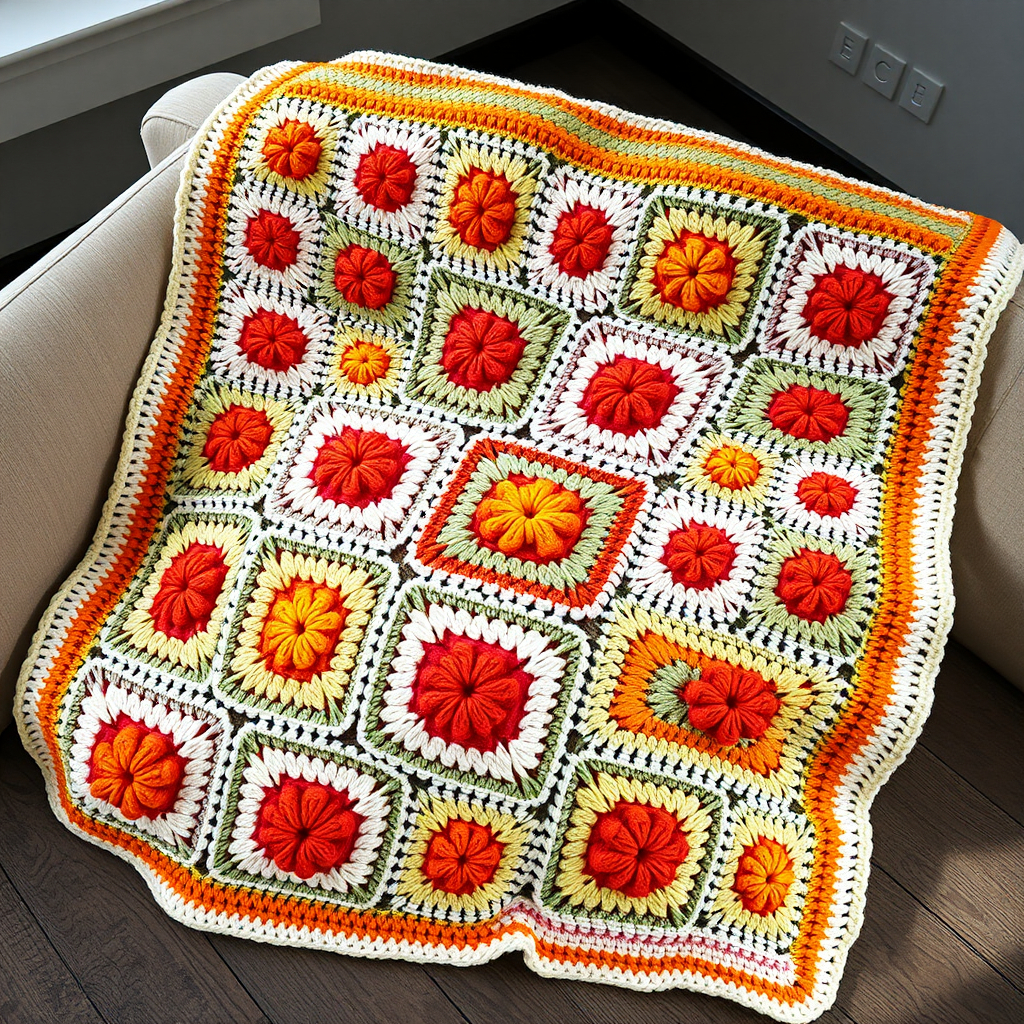
Whispering Pines Textured Throw Free Pattern – A Crocheted Forest Floor Blanket with Pinecone Stitches

Whispering Pines Textured Throw Free Pattern – A Crocheted Forest Floor Blanket with Pinecone Stitches
Wrap yourself in the quiet serenity of a pine forest with this deeply textured crochet throw, featuring a unique pinecone stitch that mimics the forest floor. The earthy palette of moss, bark, and stone creates a cozy, grounding addition to any room. This free pattern is perfect for intermediate beginners who want to learn a new stitch while creating a stunning, tactile heirloom piece. The staggered grid of raised puffs is not only visually captivating but also incredibly satisfying to create, and the finished blanket is dense, warm, and full of natural charm.
Materials Needed
Before you begin, gather the following supplies. Using the exact yarn weight and hook size will ensure your gauge matches and your blanket turns out the perfect size.
- Yarn: Worsted weight yarn in 3 colors (approximately 1800 yards total):
- Color A (Moss Green): 600 yards
- Color B (Bark Brown): 600 yards
- Color C (Stone Gray): 600 yards
- Crochet Hook: US Size I/9 (5.5 mm) crochet hook
- Other: Yarn needle for weaving in ends, scissors
Gauge
14 stitches and 10 rows = 4 inches in single crochet. Always check your gauge before starting to ensure your finished blanket is the correct size. If your gauge is off, adjust your hook size accordingly.
Step-by-Step Instructions
Pattern Notes
- The pattern is worked in rows.
- The pinecone stitch is a combination of front post double crochet and puff stitches.
- Ch 1 at the beginning of a row does not count as a stitch.
- Work all stitches loosely to make the puff stitches easier to pull through.
Special Stitch – Pinecone Stitch
This is the signature stitch of the blanket. It creates a raised, textured puff that resembles a pinecone. Practice this on a small swatch first to get comfortable with the motion.
- Yarn over (YO).
- Insert hook around the post of the next stitch from front to back (this is a front post stitch).
- Yarn over and pull up a loop (you will have 3 loops on your hook).
- Yarn over and pull through two loops (this completes the first half double crochet). You will have 2 loops remaining on your hook.
- Repeat steps 1-4 three more times in the same post. You will now have 5 loops on your hook.
- Yarn over and pull through all 5 loops on the hook.
- Chain 1 to close and secure the puff stitch.
Tip: The ch 1 after the puff is essential—it keeps the puff from puckering and creates the space needed for the next row.
Foundation
With Color A (Moss Green), chain 121 loosely.
Row 1
Single crochet (sc) in the 2nd chain from the hook and in each chain across. Turn. (120 sc)
Row 2
Ch 1, sc in the first stitch. *Skip the next stitch, work a Pinecone Stitch in the next stitch, skip the next stitch, sc in the next stitch. Repeat from * across the row. Turn. (You will have 30 pinecones and 30 sc).
Detailed breakdown: After your first sc, you will skip one stitch, then work the pinecone stitch into the next stitch. Then skip one stitch and sc into the following stitch. This creates a beautiful staggered pattern.
Row 3
Ch 1, sc in each stitch across. Turn. (120 sc)
Note: When working into the pinecone stitch, insert your hook under the top two loops of the ch-1 space to keep the stitch count consistent.
Row 4
Ch 1, sc in the first stitch. *Work a Pinecone Stitch in the next stitch, skip the next stitch, sc in the next stitch. Repeat from * across, ending with a sc in the last stitch. Turn.
Important: This row offsets the pinecones from Row 2, creating the staggered grid effect. The first and last stitches of the row are always sc to keep the edges neat.
Rows 5-6
Repeat Row 3 (sc in each stitch across). At the end of Row 6, change to Color B (Bark Brown).
How to change colors: Work the last sc of Row 6 until you have two loops left on your hook. Yarn over with Color B and pull through both loops to complete the stitch. Cut Color A, leaving a 6-inch tail to weave in later.
Rows 7-10
Repeat Rows 2-6 using Color B. This means:
- Row 7: Repeat Row 2 (pinecone row)
- Row 8: Repeat Row 3 (sc row)
- Row 9: Repeat Row 4 (offset pinecone row)
- Row 10: Repeat Row 3 (sc row), changing to Color C at the end.
Rows 11-14
Repeat Rows 2-6 using Color C (Stone Gray), following the same sequence as above. Change to Color A at the end of Row 14.
Rows 15-18
Repeat Rows 2-6 using Color A. Change to Color B at the end of Row 18.
Continue the Pattern
Continue repeating the 12-row color sequence (A, B, C) in this manner until the blanket measures approximately 60 inches from the foundation chain. Always end with a Row 6 repeat (a sc row) to ensure the color blocks are complete and even.
Pro tip: Keep a row counter or a simple tally sheet to track your rows. It’s easy to lose count when you’re in the rhythm of the pattern.
Final Row & Finishing
Once your blanket reaches the desired length, work one final row: Ch 1, sc in each stitch across. Fasten off, leaving a 12-inch tail.
Using your yarn needle, weave in all loose ends carefully. To make the edges extra neat and polished, you can add a simple border of single crochet around the entire blanket using Color A. Work 1 sc in each stitch along the top and bottom, and 2 sc in each row-end along the sides. Join with a slip stitch and fasten off.
Blocking (Optional but Recommended)
To enhance the texture and even out the stitches, gently block your finished blanket. Lay it flat on a clean surface, mist it lightly with water, and shape it to the correct dimensions. Allow it to dry completely before using. This will help the pinecone stitches stand out beautifully.
Enjoy your handcrafted Whispering Pines Throw! This textured blanket is not just a cozy accessory—it’s a piece of art that brings the calm of the forest into your home. Perfect for draping over a favorite armchair or gifting to a loved one who appreciates handmade warmth.