Whispering Meadow Throw Free Pattern

Introducing the Whispering Meadow Throw: A Journey into Textured Crochet
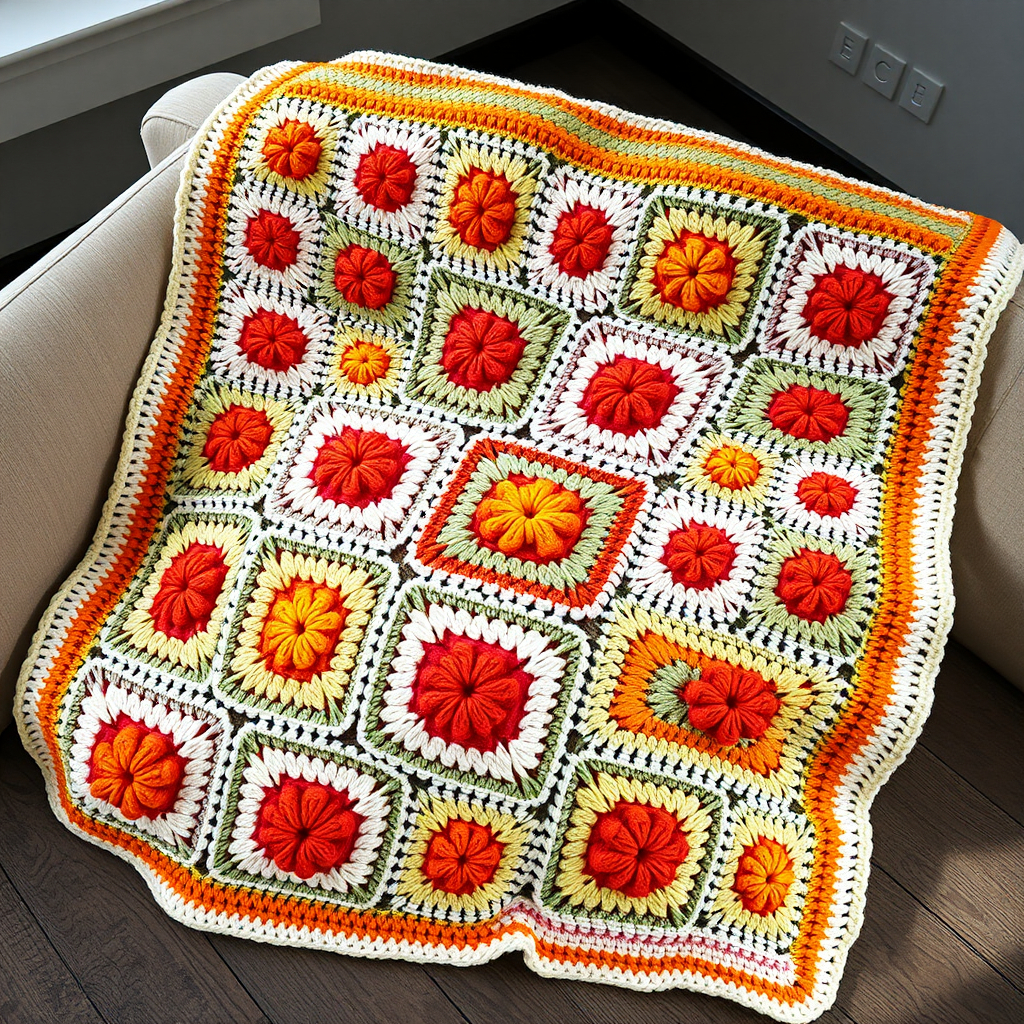
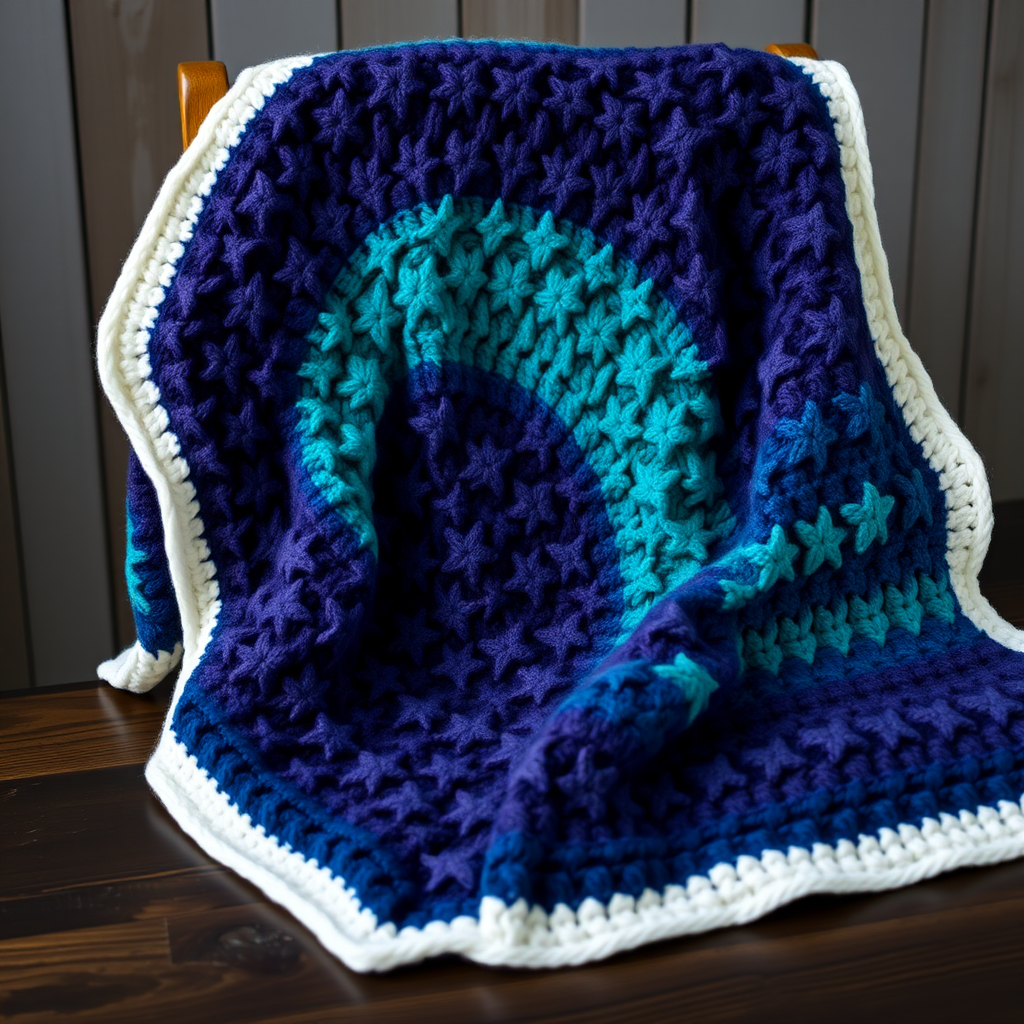
Imagine wrapping yourself in the serene beauty of a wildflower meadow, where each stitch captures the gentle rustle of grass and the soft bloom of petals. The Whispering Meadow Throw is more than just a blanket—it's a tactile experience. This textured crochet pattern combines the plush, dimensional puff stitch with delicate open mesh, creating a fabric that is both airy and wonderfully warm. Whether you're an experienced crocheter looking for a meditative project or a confident beginner ready for a beautiful challenge, this throw offers a rewarding journey. The result is a modern, organic heirloom piece that brings a touch of nature's calm into any room.
This pattern is thoughtfully designed as a modular project, meaning you'll create 30 individual 8-inch square motifs and then join them together. This approach makes the project highly portable and manageable—perfect for crocheting on the go or in short sessions. The final blanket measures approximately 50 x 60 inches, making it an ideal lap throw or a cozy addition to the foot of your bed. Let's gather our materials and begin this delightful crafting adventure.
Materials Needed: Your Palette for a Meadow
Before you begin, it's essential to have all your supplies ready. This pattern calls for a specific set of materials to achieve the perfect drape and stitch definition. Here is your complete shopping list:
Yarn
- Weight: Worsted weight yarn (Category 4)
- Colors & Approximate Yardage: You will need four colors to create the meadow effect. The total yardage is approximately 1800 yards, but here is a breakdown to help you purchase:
- Color A (Meadow Green): Approx. 600 yds (used for Rounds 1, 8, assembly, and border)
- Color B (Buttercup Yellow): Approx. 400 yds (used for Round 5)
- Color C (Dusty Rose): Approx. 400 yds (used for Round 6)
- Color D (Sky Blue): Approx. 400 yds (used for Round 7)
- Pro Tip: Choose a soft, durable acrylic or a wool-blend for the best stitch definition and easy care.
Hook and Notions
- Crochet Hook: 5.5 mm (I/9) hook. Ensure you have a comfortable grip, as you'll be working many stitches.
- Tapestry Needle: For weaving in ends and whip-stitching the motifs together.
- Scissors: A sharp pair for cutting yarn.
- Stitch Markers (optional): Helpful for keeping track of rounds, especially for beginners.
Gauge Information
To ensure your throw comes out the correct size, it's crucial to check your gauge. The pattern specifies: 14 double crochets (dc) and 8 rows = 4 inches (10 cm). Each finished motif should measure 8 inches (20 cm) square. If your gauge is off, adjust your hook size accordingly—use a larger hook if your swatch is too small, and a smaller hook if it's too large.
Step-by-Step Instructions: Crafting Your Meadow Motifs
Now, let's dive into the heart of the project. We will create the motifs in the round, building them layer by layer. Don't be intimidated by the multiple rounds—the pattern is repetitive and rhythmic once you get going. We'll make 30 motifs total, but you can make a few first to get the hang of it before committing to the full set.
Understanding the Motif Structure
Each motif is worked in continuous rounds, starting from a magic ring. The corners are formed by working (3 dc, ch 2, 3 dc) into the same space, which creates a perfect 90-degree angle. The sides are built by working 3 dc into each ch-1 space from the previous round. This creates a solid, textured square with open, lacy corners.
Motif Pattern (Make 30)
Round 1: With Color A (Meadow Green), make a magic ring. Chain 3 (this counts as your first double crochet). Work 2 double crochets (dc) into the ring. Chain 2. *Work 3 dc into the ring, chain 2.* Repeat from * to * two more times. You will now have 4 groups of 3 dc and 4 chain-2 spaces. Join with a slip stitch (sl st) to the top of the initial chain-3. (Total: 12 dc, 4 ch-2 spaces)
Round 2: Slip stitch into the next 2 dc stitches to move your yarn to the corner chain-2 space. Chain 3 (counts as dc). Work 2 dc in the same corner space. Chain 1. *In the next corner space, work (3 dc, ch 2, 3 dc). Chain 1.* Repeat from * to * around, ending with 3 dc in the very first corner space you started in, then chain 2. Join with a sl st to the top of the initial chain-3. (Total: 24 dc, 4 ch-2 corners, 4 ch-1 side spaces)
Round 3: Slip stitch into the next 2 dc to reach the corner space. Chain 3, 2 dc in the same corner space. Chain 1. *Work 3 dc in the next ch-1 side space. Chain 1. In the next corner space, work (3 dc, ch 2, 3 dc). Chain 1.* Repeat from * to * around, ending with 3 dc in the first corner space, chain 2. Join with a sl st. (Total: 36 dc, 4 corners, 8 side spaces)
Round 4: Repeat the pattern from Round 3. Slip stitch to the corner, chain 3, 2 dc in corner. Chain 1. *Work 3 dc in each of the next two ch-1 side spaces, with a ch-1 between them. Then work (3 dc, ch 2, 3 dc) in the corner. Chain 1.* Repeat around. (Total: 48 dc, 4 corners, 12 side spaces)
Round 5: This is where the color magic begins. Fasten off Color A and join Color B (Buttercup Yellow) in any corner space. Repeat the Round 3 pattern: Chain 3, 2 dc in corner, ch 1. *Work 3 dc in each of the next three ch-1 side spaces, with ch-1 between them. Then work (3 dc, ch 2, 3 dc) in the corner. Chain 1.* Repeat around. (Total: 60 dc, 4 corners, 16 side spaces)
Round 6: Fasten off Color B and join Color C (Dusty Rose). Repeat the Round 3 pattern, working 3 dc in each of the four side spaces. (Total: 72 dc, 4 corners, 20 side spaces)
Round 7: Fasten off Color C and join Color D (Sky Blue). Repeat the Round 3 pattern, working 3 dc in each of the five side spaces. (Total: 84 dc, 4 corners, 24 side spaces)
Round 8: Fasten off Color D and join Color A (Meadow Green) again. Repeat the Round 3 pattern, working 3 dc in each of the six side spaces. (Total: 96 dc, 4 corners, 28 side spaces)
Fasten off and weave in all ends securely with your tapestry needle. Repeat this entire process to create 30 beautiful motifs.
Assembly: Joining Your Meadow
Once all 30 motifs are complete, it's time to assemble the throw. This is where the blanket truly comes together.
Step 1: Layout. Arrange your motifs on a flat surface in a grid of 5 rows of 6 motifs each. Play with the color placement! The pattern suggests a random but balanced arrangement, so distribute the colors evenly so no two same-colored motifs are touching if possible.
Step 2: Whip Stitch Joining. With Color A (Meadow Green) and your tapestry needle, thread a long piece of yarn. Place two motifs with right sides together. Using a whip stitch, sew them together through the back loops only. This creates a beautiful, flat seam on the front. Match the corners and the side spaces carefully. Continue joining motifs horizontally to form rows, then join the rows vertically to form the complete rectangle.
Finishing Border: The Scalloped Edge
The border adds a polished, professional finish to your throw.
Round 1: With the right side facing you, attach Color A (Meadow Green) to any corner of the assembled blanket. Chain 3 (counts as dc). Work 2 dc in the same corner space. *Work 1 dc in each dc across the top edge. When you reach the next corner, work (3 dc, ch 2, 3 dc) in the corner space.* Repeat from * to * around the entire blanket, working 3 dc in each corner. Join with a sl st to the top of the initial chain-3. Fasten off and weave in all ends.
Congratulations! You have completed your very own Whispering Meadow Throw. Lay it out, admire the texture, and enjoy the cozy, handcrafted warmth you've created. This project is a testament to your skill and patience, and it's sure to be a cherished piece for years to come.