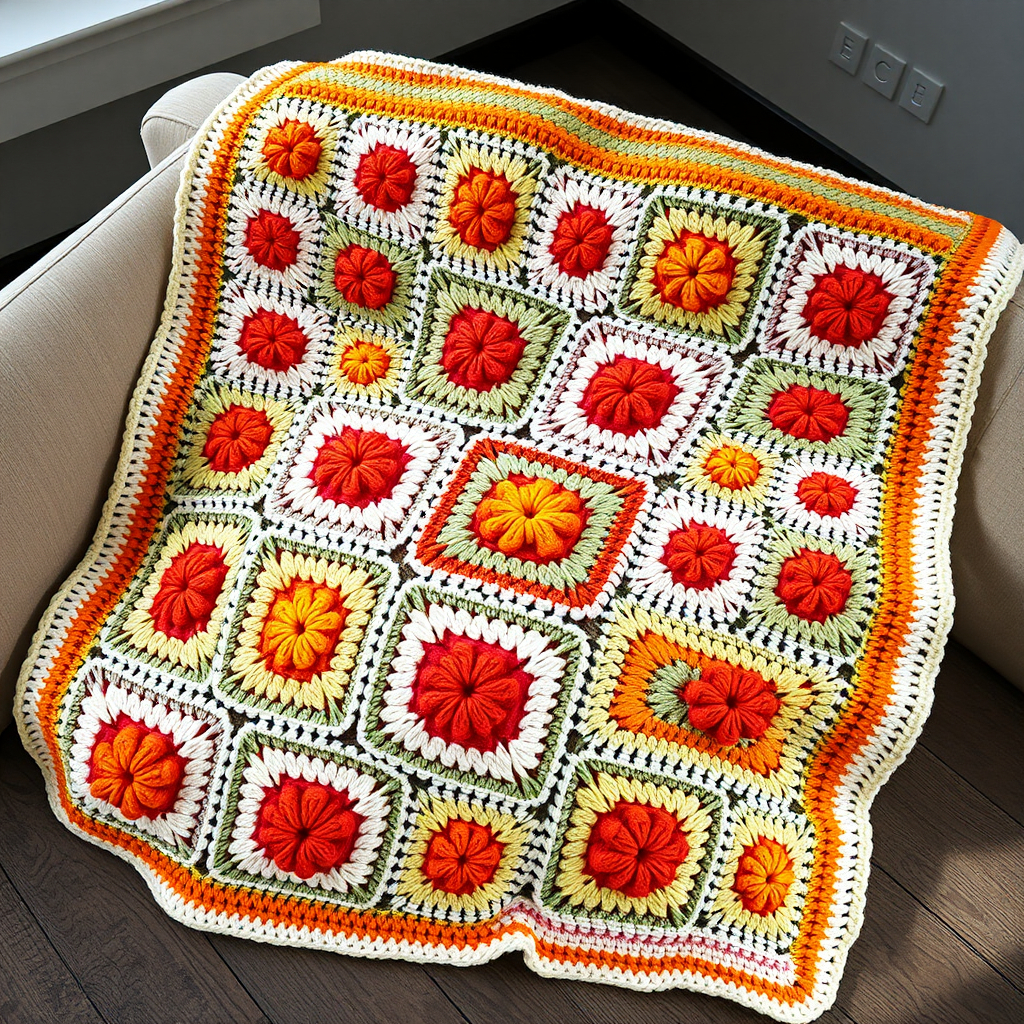
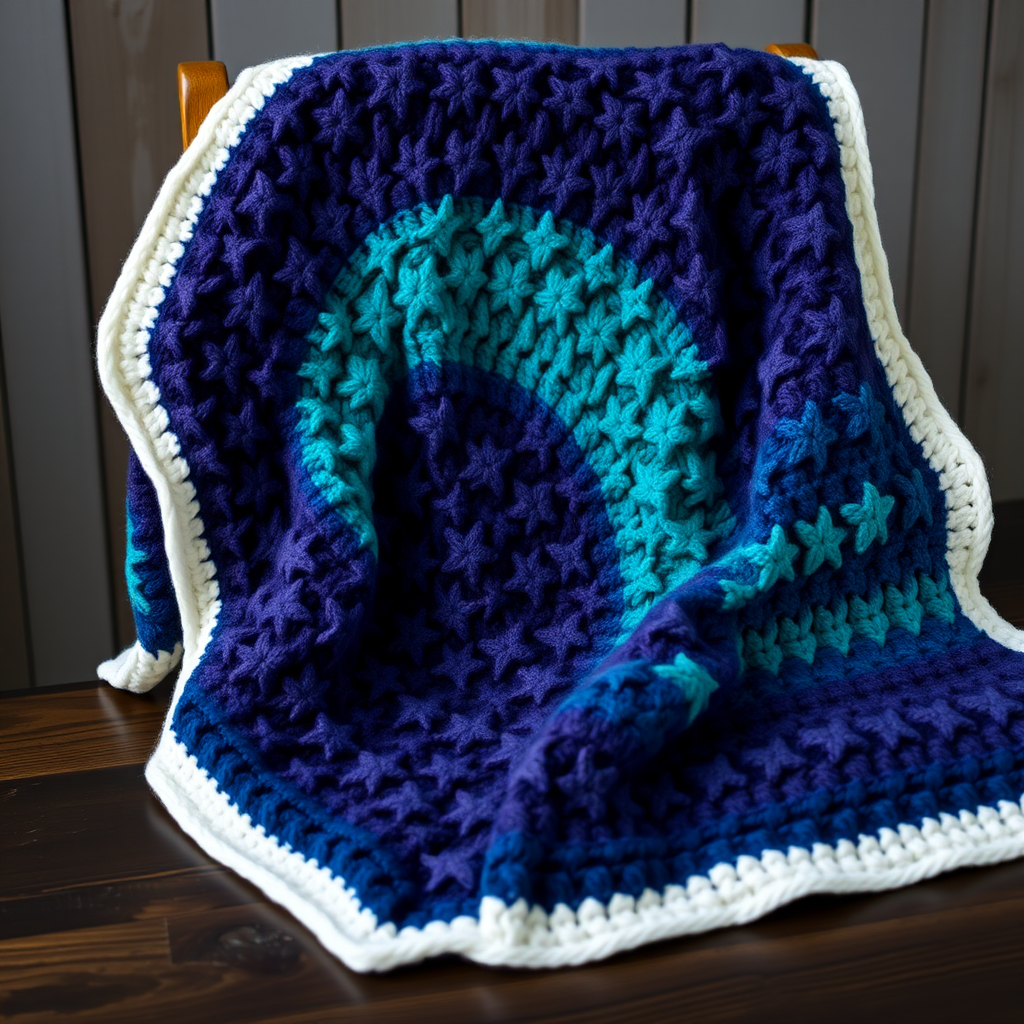
Emerald Isle Jewel Cube Crochet Blanket Free Pattern – Textured Granny Square Throw

Tip: If you're not comfortable with a magic ring, you can ch 4 and join with a sl st to form a ring, then work the stitches into the center.
Round 2: Sl st into the next 2 dc and into the ch-2 corner space. Ch 3 (counts as dc), 2 dc, ch 2, 3 dc in same corner space. *Ch 1, skip 3 dc, work [3 dc, ch 2, 3 dc] in next corner space.* Repeat from * around, ending with ch 1. Join with sl st to top of ch-3. (24 dc, 4 corners)
This round establishes the corners of your square. The ch-1 spaces between the corner clusters will be used in the next rounds.
Round 3: Sl st into the next 2 dc and into the corner space. Ch 3, 2 dc, ch 2, 3 dc in same corner. *Ch 1, 3 dc in next ch-1 space, ch 1, [3 dc, ch 2, 3 dc] in next corner.* Repeat from * around, ending with ch 1. Join with sl st. (36 dc)
Now you're adding a cluster of 3 dc along each side of the square, between the corners.
Round 4: Repeat Round 3, but work 3 dc in each ch-1 space along the sides. (48 dc)
Your square should now measure approximately 6 inches. If it's smaller, you can add another round; if larger, check your gauge and consider using a smaller hook.
Fasten off. Weave in the ends with your tapestry needle.
Raised Diamond Motif (Worked on Top of Each Square)
This is the signature element of the Emerald Isle blanket. With color B (contrasting, e.g., sapphire on an emerald square), attach yarn to the center of the square (the magic ring area). This motif is worked in rows, not rounds, to create the raised, faceted effect.
Row 1: Ch 4 (counts as tr), work 3 tr in the same center space, ch 2, 3 tr in same space, ch 1, turn. (This forms a small triangle)
The ch-2 space in the middle will become the center point of your diamond.
Row 2: Sl st into the first tr, ch 3, work 2 tr in the same space, ch 2, 3 tr in the ch-2 space, ch 2, 3 tr in the last tr, ch 1, turn. (Now you have a diamond shape)
You're building out from the center, creating the top and bottom points of the diamond.
Row 3: Sl st to the ch-2 space, ch 3, 2 tr, ch 2, 3 tr in same space, ch 1, skip to next ch-2 space, work [3 tr, ch 2, 3 tr] in that space, ch 1, turn.
This row adds the side points of the diamond, making it wider.
Row 4: Sl st to the first ch-2 space, ch 3, 2 tr, ch 2, 3 tr in same space, ch 1, skip to next ch-2 space, work [3 tr, ch 2, 3 tr] in that space, ch 1, skip to last ch-2 space, work [3 tr, ch 2, 3 tr] in that space. Fasten off.
This final row completes the diamond shape, creating a beautiful, raised facet that mimics a jewel on the square.
Weave in all ends. Repeat this motif on all 16 squares, using a contrasting color for each. For example, use sapphire on emerald squares, amethyst on sapphire squares, and emerald on amethyst squares.
Assembly
Once all your squares are complete and blocked, it's time to assemble them into the final blanket.
Arrange your 16 squares in a 4x4 grid, alternating colors to create a pleasing balance. Play with the layout until you're happy with the color distribution. With a tapestry needle and matching yarn, whip stitch the squares together through the back loops only, creating a flat seam. This technique creates an invisible seam on the front and a neat, flat join on the back.
Tip: To ensure your corners align perfectly, use stitch markers to pin the corners together before sewing.
Border
The border adds a polished, finished look to your blanket and helps to stabilize the edges.
Round 1: With cream yarn, attach to any corner of the blanket. Ch 3, work 2 dc in same corner, *ch 1, skip next dc, 3 dc in next space* repeat along the side, at each corner work [3 dc, ch 2, 3 dc]. Continue around, join with sl st.
This round creates a scalloped edge effect, with clusters of 3 dc separated by ch-1 spaces.
Round 2: Ch 3, work 2 dc in same corner, *ch 1, 3 dc in next ch-1 space* repeat, at corners work [3 dc, ch 2, 3 dc]