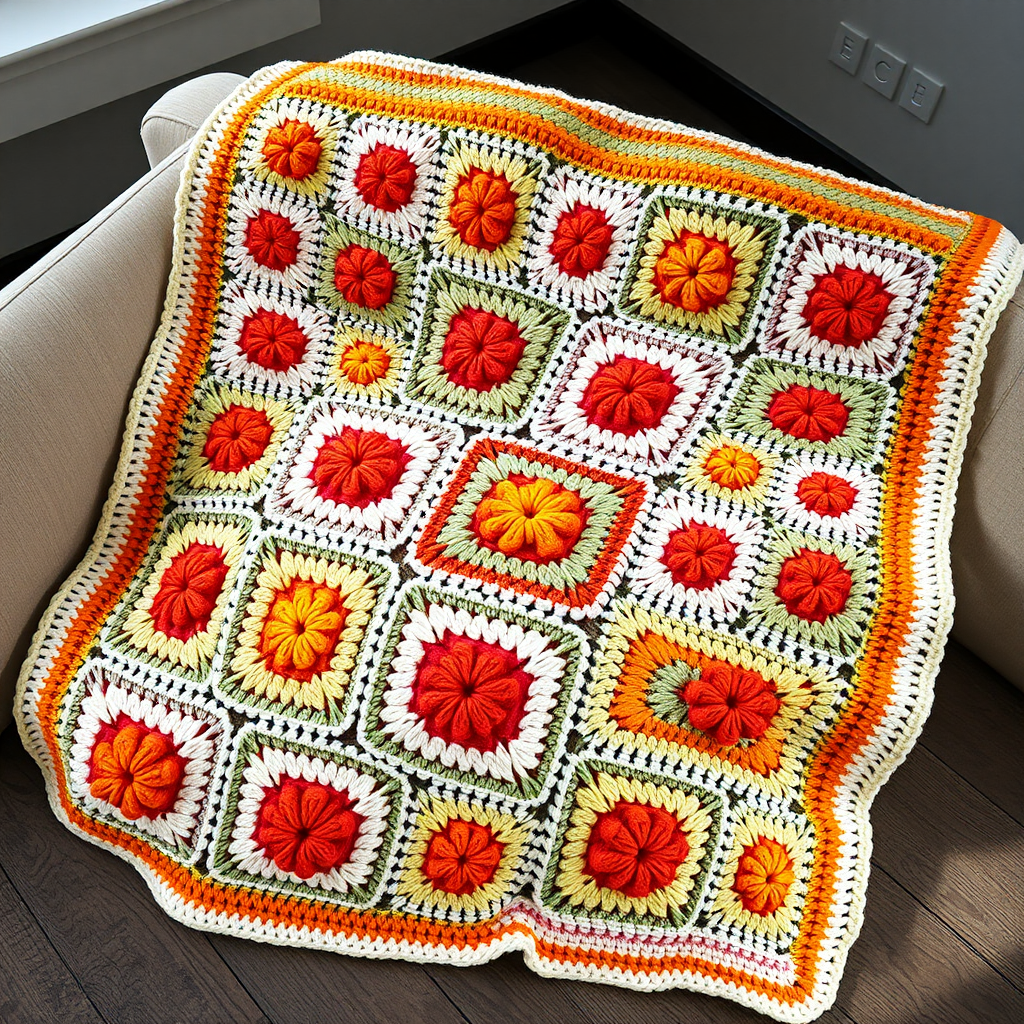
Sunday Morning Granny Stripe Free Crochet Blanket Pattern

Introduction
There is nothing quite like wrapping yourself in a blanket you made with your own two hands, and the Sunday Morning Granny Stripe is the perfect first big project to get you there. This cozy hygge throw is worked in long vertical granny stripes of eight warm, muted shades, so every couple of rows brings a fresh color to keep you motivated. It is made flat in one large rectangle, which means no shaping, no sewing pieces together, and no complicated counting. The finished blanket looks soft and nubby, with gentle texture and a relaxed drape that feels like a favorite sweater for your sofa. If you have never picked up a hook before, you are in exactly the right place.
Materials Needed
- Yarn: Worsted weight (category 4) acrylic or wool-blend yarn, approximately 1,800–2,000 yards total, divided among 8 shades of roughly 225–250 yards each. Suggested palette: oatmeal (A), soft cream (B), dusty sage (C), muted mustard (D), warm terracotta (E), faded denim blue (F), mushroom taupe (G), and deep charcoal (H).
- Crochet hook: Size H/8 (5.0 mm), or whatever size you need to match the gauge below.
- Stitch markers: At least 4, to mark corners and color changes.
- Tapestry needle: A large blunt needle with an eye big enough for worsted yarn, for weaving in ends.
- Scissors: Sharp craft scissors for cutting yarn.
- Measuring tape: For checking gauge and finished size.
- Finished size: Approximately 48 inches wide x 60 inches long (122 x 152 cm), a generous lap-to-throw size.
Abbreviations and Beginner Glossary
- ch – chain. Make a loop of yarn over your hook and pull it through the loop already on your hook. This creates a small "V" shape. Chains form your foundation and the little gaps in the pattern.
- dc – double crochet. Yarn over (wrap yarn around hook), insert hook into the stitch, yarn over, pull up a loop (3 loops on hook), yarn over, pull through 2 loops (2 loops left), yarn over, pull through last 2 loops. One tall stitch made.
- sc – single crochet. Insert hook into stitch, yarn over, pull up a loop (2 loops on hook), yarn over, pull through both loops. One short, firm stitch.
- sl st – slip stitch. Insert hook into stitch, yarn over, pull the loop straight through the loop on your hook. Used to join rounds and move without adding height.
- sp – space. The little gap made by a chain in the row below. You work your clusters into these spaces.
- st / sts – stitch / stitches. One completed loop or cluster in your fabric.
- RS – right side. The "front" or prettier face of your blanket.
- turn – flip your work over so you can crochet back across the row you just finished.
- fasten off – cut the yarn a few inches from your work, then pull the tail all the way through the last loop to lock it.
- 3-dc cluster – three double crochet stitches worked into the same space, making one puffy group.
- yarn over – wrap the working yarn over your hook from back to front.
Gauge
Gauge: 3 dc clusters (3 dc worked into one space) and 2 rows = 2 inches (5 cm) in the granny stripe pattern; 4 dc = 1 inch (2.5 cm).
Gauge matters because it is how we make sure your blanket ends up the size promised. If your stitches are looser than ours, your blanket will grow bigger and use more yarn; if tighter, it will come out smaller. To make a gauge swatch, chain about 20, work 4 rows of the granny stripe pattern (Row 2 repeated), then lay it flat and measure a 2-inch section. If you have more than 3 clusters in 2 inches, try a larger hook; if fewer, try a smaller hook. Your finished blanket does not have to be exact, but close is lovely.
Beginner Tips Before You Start
- Count your clusters at the end of every row. You should always have 40 clusters plus one dc at each end. Counting takes ten seconds and saves hours of fixing.
- Do not pull your yarn too tight. Keep a relaxed, even tension so the fabric stays soft and drapey. Tight stitches make a stiff, small blanket.
- Use stitch markers to track color changes. Place a marker at the start of each 2-row color block so you never lose your place in the sequence.
- Change color on the last pull-through of the row. When finishing the final dc of a row, pull the new color through the last two loops so the change is clean.
- Weave in ends as you go. Eight colors means many tails. Tuck each one in after its color block and you will not face a mountain at the end.
- Work in good light and take breaks. This is a relaxing project, not a race. Your hands will thank you.
Step-by-Step Instructions
Construction note: This blanket is worked flat in one large rectangle, side to side, so the granny stripes run vertically (top to bottom of the finished blanket). Each stripe is a column of 3-dc clusters worked into the chain-1 spaces of the row below. Colors change every 2 rows, cycling through all 8 shades in order and repeating.
Setup and Foundation
With Color A (oatmeal), ch 122.
Row 1 (RS): Dc in the 4th ch from hook (the skipped 3 ch count as your first dc), dc in each of the next 2 ch (first 3-dc cluster made), *ch 1, skip 1 ch, 3 dc in next ch; repeat from * across until 1 ch remains, ch 1, skip last ch, dc in final ch. Turn. (40 clusters of 3 dc, plus 1 dc at each end)
Body
Row 2: Ch 3 (counts as first dc), 2 dc in first ch-1 sp, *ch 1, 3 dc in next ch-1 sp; repeat from * across, ch 1, dc in top of turning ch. Turn. (40 clusters, plus 1 dc at each end)
Rows 3–4: Repeat Row 2 with Color A. Fasten off Color A. (40 clusters, plus 1 dc at each end)
Color sequence: Work 2 rows in each color in this order, then repeat the full sequence: A (oatmeal), B (soft cream), C (dusty sage), D (muted mustard), E (warm terracotta), F (faded denim blue), G (mushroom taupe), H (deep charcoal).
Rows 5–120: Repeat Row 2, changing color every 2 rows following the sequence above, until the blanket measures approximately 60 inches (152 cm) long, ending after a complete 2-row color block. (40 clusters, plus 1 dc at each end throughout) This gives you 15 full color cycles (8 colors x 2 rows x 15 = 120 rows). Fasten off and weave in ends.
Border
Round 1: With Color A, join yarn with a sl st in any corner. Ch 1, work sc evenly around the entire blanket: 1 sc in each dc and 1 sc in each ch-1 sp along the top and bottom edges, and 1 sc in each row-end along the side edges, working 3 sc in each corner. Join with sl st to first sc. (Even sc count around, with 3 sc in each corner)
Round 2: Ch 1, sc in each sc around, working 3 sc in each corner sc. Join with sl st to first sc. Fasten off. (Even sc count around, with 3 sc in each corner)
Assembly and Finishing
There is no seaming in this blanket because it is worked in one piece, which is one of the many reasons it is perfect for beginners. Your only assembly work is tidying the ends. Thread each yarn tail onto your tapestry needle and weave it back and forth through the back of several stitches in one direction, then turn and weave through a few more in the other direction. This locks it in place so it will not work loose in the wash. Trim the tail close to the fabric.
Next, block your blanket. Lay it flat on a clean sheet or blocking mats, pat it gently to your finished measurements of 48 x 60 inches, and pin the edges straight with rust-proof pins if you have them. Lightly mist with water (or steam gently if your yarn allows) and let it dry completely, which usually takes a day. Blocking relaxes the stitches, evens out your color changes, and gives the blanket its soft, professional drape.
Pro Tips and Variations
- Change the palette: Swap the eight shades for a beachy palette of blues and sands, or a bold rainbow. Just keep the same 2-row rhythm so the stripes stay even.
- Adjust the size: For a baby blanket, chain 62 and work until it is about 36 inches long. For a bed-size throw, chain 182 and work until it is about 80 inches long. Always keep your cluster count consistent.
- Try a different yarn: A soft cotton or cotton-blend gives a cooler, drapier blanket for summer, while a chunky weight yarn on a larger hook makes a quick, squishy version. Always swatch first to check gauge.
- Add a wider border: Repeat Border Round 2 two or three more times for a thicker, more finished frame, working 3 sc in each corner every round.