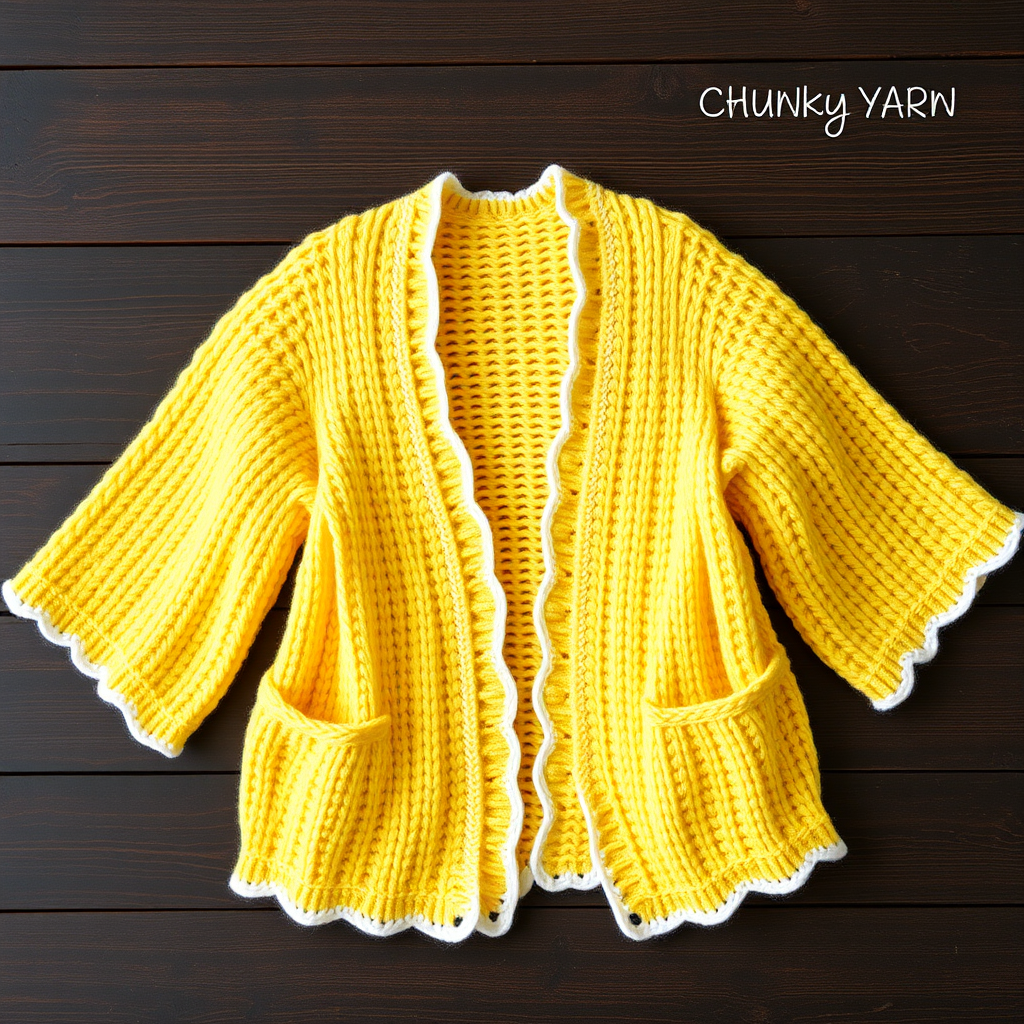
Whispering Pines Oversized Granny Square Cardigan Free Pattern

Introducing the Whispering Pines Oversized Granny Square Cardigan
Wrap yourself in the cozy embrace of the Whispering Pines Oversized Granny Square Cardigan—a modern twist on a classic crochet motif. This pattern combines the nostalgic charm of traditional granny squares with a contemporary, fashion-forward silhouette. The earthy palette of cream, sage green, dusty blue, terracotta, and mustard yellow creates a garment that feels both grounded and stylish, perfect for crisp autumn days or layering over your favorite boho outfits.
This free pattern is designed with the beginner in mind, breaking down the construction into simple, repeatable steps. By the end, you'll have a stunning, handmade cardigan that showcases your crochet skills and becomes a staple in your wardrobe. Let's dive into this rewarding project!
Materials Needed
Before you begin, gather the following materials. Having everything ready will make your crafting session smooth and enjoyable.
Yarn
- Weight: Worsted weight yarn (Category 4)
- Colors & Approximate Yardage:
- Color A (Cream): 500-600 yards
- Color B (Sage Green): 400-500 yards
- Color C (Dusty Blue): 400-500 yards
- Color D (Terracotta): 300-400 yards
- Color E (Mustard Yellow): 200-300 yards
Hook & Notions
- Crochet Hook: 5.5 mm (I-9) crochet hook
- Yarn Needle: For weaving in ends and seaming
- Scissors: For cutting yarn
- Stitch Markers (optional): To help keep track of rounds
Gauge
One granny square (4 rounds) = 6 inches x 6 inches. Gauge is not critical for this project, but it will affect the final size of your cardigan. If you want a larger or smaller garment, you can adjust your hook size or add/remove squares.
Step-by-Step Instructions
This pattern is broken down into three main parts: creating the granny square motifs, assembling the panels, and finishing the cardigan. Follow each step carefully, and you'll have a beautiful cardigan in no time.
Part 1: The Granny Square Motif (Make 42 Total)
You will need to create a total of 42 full granny squares for this cardigan. Here's the breakdown:
- Back Panel: 21 squares
- Front Panels: 10 squares each (20 total) + 2 half squares
- Sleeves: 6 squares each (12 total)
Pro Tip: To achieve the beautiful, random patchwork look, distribute the colors (B, C, D, E) evenly across all your squares. For example, make 8-9 squares with Color B as the second round, 8-9 with Color C, etc.
Round 1 (Color A - Cream)
- Make a magic ring.
- Chain 3 (counts as your first double crochet).
- Work 2 double crochets (dc) into the ring.
- Chain 2.
- Work (3 dc, ch 2) three more times into the ring.
- Join with a slip stitch (sl st) to the top of the beginning chain-3.
- Fasten off. You should have 12 dc and 4 ch-2 spaces (corners).
Round 2 (Color B - Sage Green)
- Join Color B in any ch-2 corner space.
- Chain 3 (counts as first dc).
- Work (2 dc, ch 2, 3 dc) in the same corner space. This creates your first corner.
- *Chain 1, then work (3 dc, ch 2, 3 dc) in the next ch-2 corner space.*
- Repeat from * to * around, but for the last corner, omit the first 3 dc (you already have the chain 3 from the start).
- Join with a sl st to the top of the beginning chain-3.
- Fasten off. You should have 24 dc, 4 corners, and 4 ch-1 spaces.
Round 3 (Color C - Dusty Blue)
- Join Color C in any corner ch-2 space.
- Chain 3 (counts as first dc).
- Work (2 dc, ch 2, 3 dc) in the same corner space.
- *Chain 1, work 3 dc in the next ch-1 space, chain 1, then work (3 dc, ch 2, 3 dc) in the next corner space.*
- Repeat from * to * around, omitting the last corner's first 3 dc.
- Join with a sl st to the top of the beginning chain-3.
- Fasten off. You should have 36 dc total.
Round 4 (Color D - Terracotta)
- Join Color D in any corner ch-2 space.
- Chain 3 (counts as first dc).
- Work (2 dc, ch 2, 3 dc) in the same corner space.
- *Chain 1, work 3 dc in the next ch-1 space, chain 1, work 3 dc in the next ch-1 space, chain 1, then work (3 dc, ch 2, 3 dc) in the next corner.*
- Repeat from * to * around, omitting the last corner's first 3 dc.
- Join with a sl st to the top of the beginning chain-3.
- Fasten off. You should have 48 dc total.
Round 5 (Optional - Color E - Mustard Yellow)
If you want a larger cardigan, you can add a 5th round to each square. Simply join Color E in any corner and repeat the pattern, adding 3 dc in each ch-1 space and working the corner increases as before. This will make each square larger and the final cardigan bigger.
Creating the Half Squares (Make 2)
These are used at the top of the front panels to create a shoulder slope.
- Work Rounds 1-3 of the granny square pattern exactly as written above.
- For Round 4, instead of working around the entire square, work only along one edge. This will create a triangle shape.
- Fasten off and weave in ends.
Part 2: Assembly
Now that you have all your squares, it's time to assemble them into the cardigan shape. We'll use a whip stitch or single crochet seam through the back loops only for a flat, flexible finish.
Back Panel
- Arrange 21 squares in a rectangle that is 3 squares wide by 7 squares tall.
- With Color A (Cream), whip stitch or single crochet the squares together, matching corners and edges. Work through the back loops only.
Front Panels (Make 2)
- For each front panel, arrange 10 squares in a rectangle that is 2 squares wide by 5 squares tall.
- Sew these 10 squares together as you did for the back panel.
- Attach the half square to the top of the panel, with the straight edge at the top. This creates the shoulder slope.
Shoulder Seams
- Place the front panels on top of the back panel with right sides together.
- Sew the top edges of the front panels to the top edge of the back panel.
- Important: Leave the center 2 squares open. This will be your neckline.
Sleeves (Make 2)
- For each sleeve, arrange 6 squares in a rectangle that is 2 squares wide by 3 squares tall.
- Sew them together.
- Fold the rectangle in half lengthwise and sew the side seam to form a tube.
- Attach the sleeve to the armhole opening (the space between the front and back panels on each side). Ease the sleeve cap to fit evenly.
Part 3: Finishing Touches
Your cardigan is almost complete! These final edging rounds will give it a polished, professional look.
Collar
- With Color A, join yarn at the neckline edge.
- Work 1 round of single crochet (sc) around the entire neckline. Decrease at the corners to shape the collar nicely.
- Work 2 more rounds of sc.
- Fasten off.
Front Edges & Bottom Hem
- With Color A, join yarn at the bottom corner of the left front panel.
- Work 1 round of sc down the front edge of the left panel, around the bottom hem, and up the right panel.
- Work 2 more rounds of sc.
- Fasten off.
Sleeve Cuffs
- With Color A, join yarn at the sleeve opening.
- Work 2 rounds of sc around each sleeve opening.
- Fasten off.
Final Steps
- Weave in all loose ends with your yarn needle to ensure a clean finish.
- Block the cardigan to shape. Gently steam the seams and edges to relax the yarn and give your cardigan a professional drape.
Congratulations! You've completed your very own Whispering Pines Oversized Granny Square Cardigan. This cozy, boho-chic piece is perfect for layering and is sure to become a favorite. Enjoy wearing your handmade creation, and don't forget to share your beautiful work with fellow crafters!