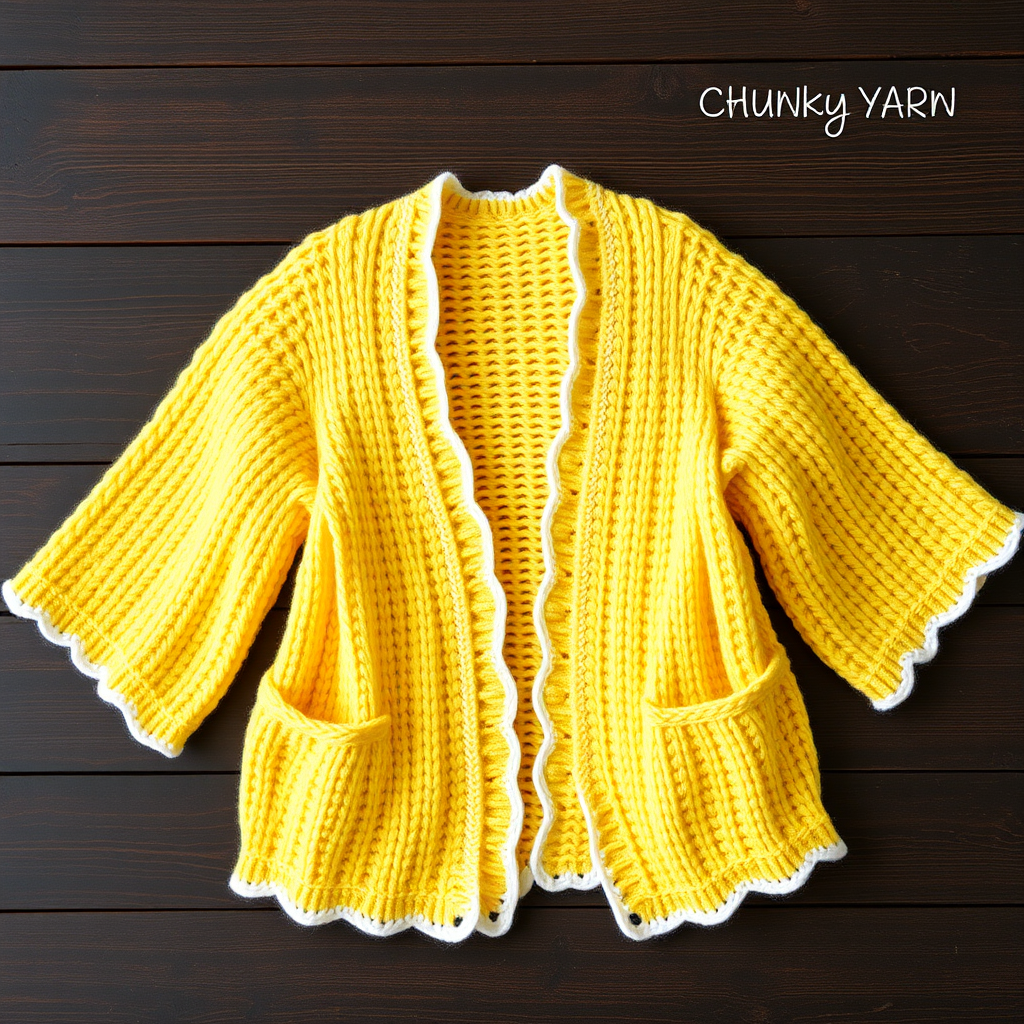
Prairie Sunset Duster Free Pattern – A Knitted Boho Layering Cardigan

Prairie Sunset Duster Free Pattern – A Knitted Boho Layering Cardigan
Wrap yourself in the warm hues of a prairie sunset with this flowing, open-front duster cardigan. Knitted in soft, chunky yarn with a delicate lace panel running down the center back, this is the perfect layering piece for cool autumn evenings, cozy bonfires, or simply adding a touch of bohemian elegance to your everyday wardrobe. The rich terracotta, goldenrod, dusty rose, and cream color palette evokes the breathtaking colors of a western sky at dusk.
This pattern is designed for knitters who have mastered the basics and are ready to tackle a rewarding project with a few exciting techniques. The one-piece construction from the bottom up means minimal seaming, and the picked-up sleeves are knit in the round for a polished finish. The lace panel, while beautiful, is a simple repeat that becomes meditative once you get into the rhythm. Whether you're a seasoned maker or an ambitious beginner, this duster will become a staple in your handmade collection.
Materials Needed
Before you begin, gather the following materials to ensure a smooth knitting experience. This list is based on the technical specifications for the Prairie Sunset Duster.
Yarn
Use Lion Brand Wool-Ease Thick & Quick (or any super bulky weight yarn) in the following colors:
- Main Color (MC): Terracotta – approximately 1200 (1400, 1600) yards
- Contrast Color 1 (CC1): Goldenrod – approximately 200 yards
- Contrast Color 2 (CC2): Dusty Rose – approximately 200 yards
- Contrast Color 3 (CC3): Cream – approximately 200 yards
Needles & Notions
- US 11 (8.0 mm) circular knitting needles with a 32-inch cable (for the body)
- Stitch markers (at least 4)
- Stitch holders or waste yarn (for underarm stitches)
- Tapestry needle for weaving in ends
Gauge
12 stitches and 16 rows = 4 inches in stockinette stitch (knit on US 11 needles). Always take the time to knit a gauge swatch to ensure your finished cardigan matches the intended measurements.
Step-by-Step Instructions
This cardigan is worked in one piece from the bottom up, with sleeves picked up and knit in the round. The lace panel is worked along the center back. The pattern includes sizes S/M (L/XL, 2XL/3XL), with a finished chest circumference of 40 (48, 56) inches. Instructions are written for the smallest size, with larger sizes in parentheses.
Abbreviations
- K = knit
- P = purl
- K2tog = knit two together (decrease)
- SSK = slip slip knit (decrease)
- YO = yarn over (increase)
- PM = place marker
- SM = slip marker
- RS = right side
- WS = wrong side
Lace Panel Pattern (multiple of 8 + 1)
This is the delicate eyelet pattern that runs down the center back of the cardigan. Work this pattern on the back section only, as directed in the body instructions.
- Row 1 (RS): K1, *YO, SSK, K3, K2tog, YO, K1; repeat from * to end.
- Row 2 and all WS rows: Purl all stitches.
- Row 3: K2, *YO, SSK, K1, K2tog, YO, K3; repeat from * to last 7 stitches, YO, SSK, K1, K2tog, YO, K2.
- Row 5: K3, *YO, SSK, YO, K1, YO, K2tog, YO, K3; repeat from * to end.
- Row 7: K2, *K2tog, YO, K3, YO, SSK, K1; repeat from * to last 7 stitches, K2tog, YO, K3, YO, SSK, K2.
- Row 9: K1, *K2tog, YO, K5, YO, SSK; repeat from * to end.
- Row 11: K2, *K2tog, YO, K3, YO, SSK, K1; repeat from * to last 7 stitches, K2tog, YO, K3, YO, SSK, K2.
- Row 12: Purl.
Body
Step 1: With MC, cast on 120 (144, 168) stitches. Work in stockinette stitch (knit on RS, purl on WS) for 2 inches, ending with a WS row.
Step 2: Place markers as follows: PM after 30 (36, 42) stitches (this is the left front), PM after the next 60 (72, 84) stitches (this is the back), PM after the remaining 30 (36, 42) stitches (this is the right front).
Step 3: On the next RS row, begin shaping the waist. *Knit to 2 stitches before the first marker, K2tog, SM, knit to the next marker, SM, SSK; repeat from * once more. This decreases 4 stitches total. Repeat this decrease row every 6 rows, 4 more times (for a total of 5 decrease rows). You should now have 100 (124, 148) stitches on your needles.
Step 4: Work even in stockinette stitch until the piece measures 12 inches from the cast-on edge, ending with a WS row.
Lace Panel Insertion
Step 5: On the next RS row, knit to the first marker, SM, knit to the second marker, SM, knit to the end. This sets up the stitch distribution.
Step 6: On the following RS row, begin the lace panel on the back section only: Knit to the first marker, SM, work the Lace Panel Pattern across the 60 (72, 84) back stitches, SM, knit to the end. Continue in this manner, working the lace panel on the back stitches and stockinette on the front stitches, until the piece measures 20 inches from the cast-on edge, ending with a WS row.
Divide for Armholes
Step 7: On the next RS row, knit to the first marker, remove the marker, place the next 10 (12, 14) stitches on a holder for the underarm, knit across the back to the second marker, remove the marker, place the next 10 (12, 14) stitches on a holder, knit to the end. You now have 90 (112, 134) stitches remaining: 25 (30, 35) for the left front, 40 (52, 64) for the back, and 25 (30, 35) for the right front.
Left Front
Step 8: Work on the left front stitches only. Continue in stockinette (and the lace pattern if it extends into this section) until the armhole measures 8 (9, 10) inches, ending at the neck edge.
Step 9: Shape the neck: At the neck edge, bind off 5 (6, 7) stitches once, then bind off 2 stitches every other row twice. Work even until the armhole measures 10 (11, 12) inches. Bind off the remaining 16 (20, 24) shoulder stitches.
Right Front
Step 10: Work the same as the left front, reversing the shaping. (Bind off for the neck at the beginning of WS rows, and for the shoulder at the beginning of RS rows.)
Back
Step 11: Work on the back stitches only, continuing the lace pattern. Work even until the armhole measures 10 (11, 12) inches. Bind off all stitches.
Sleeves
Step 12: With the RS facing and using MC, pick up and knit 40 (48, 56) stitches around the armhole, including the underarm stitches from the holder. PM for the beginning of the round.
Step 13: Work in stockinette stitch in the round. Decrease 1 stitch on each side of the marker every 8 rounds, 6 (8, 10) times. Work even until the sleeve measures 16 (17, 18) inches from the pick-up round. Bind off loosely.
Finishing
Step 14: Weave in all ends using a tapestry needle. Block the cardigan to the specified measurements to open up the lace pattern and even out the stitches.
Edging
Step 15: With CC1 (Goldenrod), pick up and knit stitches evenly along the entire front edge and neckline. Work in garter stitch (knit every row) for 4 rows. Bind off.
Step 16: With CC2 (Dusty Rose), pick up and knit along the bottom edge of the cardigan. Work 4 rows of garter stitch, then bind off.
Step 17: With CC3 (Cream), pick up and knit around each cuff. Work 4 rows of garter stitch, then bind off.
Your Prairie Sunset Duster is now complete! The contrasting garter stitch bands in goldenrod, dusty rose, and cream beautifully frame the terracotta body, while the lace panel adds a touch of airy elegance. This cardigan is designed to be worn open, flowing over your favorite outfits. Enjoy your new handmade boho layering piece, and don't forget to share your creation with the knitting community!