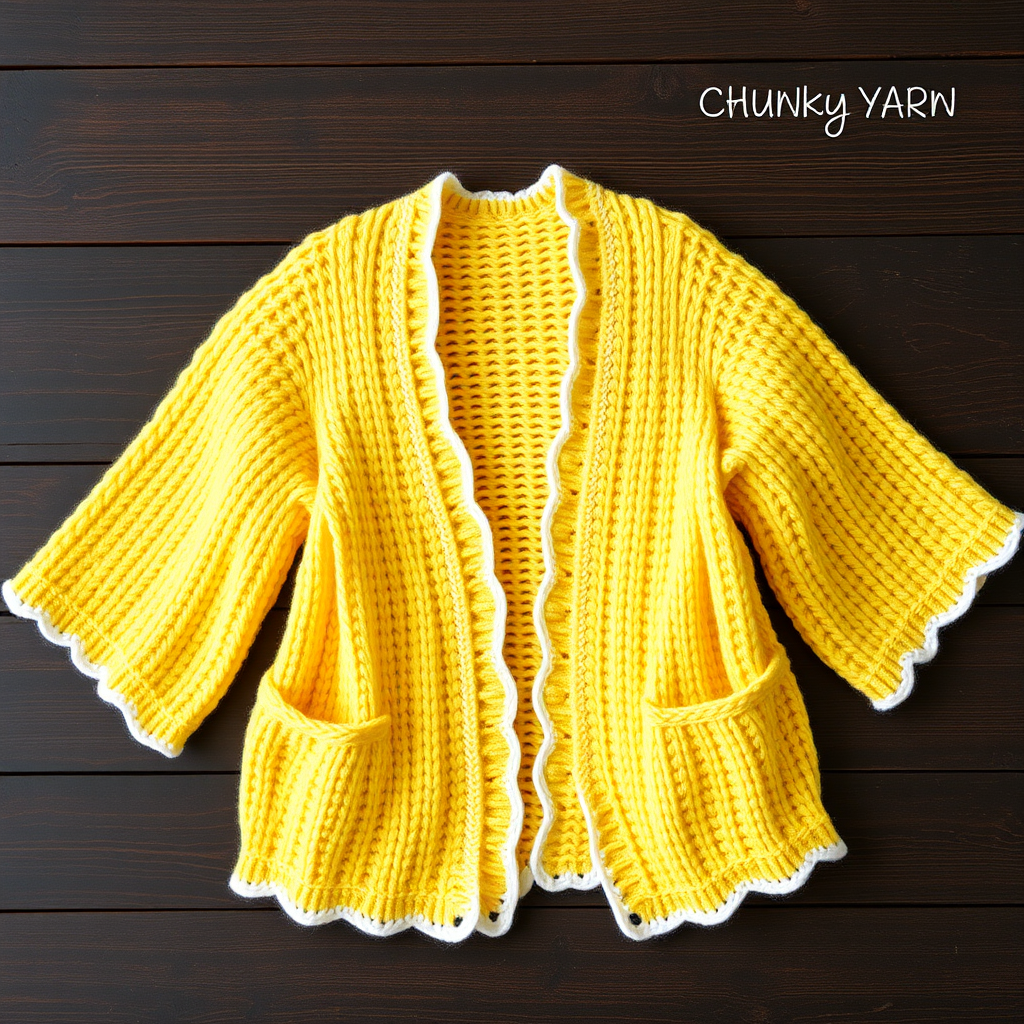
Lunar Lace Cocoon Cardigan Free Pattern – Celestial Knit with Star Stitch

Wrap Yourself in the Night Sky: The Lunar Lace Cocoon Cardigan
There are some knitting projects that feel less like crafting and more like casting a spell. The Lunar Lace Cocoon Cardigan is exactly that—a celestial knit that transforms deep midnight blue yarn into a flowing, batwing-sleeved cocoon, punctuated by shimmering bands of silver star stitches. Designed to be knitted seamlessly from the top down, this free pattern is surprisingly accessible for confident beginners and intermediate knitters alike. Whether you are curling up with a book or stepping out for a cool evening stroll, this cardigan drapes elegantly, catching the light like moonbeams on dark water. Let’s dive into the pattern and create a piece that feels truly out of this world.
Materials Needed
Before you begin your celestial journey, gather the following supplies. The magic of this project lies in the contrast between the deep, dark main color (MC) and the luminous contrasting color (CC).
- Yarn: Worsted weight yarn in deep midnight blue (MC) – approximately 1200 yards. Worsted weight yarn in silver/white (CC) – approximately 200 yards. Pro-tip: Choose a yarn with a slight sheen for the CC to really make the stars pop.
- Needles: US 9 (5.5 mm) circular knitting needles with a 32-inch cable. The long cable is essential for holding the large number of stitches during the yoke and body sections.
- Notions: Stitch markers (at least 4), stitch holders or waste yarn for the sleeves, a tapestry needle for weaving in ends.
- Gauge: 16 stitches and 22 rows = 4 inches in stockinette stitch (blocked). Always knit a swatch and block it to ensure your finished cardigan has the correct drape and size.
Step-by-Step Instructions
This cardigan is a brilliant top-down construction, meaning you start at the neck and work your way down to the hem, with the sleeves picked up and knit last. The star stitch pattern is easier than it looks—it’s a simple 4-row repeat that creates a gorgeous, textured constellation. Let’s get started.
Abbreviations & Special Stitches
- CO: Cast On
- K: Knit
- P: Purl
- K2tog: Knit two stitches together (decrease)
- K3tog: Knit three stitches together (decrease)
- YO: Yarn Over (increase)
- PM: Place Marker
- SM: Slip Marker
- RS: Right Side
- WS: Wrong Side
- St st: Stockinette Stitch (Knit on RS, Purl on WS)
Star Stitch Pattern (Multiple of 4 + 1):
- Row 1 (RS): *K3tog, YO, K1, YO, K3tog* repeat to last stitch, K1.
- Row 2 (WS): Purl all stitches.
- Row 3 (RS): K1, *YO, K3tog, YO, K1* repeat to end.
- Row 4 (WS): Purl all stitches.
Note: The YOs in this pattern are balanced by the K3tog decreases, so your stitch count remains consistent throughout the pattern repeat.
Part 1: Neckline and Yoke
We begin at the neckline, creating a simple garter stitch band before increasing outwards to form the shoulders and upper body.
- Cast On: With MC, CO 81 stitches.
- Neckband: Work 6 rows in garter stitch (knit every row). This creates a neat, rolled-free edge.
- Set Up Markers: On the next RS row, knit 10, PM, knit 20, PM, knit 21, PM, knit 20, PM, knit 10. You have now divided your work into the left front (10 sts), left sleeve (20 sts), back (21 sts), right sleeve (20 sts), and right front (10 sts).
- Yoke Increases: Continue in St st (K on RS, P on WS). On every RS row, increase 1 stitch before and 1 stitch after each marker. To do this: Knit to 1 stitch before the marker, M1 (make one), K1, SM, K1, M1. Repeat this at each of the 4 markers. This adds 8 stitches every increase row.
- Work the Increases: Repeat this increase row on every RS row for a total of 20 rows. After completing these rows, you will have 241 stitches on your needle. The yoke is now complete, and your fabric should measure approximately 8-9 inches from the cast-on edge.
Part 2: The Celestial Star Stitch Section
Now we introduce the contrasting color and the magical star stitch pattern that gives this cardigan its name.
- Switch to CC: Cut the MC yarn, leaving a tail for weaving in. Join the CC yarn.
- Work Star Stitch: Work the Star Stitch pattern across all 241 stitches for 12 rows. This equates to 3 full pattern repeats (each repeat is 4 rows). Remember to continue your raglan increases on RS rows as established in the yoke section! The pattern works beautifully with the increases.
- Return to MC: Cut the CC yarn and rejoin MC. Continue in St st for 10 rows, maintaining the same increase pattern at the markers. After these 10 rows, you will have 321 stitches.
Part 3: Dividing for the Sleeves
This is the exciting part where the batwing silhouette begins to take shape. We will separate the sleeve stitches from the body.
- Knit to Sleeve: On the next RS row, knit across the left front section until you reach the first marker. Remove the marker.
- Place Sleeve Stitches on Hold: Slip the next 50 stitches onto a stitch holder or a piece of waste yarn. These are the left sleeve stitches.
- Cast On Underarm: Using the backward loop method, CO 10 new stitches onto the right needle. This bridges the gap under the arm.
- Knit the Back: Knit across the back section until you reach the next marker. Remove the marker.
- Place Second Sleeve on Hold: Slip the next 50 stitches onto another stitch holder for the right sleeve.
- Cast On Underarm & Finish Row: CO 10 new stitches, then knit across the remaining right front stitches to the end of the row. You now have 161 stitches on your needle for the body.
Part 4: The Flowing Body
With the sleeves resting on holders, we now work the body of the cardigan in a single, flowing piece.
- Body Length: Continue in St st (K on RS, P on WS) for 30 rows. The fabric will begin to drape beautifully.
- Second Star Band: Switch to CC and work 10 rows of the Star Stitch pattern.
- Final MC Section: Switch back to MC and work 20 more rows in St st.
- Bottom Edge: End with 6 rows of garter stitch (knit every row). This matches the neckband and provides a sturdy, non-curling edge.
- Bind Off: Bind off all stitches loosely. Tip: Use a larger needle or a stretchy bind-off method to ensure the bottom edge retains its flow.
Part 5: Knitting the Sleeves
Now we bring the sleeves to life. Because we are working in the round, the star stitch pattern needs a slight adjustment.
- Pick Up Stitches: Place the 50 held sleeve stitches onto your circular needle. Pick up and knit 10 stitches from the underarm cast-on edge. You now have 60 stitches for the sleeve. Place a marker at the beginning of the round.
- Work in the Round: Work in St st in the round (knit every round) for 20 rows.
- Star Stitch in the Round: Switch to CC and work 6 rows of the Star Stitch pattern. Adjustment for the round: Work the pattern as written, but on the "WS" rows, simply knit all stitches instead of purling. This keeps the pattern consistent in the round.
- Finish Sleeve: Switch back to MC and work 10 rows of St st in the round.
- Bind Off: Bind off all stitches loosely. Repeat the entire process for the second sleeve.
Part 6: Finishing Touches
The final steps are where your cardigan transforms from a collection of stitches into a polished garment.
- Weave in Ends: Using your tapestry needle, carefully weave in all loose ends on the wrong side of the fabric. Pay extra attention to the color changes to ensure they are secure.
- Blocking: This step is crucial for lace patterns. Soak the cardigan in lukewarm water with a gentle wool wash for 20-30 minutes. Gently squeeze out excess water (do not wring). Lay the cardigan flat on a blocking mat or towel. Gently stretch the fabric to open up the star stitch pattern and even out the stitches. Pin the edges if necessary and allow it to dry completely. This will dramatically improve the drape and definition of the lace.
- Optional Tie Closure: For a delicate closure, create a simple crochet chain tie using the CC yarn. Crochet a chain approximately 30 inches long, or create two shorter ties to attach at the neckline. This adds a charming, celestial finishing touch.
Your Lunar Lace Cocoon Cardigan is now complete. This piece is more than just a garment; it is a wearable work of art, a testament to the beauty of handcrafted textiles. The combination of the deep midnight blue and the shimmering silver star stitch creates a piece that is both cozy and ethereal. Wear it with pride, knowing you have knitted a little piece of the night sky for yourself. Happy knitting, and may your stitches always be blessed with clear skies!