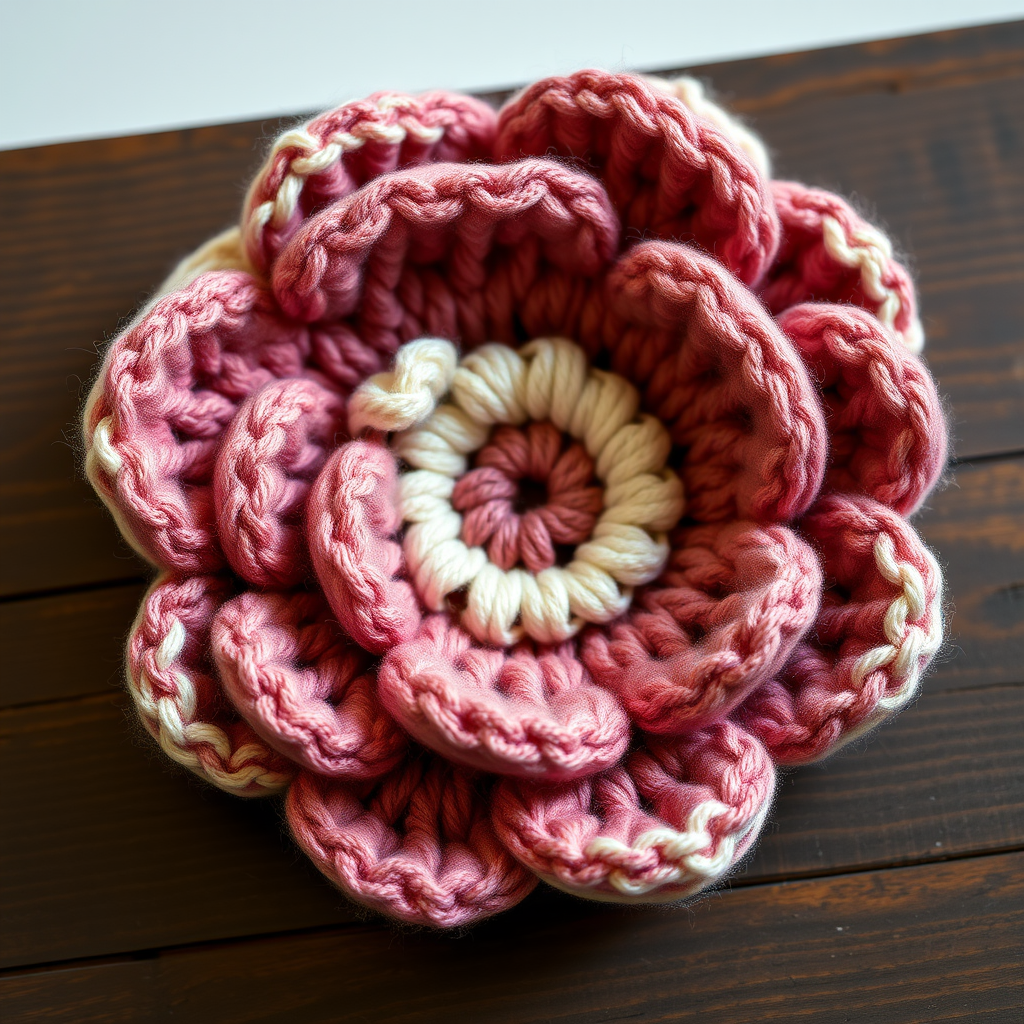
Whispering Petal Bloom Free Pattern – Crochet a Cloud of Puff Stitch Flowers

Whispering Petal Bloom: A Dreamy Puff Stitch Flower Garland
Imagine a garland so soft and dimensional it looks like a cluster of clouds floating through your home. That's the magic of the Whispering Petal Bloom. This pattern transforms the classic puff stitch into a tactile, three-dimensional flower that's perfect for modern boho decor. Whether you're a seasoned crocheter or a curious beginner, this project is a delightful way to create a handmade statement piece. The combination of a blush pink center, creamy white puff petals, and sage green edging creates a muted, botanical palette that feels both gentle and sophisticated. Let's dive into creating this cloud of blooms.
Materials Needed
Before you begin, gather the following supplies. This project is wonderfully portable and requires minimal tools.
- Yarn: Worsted weight cotton or acrylic yarn in three shades:
- Yarn A: Blush Pink (for the flower center)
- Yarn B: Cream (for the puff stitch petal layer)
- Yarn C: Sage Green (for the outer edging and garland chain)
- Crochet Hook: 5.0 mm (H-8) crochet hook
- Other Tools: Yarn needle for weaving in ends, scissors, and blocking pins (optional but recommended).
Gauge: 4 puff stitches x 4 rows = 4 inches (10 cm) in puff stitch pattern. While gauge isn't critical for a garland, it helps ensure your flowers are uniform in size.
Step-by-Step Instructions
This pattern is worked in the round. We will create one complete flower, and then you can repeat the process to build your garland. Don't be intimidated by the puff stitch—it's easier than it looks and creates a beautiful, bobbly texture.
Abbreviations
- ch = chain
- sl st = slip stitch
- sc = single crochet
- dc = double crochet
- hdc = half double crochet
- puff = puff stitch (see detailed instructions below)
How to Make a Puff Stitch
For this pattern, a puff stitch is made as follows: Yarn over (yo), insert hook into the designated stitch, pull up a loop. Repeat this process (yo, insert hook, pull up loop) three more times so you have 5 loops on your hook. Then, yarn over and pull through all 5 loops on the hook. Finally, chain 1 to close the puff stitch securely. This ch-1 is crucial—it locks the stitch and creates a neat, rounded puff.
Part 1: Flower Center (with Yarn A - Blush Pink)
- Magic Ring: Make a magic ring (also known as an adjustable loop).
- Round 1: Ch 1 (does not count as a stitch), work 6 single crochet (sc) into the ring. Pull the ring tight to close the center. Slip stitch (sl st) to the first sc to join the round. (You should have 6 sc).
- Round 2: Ch 1, work 2 sc in each sc around. Sl st to the first sc to join. (You should have 12 sc).
- Round 3: Ch 1, *sc in the next sc, 2 sc in the next sc*; repeat from * to * around. Sl st to join. (You should have 18 sc).
- Fasten off Yarn A and weave in the end securely. This creates a flat, circular base for your petals.
Part 2: Petal Layer (with Yarn B - Cream)
- Joining Yarn: Join Yarn B with a slip stitch in any single crochet of Round 3.
- Round 4 (Puff Clusters): Ch 3 (this counts as your first double crochet). Work 4 puff stitches in the same sc where you joined. Then, ch 2, skip the next sc. *In the next sc, work 5 puff stitches. Ch 2, skip the next sc.* Repeat from * to * around the entire round. Sl st to the top of the beginning ch-3 to join. (You will have 9 puff clusters total, each separated by a ch-2 space).
- Round 5 (Loop Formation): Ch 1, *sc in the ch-2 space, ch 3, sc in the same ch-2 space*. Repeat from * to * in each ch-2 space around. Sl st to the first sc to join. (You will have 9 ch-3 loops).
- Fasten off Yarn B and weave in the ends. Your flower now has a fluffy, cloud-like center.
Part 3: Outer Petal Edging (with Yarn C - Sage Green)
- Joining Yarn: Join Yarn C with a slip stitch in any of the ch-3 loops from Round 5.
- Round 6 (Creating Petals): Ch 1, *work 5 double crochet (dc) into the ch-3 loop, ch 1, sc in the next ch-3 loop*. Repeat from * to * around the entire round. Sl st to the first dc to join. (You will have 9 distinct petals, each made of 5 dc).
- Round 7 (Smoothing Edges): Ch 1, *sc in each of the next 5 dc (the petal), sc in the ch-1 space, sc in the sc between the petals*. Repeat from * to * around. Sl st to join. (You will have 45 sc total).
- Fasten off and weave in all ends. Your first Whispering Petal Bloom is complete!
Part 4: Assembling the Garland
- Make Multiple Flowers: Repeat the steps above to create as many flowers as you'd like for your garland. A garland of 10-12 flowers creates a lovely, full look.
- Create the Base Chain: Using Yarn C, make a slip knot and chain a length of 100 (or your desired length). This will be the main string of your garland. You can always add more chains later if you need it longer.
- Attach the Flowers: Thread the chain through the center magic ring of each flower. To do this, simply push the chain through the small hole in the center of the flower. Space the flowers evenly along the chain.
- Add Optional Leaves: To add a leaf between flowers, make a small leaf: Ch 8. Sc in the 2nd ch from the hook, hdc in the next ch, dc in the next 3 ch, hdc in the next ch, sc in the last ch. Sl st to the base of the leaf to secure. Attach this leaf to the main chain between two flowers.
Finishing Touches
- Blocking (Recommended): To open up the petals and give your flowers a professional, polished look, lightly block each flower. Pin the flowers to a blocking mat and steam them gently with an iron (without touching the yarn directly) or mist them with water and let them dry flat.
- Hanging: Once dry, your garland is ready to hang. Drape it over a mantel, along a window frame, or on a wall to create a soft, dreamy, and tactile focal point in any room.
This pattern is a joy to make and the result is a stunning, heirloom-quality piece of decor. The puff stitches create a plush, cloud-like texture that invites touch, and the muted color palette fits beautifully into modern, boho, or minimalist interiors. Happy crocheting!