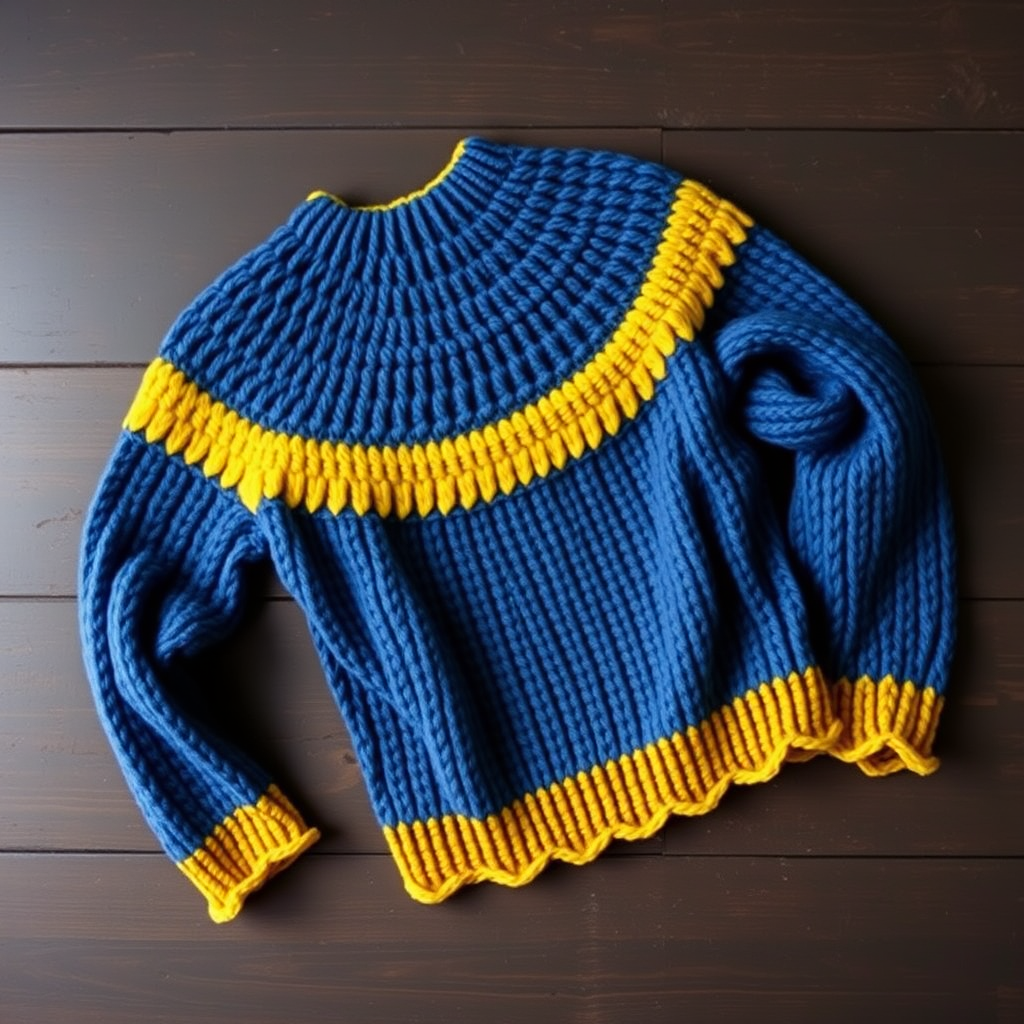
Whispering Dunes Crochet Cocoon Cardigan Free Pattern

Whispering Dunes Cocoon Cardigan: A Free Crochet Pattern for Cozy, Sculptural Style
Wrap yourself in the soft, sculptural warmth of the Whispering Dunes Cocoon Cardigan. This oversized, open-front layering piece features a mesmerizing ripple stitch that mimics the gentle, rolling contours of desert sand dunes. Crafted in a serene gradient of warm neutrals—soft sand, warm dune, and muted driftwood—this cardigan is as much a statement of modern, organic style as it is a cozy handmade essential. Whether you're a seasoned crocheter or a confident beginner looking for a rewarding project, this free pattern will guide you through creating a dramatic, batwing-sleeved garment that feels like a warm embrace.
With its flowing silhouette and textured waves, this cocoon cardigan is perfect for layering over everything from simple tees to flowing dresses. The pattern is worked flat in one piece from the bottom up, making it surprisingly simple to construct despite its impressive look. Let's dive into the details and start creating your own Whispering Dunes masterpiece.
Materials Needed
Before you begin, gather the following supplies. The quality of your yarn will greatly affect the drape and feel of your finished cardigan, so choose a soft, worsted-weight cotton or cotton-blend for the best results.
- Yarn: Worsted weight (#4) cotton or cotton-blend yarn in three shades:
- Sand (A): A pale, soft beige
- Dune (B): A warm, light tan
- Driftwood (C): A muted, grayish-brown
- Crochet Hook: US Size J/10 (6.0 mm) crochet hook
- Other: Yarn needle for weaving in ends, scissors, and blocking mats (optional but recommended).
Gauge
14 stitches and 10 rows = 4 inches in ripple stitch pattern (after blocking). Always make a gauge swatch to ensure your finished cardigan matches the intended measurements.
Step-by-Step Instructions
This pattern is written for sizes S/M (L/XL, XXL/XXXL). The ripple stitch creates a beautiful, undulating texture that is both forgiving and visually stunning. Follow the instructions carefully, and you'll have a gorgeous, one-of-a-kind cardigan in no time.
Important Notes
- The cardigan is worked flat in one piece from the bottom up, then seamed at the shoulders and sides.
- The ripple stitch pattern is a multiple of 12 + 2 stitches.
- A Ch 3 counts as a dc throughout the pattern.
Ripple Stitch Pattern (Worked over a multiple of 12 + 2)
This is the foundation of your cardigan. Master this row, and you've mastered the entire project.
Row 1 (Foundation): Dc in 4th ch from hook, dc in next 4 ch, *dc3tog, dc in next 4 ch, (dc, ch 1, dc) in next ch, dc in next 4 ch; rep from * to last 7 ch, dc3tog, dc in next 4 ch, dc in last ch. Turn.
Row 2: Ch 3, dc in next 5 sts, *dc3tog, dc in next 4 sts, (dc, ch 1, dc) in ch-1 sp, dc in next 4 sts; rep from * to last 7 sts, dc3tog, dc in next 4 sts, dc in top of ch-3. Turn.
Repeat Row 2 for the remainder of the pattern.
Back Panel
- With color A (Sand), ch 86 (98, 110).
- Work in the ripple stitch pattern for 20 (22, 24) rows, alternating colors every 2 rows: A, B, C, A, B, C, etc. This will create the beautiful dune-like color gradient.
- Fasten off and set aside.
Front Panels (Make 2)
- With color A (Sand), ch 44 (50, 56).
- Work in the ripple stitch pattern for 20 (22, 24) rows, alternating colors every 2 rows exactly as you did for the back panel (A, B, C, A, B, C...).
- Fasten off. Repeat to make the second front panel.
Sleeves (Make 2)
- With color A (Sand), ch 50 (56, 62).
- Work in the ripple stitch pattern, increasing 1 stitch at each end of every 4th row. To increase, simply work 2 dc in the first and last stitch of the row.
- Continue increasing until you have 62 (68, 74) stitches total.
- Once you've reached the desired width, continue working even (without increases) until the sleeve measures 18 (19, 20) inches from the start.
- Fasten off. Repeat for the second sleeve.
Assembly
Now it's time to bring all your pieces together. Take your time with the seaming to ensure a professional finish.
- Sew Shoulder Seams: Sew the shoulder seams of the front panels to the back panel. Leave the center 8 (9, 10) inches open for the neck opening.
- Sew Sleeves: Sew the sleeves into the armholes. Then, sew the side and sleeve seams in one continuous line, from the bottom of the cardigan up to the wrist.
- Edging: With color A (Sand), single crochet (sc) evenly around the entire front opening and bottom edge of the cardigan. Work 2 more rounds of sc, then fasten off. This will give your cardigan a clean, polished edge.
- Weave in Ends: Carefully weave in all loose ends with your yarn needle.
- Block to Shape: This step is crucial for the ripple stitch to lay flat and look its best. Pin the cardigan to your blocking mats, gently stretching it to the correct measurements, and allow it to dry completely.
And there you have it—your very own Whispering Dunes Cocoon Cardigan! This stunning, textured piece is sure to become a favorite in your wardrobe. The combination of the soothing color palette and the rhythmic ripple stitch makes this a truly meditative and rewarding project. Enjoy wearing your handmade creation, and don't forget to share your finished cardigan with the crafting community!