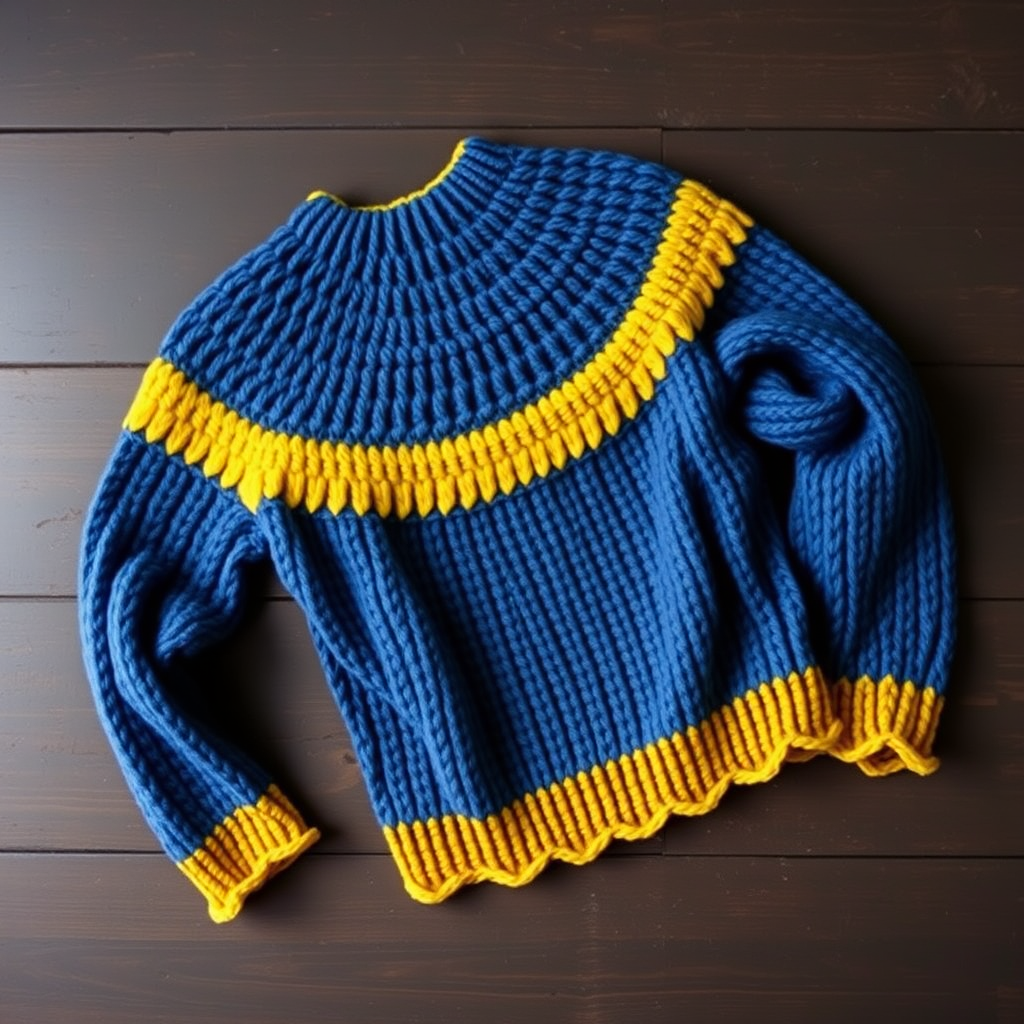
Arch Fan Sleeve Pullover Free Pattern: Waffle Stitch Crochet Sweater with Art Deco Fan Appliqués

Arch Fan Sleeve Pullover: A Beginner-Friendly Waffle Stitch Sweater
If you have ever looked at a handmade sweater and thought, "I could never make that," this is the project that will prove you wrong. The Arch Fan Sleeve Pullover is built from simple flat rectangles, joined with straight seams, and finished with six little dusty rose fan motifs that turn a plain grey pullover into something quietly dramatic. The grey body uses the waffle stitch, a two-row repeat of raised post stitches that creates a rich, grid-like texture that looks far harder than it is. The finished sweater is relaxed and slightly boxy, with a straight hem, a soft round neckline, and fans marching up each sleeve like little Art Deco arches. It is warm, textured, and the kind of piece you reach for all autumn and winter long.
Materials Needed
- Yarn: Worsted weight (Category 4) cotton yarn, approximately 1,000–1,200 yards total. You need 850–1,000 yards in medium grey (body and sleeves) and 150–200 yards in dusty rose (fan motifs). The sample uses a smooth worsted cotton.
- Main hook: 5.0 mm (US H-8) crochet hook, or whatever size gets you the gauge below.
- Motif hook: 4.5 mm (US G-7) crochet hook for the fan motifs.
- Stitch markers: At least 6, to mark armhole edges, neckline stitches, and motif placement.
- Tapestry needle: A blunt-tipped needle with a large eye for seaming and sewing on the fans.
- Scissors and a measuring tape.
- Finished bust: S 38 in (96.5 cm), M 42 in (106.5 cm), L 46 in (117 cm), XL 50 in (127 cm).
- Finished length from shoulder: approximately 23 in (58.5 cm) for all sizes.
- Finished upper-arm circumference: approximately 14 (15, 16, 17) in / 35.5 (38, 40.5, 43) cm.
- Each fan motif: approximately 4.5 in (11.5 cm) wide and 3 in (7.5 cm) tall.
Abbreviations and Beginner Glossary
- ch – chain: yarn over the hook, pull the loop through the loop on your hook. This makes a small link.
- sc – single crochet: insert hook into the stitch, yarn over, pull up a loop (2 loops on hook), yarn over, pull through both loops. One loop remains.
- dc – double crochet: yarn over, insert hook into the stitch, yarn over, pull up a loop (3 loops on hook), yarn over, pull through 2 loops, yarn over, pull through the last 2 loops.
- fpdc – front post double crochet: work a double crochet around the vertical "post" (the body) of the stitch two rows below, inserting your hook from the front to the back. This pushes the stitch forward and makes the raised waffle line.
- bpdc – back post double crochet: same idea, but insert the hook from the back to the front around the post of the stitch two rows below. This pushes the stitch backward.
- st(s) – stitch(es).
- sk – skip: leave the next stitch unworked.
- rep – repeat: do the same instruction again.
- sl st – slip stitch: insert hook into the stitch, yarn over, pull the loop straight through both the stitch and the loop on your hook. It joins without adding height.
- RS / WS – right side (the outside of the sweater) / wrong side (the inside).
- turn – flip your work over so you can crochet back across the row.
- fasten off – cut the yarn, pull the tail through the last loop, and tighten.
Gauge
In waffle stitch with the 5.0 mm hook: 14 stitches and 12 rows = 4 inches (10 cm).
Gauge is simply how big your stitches come out. If your stitches are bigger than the pattern's, your sweater will be too large; if smaller, it will be too tight. To check, crochet a swatch about 6 inches (15 cm) square in waffle stitch, lay it flat, and measure 4 inches across the middle. Count the stitches and rows inside that 4 inches. If you have more than 14 stitches, switch to a larger hook; if fewer, switch to a smaller one. Wash and dry your swatch the way you plan to wash the sweater, because cotton can relax after washing.
Beginner Tips Before You Start
- Use stitch markers to track your edges. Place a marker in the first and last stitch of every row. The post stitches can make edge stitches hard to see, and losing one changes your stitch count.
- Do not pull your yarn too tight. Post stitches need a little slack to wrap around the stitch below. If your waffle grid looks squished, relax your tension.
- Keep the post stitches lined up. Each fpdc and bpdc should sit directly above the one two rows below. Check every few rows that your grid is straight.
- Count your stitches at the end of every row. The counts are given in parentheses after each row — use them.
- Work the two panels at the same time if you can. Alternating rows on the back and front keeps your tension identical, so the two pieces match.
- Make one practice fan motif first. The fans are small and quick. Once you have made one, the other five take minutes each.
Step-by-Step Instructions
Instructions are written for size S with changes for M (L, XL) in parentheses. Finished bust: 38 (42, 46, 50) in. The waffle stitch pattern is a multiple of 3 stitches + 2.
Waffle Stitch Pattern (worked flat)
Row 1 (RS): Dc in 4th ch from hook and in each ch across. Turn.
Row 2: Ch 2 (does not count as a st), dc in first st, *fpdc around next st, dc in next st, bpdc around next st; rep from * to last st, dc in last st. Turn.
Row 3: Ch 2, dc in first st, *bpdc around next st, dc in next st, fpdc around next st; rep from * to last st, dc in last st. Turn.
Row 4: Ch 2, dc in first st, *fpdc around next st, dc in next st, bpdc around next st; rep from * to last st, dc in last st. Turn.
Repeat Rows 3–4 for the waffle stitch pattern.
Back Panel
With grey yarn and the 5.0 mm hook, ch 68 (74, 80, 86).
Row 1 (RS): Dc in 4th ch from hook and in each ch across — (66, 72, 78, 84 sts).
Rows 2–4: Work in waffle stitch pattern as established — (66, 72, 78, 84 sts).
Continue in waffle stitch pattern until the piece measures 14 inches (35.5 cm) from the beginning, ending after a WS row.
Shape Armholes, Row 1 (RS): Sl st in first 4 (4, 5, 5) sts, ch 2, dc in next st, work in waffle stitch pattern to last 4 (4, 5, 5) sts, turn, leaving remaining sts unworked — (58, 64, 68, 74 sts).
Row 2: Sl st in first 4 (4, 5, 5) sts, ch 2, dc in next st, work in waffle stitch pattern to last 4 (4, 5, 5) sts, turn — (50, 56, 58, 64 sts).
Continue even in waffle stitch pattern until the armhole measures 7 (7.5, 8, 8.5) inches / 18 (19, 20.5, 21.5) cm, ending after a WS row. Fasten off.
Front Panel
Work as for the Back Panel until the armhole measures 5 (5.5, 6, 6.5) inches / 12.5 (14, 15, 17) cm, ending after a WS row.
Shape Neckline, Next Row (RS): Work in waffle stitch pattern across first 18 (21, 22, 25) sts, turn, leaving remaining sts unworked.
Next Row: Sl st in first 2 sts, work in waffle stitch pattern to end — (16, 19, 20, 23 sts).
Continue even in waffle stitch pattern until the armhole measures 7 (7.5, 8, 8.5) inches / 18 (19, 20.5, 21.5) cm, ending after a WS row. Fasten off.
With RS facing, skip the center 14 sts for the neck, join grey yarn with a sl st in the next st, ch 2, dc in the same st, work in waffle stitch pattern to end — (18, 21, 22, 25 sts).
Next Row: Work in waffle stitch pattern to last 2 sts, turn, leaving the last 2 sts unworked — (16, 19, 20, 23 sts).
Continue even until the armhole measures 7 (7.5, 8, 8.5) inches / 18 (19, 20.5, 21.5) cm, ending after a WS row. Fasten off.
Sleeves (make 2)
With grey yarn and the 5.0 mm hook, ch 44 (47, 50, 53).
Row 1 (RS): Dc in 4th ch from hook and in each ch across — (42, 45, 48, 51 sts).
Rows 2–4: Work in waffle stitch pattern as established — (42, 45, 48, 51 sts).
Continue in waffle stitch pattern, increasing 1 st at each end every 6th row 5 times — (52, 55, 58, 61 sts). Work the increased stitches into the waffle stitch pattern.
Work even until the sleeve measures 18 (18.5, 19, 19.5) inches / 45.5 (47, 48.5, 49.5) cm from the beginning, ending after a WS row. Fasten off.
Neckline Edging
With RS facing, join grey yarn with a sl st at the left shoulder seam. Ch 1, work 1 round of sc evenly around the neckline, working approximately 1 sc in each st and 1 sc in each row-end along the shaped edges. Join with a sl st to the first sc. Fasten off.
Fan Motif (make 6 total, 3 per sleeve)
With dusty rose yarn and the 4.5 mm hook, ch 6, join with a sl st to the first ch to form a ring.
Round 1: Ch 3 (counts as first dc), work 11 dc in ring, join with a sl st to the top of the ch-3 — (12 dc).
Round 2: Ch 3, dc in same st, 2 dc in each st around, join with a sl st to the top of the ch-3 — (24 dc).
Round 3: Ch 1, sc in same st, *ch 3, sk 2 sts, sc in next st; rep from * around, join with a sl st to the first sc — (8 ch-3 spaces).
Round 4: Sl st into the first ch-3 space, ch 3, work 4 dc in the same space, *ch 2, 5 dc in the next ch-3 space; rep from * around, join with a sl st to the top of the ch-3 — (8 fan petals of 5 dc each).
Round 5: Ch 1, sc in same st, *ch 4, sc in the next ch-2 space; rep from * around, join with a sl st to the first sc. Fasten off, leaving a 12-inch tail for the appliqué.
Assembly and Finishing
Block the pieces first. Pin the back, front, and both sleeves to the measurements above on a towel or blocking mat, mist lightly with water, and let them dry completely. Blocking smooths the edges and makes seaming much easier.
Sew the shoulder seams. With RS together, thread the tapestry needle with grey yarn and whipstitch (small stitches over both edge stitches) across each shoulder, matching stitch for stitch. Fasten off.
Sew the side seams. Fold the sweater so the front and back are RS together. Starting at the underarm, whipstitch down to the hem on each side, matching the rows. Fasten off.
Sew the sleeve seams. Fold each sleeve RS together and whipstitch from the cuff to the underarm. Fasten off.
Set in the sleeves. Turn the sweater RS out. Slip each sleeve into an armhole with RS together, matching the sleeve seam to the side seam and the center of the sleeve top to the shoulder seam. Pin, then whipstitch all the way around the armhole. Fasten off.
Attach the fan motifs. Pin 3 fans along the outer length of each sleeve, spacing them evenly from just below the shoulder to just above the cuff, with the fan opening facing upward toward the shoulder. Using the tapestry needle and the dusty rose tails, sew each motif securely around its outer edge, catching only the surface of the grey fabric so the stitches do not show on the inside. Weave in all ends.
Final blocking and care. Block the finished sweater to measurements and allow it to dry completely. Hand wash cold, reshape, and lay flat to dry.
Pro Tips and Variations
- Change the colors. Keep the body neutral and make the fans in mustard, teal, or burgundy for a different mood, or work the fans in the same grey for a subtle, all-over texture look.
- Adjust the length. Add or remove rows before the armhole shaping to make the sweater longer or cropped. Each extra row adds about 1/3 inch (0.8 cm) at this gauge.
- Adjust the size. To go up or down a size, add or remove 6 chains (two pattern repeats) at the starting chain, which changes the bust by about 4 inches (10 cm).
- Substitute yarn. A worsted acrylic or wool blend works well, but always crochet a new gauge swatch — different fibers behave differently, and cotton has less stretch than wool.