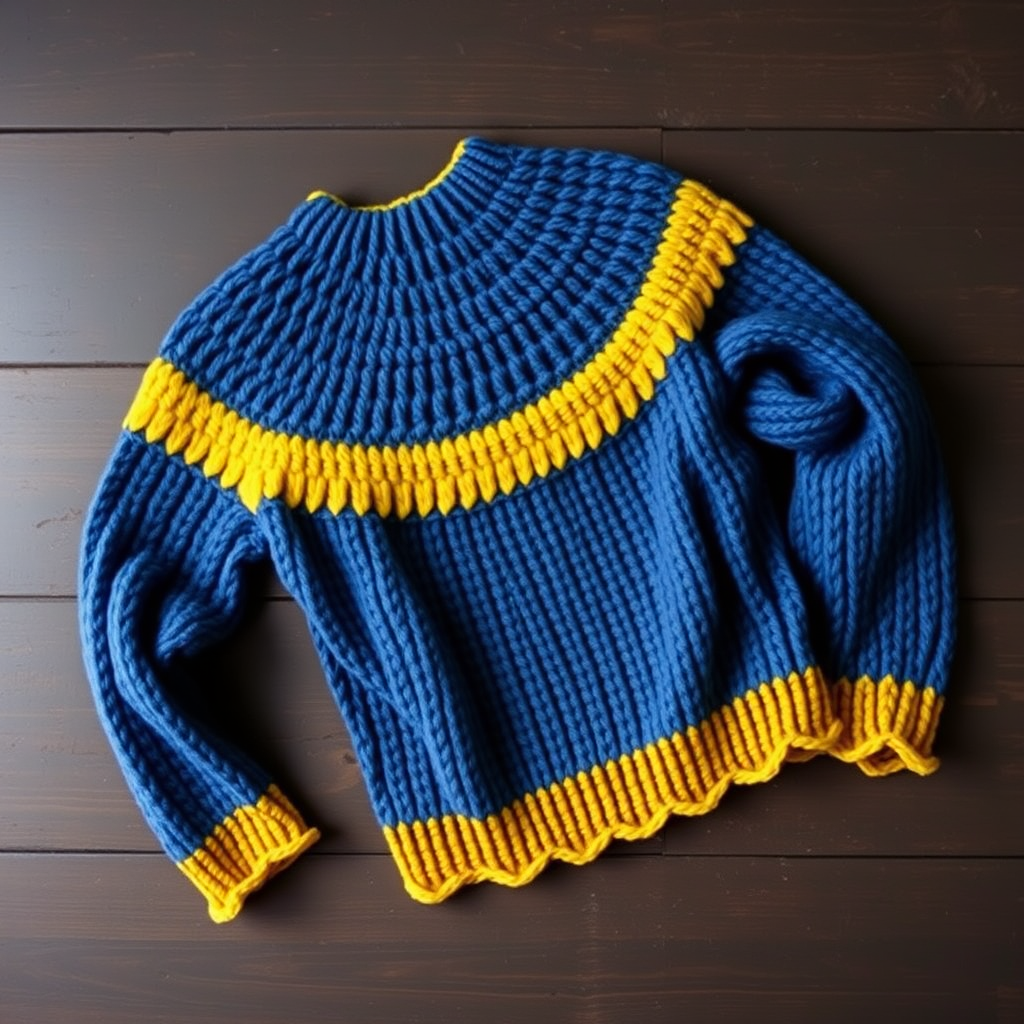
Lilac Henley Button-Detail Rollneck Crochet Sweater Free Pattern

Lilac Henley Button-Detail Rollneck Crochet Sweater — Free Beginner Pattern
Introduction
This sweet, 90s-inspired henley sweater is the perfect first garment for anyone who has just learned to crochet. It is made almost entirely from one simple stitch — single crochet — worked in flat, easy-to-manage panels, so you never have to juggle a complicated chart or a dozen different techniques. The four-button placket gives it that cozy, retro henley look, and the thick roll neck folds over for a soft, snuggly finish that feels like your favorite sweatshirt. Worked in a worsted-weight lilac yarn, the finished sweater has a dense, slightly textured fabric with a relaxed, boxy fit that drapes beautifully and keeps you warm. If you can make a chain and a single crochet, you can make this sweater — and you will be so proud to wear something you made with your own hands.
Materials Needed
- Yarn: Worsted weight (category 4) acrylic or cotton-blend yarn, approximately 900 (1050, 1200) yards / 823 (960, 1097) meters in soft lilac. (Sizes are given as Small (Medium, Large) throughout.)
- Crochet hook: 8 mm (US size L/11), or whatever size you need to match the gauge below.
- Stitch markers: at least 4, to mark armhole corners, shoulder points, and the start of rounds.
- Tapestry needle: a large blunt needle for sewing seams and weaving in ends.
- Scissors for cutting yarn.
- 4 buttons, 3/4 inch (2 cm) diameter.
Finished measurements: Bust 34 (40, 46) inches / 86 (102, 117) cm; Length 22 (23, 24) inches / 56 (58, 61) cm; Sleeve length from underarm 17 (18, 19) inches / 43 (46, 48) cm; Neck circumference 18 (20, 22) inches / 46 (51, 56) cm.
Abbreviations and Beginner Glossary
- ch — chain. Make a loop with the yarn, then pull a new loop through it. Each loop you pull through is one chain stitch. Chains form your starting foundation.
- sc — single crochet. Insert your hook into the stitch, yarn over, pull up a loop (2 loops on hook), yarn over again, and pull through both loops. One loop remains. This is the main stitch of the whole sweater.
- sc2tog — single crochet 2 together. This is a decrease: it turns 2 stitches into 1. Insert hook into the first stitch, yarn over, pull up a loop (2 loops on hook). Insert hook into the next stitch, yarn over, pull up a loop (3 loops on hook). Yarn over and pull through all 3 loops. One stitch remains.
- sl st — slip stitch. Insert hook into stitch, yarn over, and pull the loop straight through the loop on your hook. Used to join rounds.
- yo — yarn over. Wrap the working yarn over your hook from back to front. This is the motion used in almost every stitch.
- RS — right side. The "public" side of the fabric that faces outward when you wear the sweater.
- WS — wrong side. The inside of the fabric.
- Turn — flip your work over so you can crochet back across the row you just finished.
- Fasten off — cut the yarn leaving a tail, then pull the tail all the way through the last loop to lock it.
- Work even — work the same stitch in every stitch with no increases or decreases, so the stitch count stays the same.
- Join with sl st — after working around a round, slip stitch into the first stitch to close the circle.
Gauge
10 single crochet stitches + 13 rows = 4 inches (10 cm).
Why gauge matters: Gauge is how big your stitches turn out. If your stitches are bigger than the pattern's, your sweater will come out too large; if smaller, too small. Always check before you begin so your finished sweater matches the measurements.
How to make a gauge swatch: With your 8 mm hook, chain 16. Single crochet in the second chain from the hook and in each chain across (15 sc). Work 15 rows of single crochet. Lay the swatch flat and measure a 4-inch section in the middle — count how many stitches across and how many rows tall fit in 4 inches. If you have more than 10 stitches, switch to a larger hook; if fewer, switch to a smaller hook. Try again until it matches.
Beginner Tips Before You Start
- Use stitch markers. Place one in the first stitch of every row so you never lose your place, and mark the armhole and shoulder points as you shape them.
- Don't pull your yarn too tight. Tension should be relaxed and even. Tight stitches make stiff fabric and a sweater that's too small.
- Count your stitches at the end of every row. The stitch count in parentheses tells you exactly how many you should have. If it's off, fix it right away rather than several rows later.
- Always start each row with a ch 1. This is a "turning chain" — it does not count as a stitch. Make your first sc into the very first stitch of the row.
- Keep your panels flat and untwisted as you work, and stop to measure against the given lengths rather than counting rows only.
- Try the buttonholes on a scrap first. Practice the yarn-over buttonhole once on a small swatch so the placket rows feel easy.
Step-by-Step Instructions
Note: The sweater is worked in flat panels from the bottom up. The front and back are identical except for the placket opening on the front. Sleeves are worked flat and seamed. The roll neck is worked in the round after the shoulders are seamed. Sizes are written as Small (Medium, Large).
Back Panel
With the 8 mm hook, ch 44 (52, 60).
Row 1: Sc in the 2nd ch from hook and in each ch across. Turn. (43 [51, 59] sc)
Row 2: Ch 1, sc in each st across. Turn. (43 [51, 59] sc)
Rows 3–45 (3–47, 3–49): Repeat Row 2 until the piece measures 14 (14.5, 15) inches / 36 (37, 38) cm from the beginning, ending on a wrong-side row. (43 [51, 59] sc)
Shape Armholes (Back)
Row 1 (RS): Ch 1, sc2tog, sc in each st to the last 2 sts, sc2tog. Turn. (41 [49, 57] sc)
Rows 2–3: Repeat Row 1. (37 [45, 53] sc after Row 3)
Next rows: Work even in sc until the armhole measures 7 (7.5, 8) inches / 18 (19, 20) cm, ending on a wrong-side row. (37 [45, 53] sc)
Shape Shoulders and Neck (Back)
Row 1 (RS): Ch 1, sc in the first 10 (13, 16) sts, sc2tog, sc in the next 13 (15, 17) sts, sc2tog, sc in the last 10 (13, 16) sts. Turn. (35 [43, 51] sc)
Row 2: Ch 1, sc in each st across. Turn. (35 [43, 51] sc)
Row 3: Ch 1, sc in the first 10 (13, 16) sts, sc2tog, sc in the next 11 (13, 15) sts, sc2tog, sc in the last 10 (13, 16) sts. Turn. (33 [41, 49] sc)
Row 4: Ch 1, sc in each st across. Turn. (33 [41, 49] sc)
Row 5: Ch 1, sc in the first 10 (13, 16) sts, sc2tog, sc in the next 9 (11, 13) sts, sc2tog, sc in the last 10 (13, 16) sts. Turn. (31 [39, 47] sc)
Fasten off, leaving a long tail for seaming.
Front Panel
Work the same as the Back Panel through the armhole shaping, until the piece measures the same as the Back to the shoulder shaping, ending on a wrong-side row. (37 [45, 53] sc)
Divide for Placket (Front)
Row 1 (RS): Ch 1, sc in the first 17 (21, 25) sts. Turn, leaving the remaining sts unworked. (17 [21, 25] sc)
Rows 2–4: Work even in sc on these sts. (17 [21, 25] sc)
Placket Edge — Right Side (with buttonholes)
Row 1: Ch 1, sc in each st across. Turn. (17 [21, 25] sc)
Row 2: Ch 1, sc in the first 2 sts, [yo, insert hook in the next st, yo, pull through, yo, pull through all loops on hook] (buttonhole made), sc in the next 3 sts, repeat buttonhole, sc in the next 3 sts, repeat buttonhole, sc in the next 3 sts, repeat buttonhole, sc in the remaining sts. Turn. (4 buttonholes; 17 [21, 25] sc)
Row 3: Ch 1, sc in each st and in each ch-1 space across. Turn. (17 [21, 25] sc)
Fasten off.
Left Front
With RS facing, join yarn at the inner edge of the placket opening.
Row 1: Ch 1, sc in each st across. Turn. (20 [24, 28] sc)
Rows 2–4: Work even in sc. (20 [24, 28] sc)
Placket Edge — Left Side (plain)
Rows 1–3: Ch 1, sc in each st across. Turn. (20 [24, 28] sc)
Fasten off.
Shape Neck and Shoulder (Front)
Right Front:
Row 1 (RS): Ch 1, sc in the first 10 (13, 16) sts, sc2tog, sc in the next 5 (6, 7) sts. Turn. (16 [20, 24] sc)
Row 2: Ch 1, sc2tog, sc in each st across. Turn. (15 [19, 23] sc)
Row 3: Ch 1, sc in the first 10 (13, 16) sts, sc2tog, sc in the next 3 (4, 5) sts. Turn. (14 [18, 22] sc)
Row 4: Ch 1, sc2tog, sc in each st across. Turn. (13 [17, 21] sc)
Row 5: Ch 1, sc in the first 10 (13, 16) sts, sc2tog, sc in the next 1 (2, 3) sts. Turn. (12 [16, 20] sc)
Row 6: Ch 1, sc2tog, sc in each st across. Turn. (11 [15, 19] sc)
Work even until the armhole measures the same as the Back. Fasten off.
Left Front: Work to mirror the Right Front, reversing the shaping (decreases at the opposite edge).
Sleeves (Make 2)
Ch 26 (28, 30).
Row 1: Sc in the 2nd ch from hook and in each ch across. Turn. (25 [27, 29] sc)
Row 2: Ch 1, sc in each st across. Turn. (25 [27, 29] sc)
Increase rows: Repeat Row 2, increasing 1 sc at each end every 4th row 8 (9, 10) times. (41 [45, 49] sc)
Next rows: Work even until the sleeve measures 17 (18, 19) inches / 43 (46, 48) cm from the beginning. (41 [45, 49] sc)
Shape sleeve cap:
Row 1: Ch 1, sc2tog, sc in each st to the last 2 sts, sc2tog. Turn. (39 [43, 47] sc)
Rows 2–5: Repeat Row 1. (31 [35, 39] sc after Row 5)
Fasten off.
Assembly and Finishing
Sew the shoulder seams: Lay the Front and Back panels flat with RS facing each other. Thread your tapestry needle with a long tail and, using a simple whip stitch (small stitches over the edges), join the shoulder edges of the Front to the matching shoulder edges of the Back. Keep the stitches even and don't pull too tight.
Sew the side seams: Fold the sweater in half so the Front and Back line up. Whip stitch from the bottom hem up to the armhole on each side, matching the row ends.
Sew the sleeve seams and set in the sleeves: Fold each sleeve in half and whip stitch the long edges together. Then pin each sleeve cap into an armhole, matching the center of the cap to the shoulder seam, and stitch all the way around.
Roll neck: With RS facing, join yarn at the center back neck.
Round 1: Ch 1, sc evenly around the neck opening, working 1 sc in each st and 1 sc in each row end. Join with sl st to the first sc. (approx. 44 [48, 52] sc)
Round 2: Ch 1, sc in each st around. Join with sl st. Turn. (approx. 44 [48, 52] sc)
Repeat Round 2 until the neck measures 4 inches / 10 cm. Fasten off. Fold the neck to the inside and tack it loosely with a few stitches so it stays rolled.
Buttons: Sew the 4 buttons opposite the buttonholes on the left placket.
Weave in ends: Thread each yarn tail onto the tapestry needle and weave it back and forth through the back of several stitches, then trim. Never knot your ends — weaving hides them neatly.
Blocking: Lightly mist the sweater with water (or gently wet it and roll it in a towel to remove excess water). Lay it flat on a towel, pat it to the finished measurements, and let it dry completely. This smooths the stitches and evens out the fabric.
Pro Tips and Variations
- Change the color: This pattern looks lovely in any solid worsted yarn — try cream, sage green, or dusty rose. You can also work stripes by changing color every few rows, carrying the unused yarn loosely up the side.
- Adjust the length: To make the sweater longer or shorter, simply add or remove rows in the straight body section before the armhole shaping. Each extra 13 rows adds about 4 inches.
- Try a different yarn: A cotton blend gives a crisper, more structured sweater; an acrylic or wool blend feels softer and warmer. Always re-check your gauge when you change yarn.
- Make it roomier: For a more oversized fit, go up one size or add a few stitches to your starting chain in multiples that keep the stitch counts even.