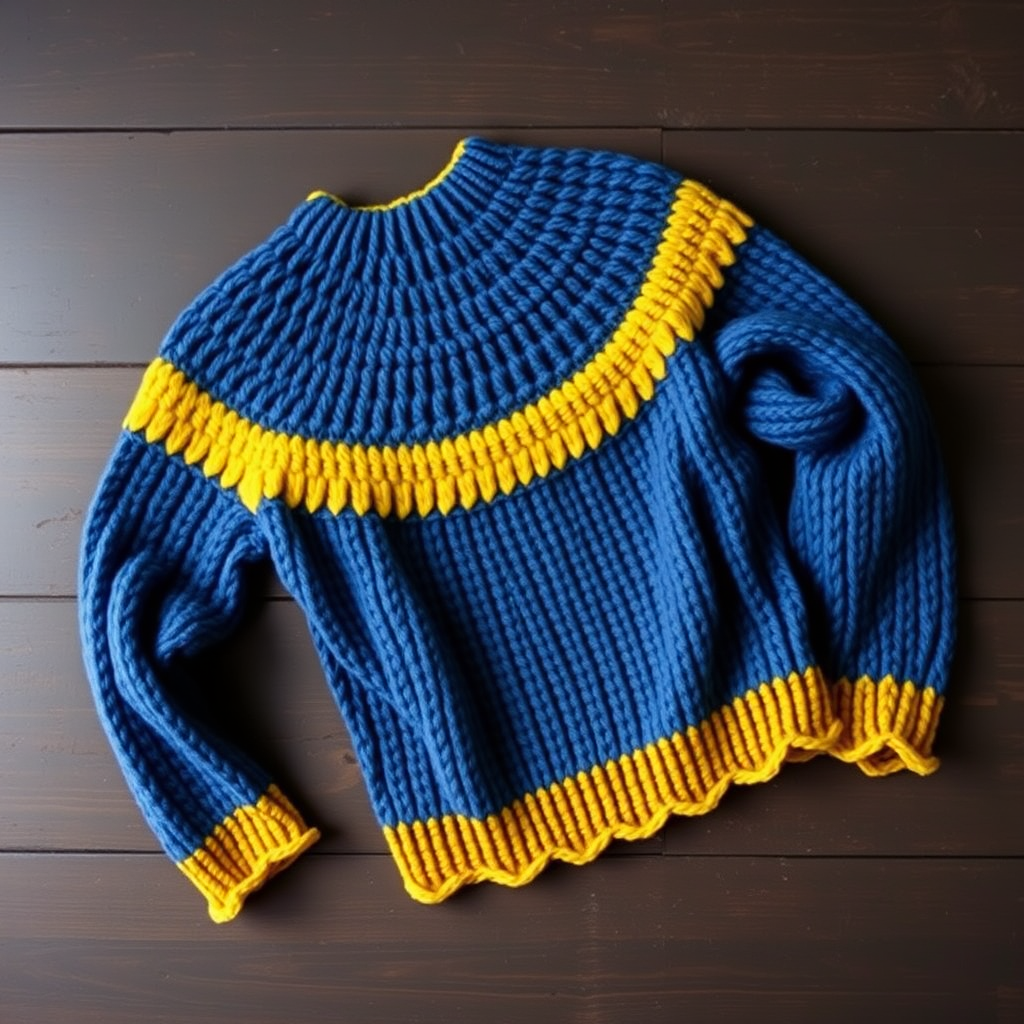
Whispering Dune Cocoon Cardigan Free Pattern – A Textured Crochet Wrap

Whispering Dune Cocoon Cardigan: A Textured Crochet Wrap You'll Love to Make
Wrap yourself in the soft, sculptural warmth of the Whispering Dune Cocoon Cardigan, a modern crochet design that drapes like a gentle breeze over rolling sand dunes. Its alternating ridge and shell stitches create a mesmerizing, organic texture that feels as luxurious as it looks. This free pattern is perfect for intermediate beginners who want to expand their skills while creating a stunning, wearable piece of art.
With its boxy, draped silhouette and open front panels, this cardigan is the epitome of boho-chic comfort. The earthy palette of sand, driftwood, and oat blends harmoniously, evoking the serene beauty of desert landscapes. Whether you're curling up with a book or heading out for a casual stroll, this cocoon cardigan will become your go-to layering piece.
Materials Needed
Before you begin, gather the following materials to ensure a smooth and enjoyable crochet experience:
- Yarn: Worsted weight (#4) cotton-wool blend yarn in three earthy tones:
- Sand (A) – for the main body and edging
- Driftwood (B) – for contrast bands
- Oat (C) – for additional contrast bands
- Crochet Hook: US Size I/9 (5.5 mm) crochet hook
- Tapestry Needle: For weaving in ends and seaming
- Scissors: For cutting yarn
- Stitch Markers: To help keep track of your place (optional but helpful)
Gauge: 14 stitches and 10 rows = 4 inches in alternating ridge and shell pattern (blocked). Always check your gauge to ensure your finished cardigan fits as intended.
Understanding the Pattern
This cocoon cardigan is worked flat in one piece from the bottom up, then seamed at the shoulders and sides, leaving armholes. The pattern uses a repeating two-row texture: Row A (ridge) and Row B (shell). This creates a beautiful, tactile fabric that's both warm and breathable.
Stitch Abbreviations
- ch = chain
- sc = single crochet
- dc = double crochet
- sl st = slip stitch
- sk = skip
- st(s) = stitch(es)
- rep = repeat
- RS = right side
- WS = wrong side
Special Stitches
- Ridge Stitch (RS): Worked in back loop only (BLO) of each stitch across. This creates a subtle, raised ridge that adds texture and depth.
- Shell Stitch (SH): (2 dc, ch 1, 2 dc) all in the same stitch. This creates a delicate, fan-like shell motif.
Pattern Notes
- The cardigan is designed for sizes S/M (L/XL, 2XL/3XL). Instructions are given for the smallest size, with larger sizes in parentheses.
- Chain counts are multiples of 6 + 1.
- Always ch 1 at the beginning of sc rows (does not count as a stitch).
- Always ch 3 at the beginning of dc rows (counts as first dc).
Step-by-Step Instructions
BODY (Worked in One Piece from Bottom Up)
Foundation Row: With color A, ch 121 (133, 145).
Row 1 (RS): Sc in 2nd ch from hook and in each ch across. Turn. – 120 (132, 144) sc.
Row 2 (WS): Ch 1, sc in BLO of each st across. Turn. This creates your first ridge row.
Row 3 (RS): Ch 3 (counts as dc), *sk 2 sts, SH in next st, sk 2 sts, dc in next st; rep from * across, ending with dc in last st. Turn. – 20 (22, 24) shells.
Row 4 (WS): Ch 1, sc in BLO of each st across. Turn.
Row 5 (RS): Ch 3, *sk 2 sts, SH in next st, sk 2 sts, dc in next st; rep from * across, ending with dc in last st. Turn.
Row 6 (WS): Ch 1, sc in BLO of each st across. Turn.
Row 7 (RS): Change to color B. Ch 3, *sk 2 sts, SH in next st, sk 2 sts, dc in next st; rep from * across, ending with dc in last st. Turn.
Row 8 (WS): Ch 1, sc in BLO of each st across. Turn.
Row 9 (RS): Ch 3, *sk 2 sts, SH in next st, sk 2 sts, dc in next st; rep from * across, ending with dc in last st. Turn.
Row 10 (WS): Ch 1, sc in BLO of each st across. Turn.
Row 11 (RS): Change to color C. Ch 3, *sk 2 sts, SH in next st, sk 2 sts, dc in next st; rep from * across, ending with dc in last st. Turn.
Row 12 (WS): Ch 1, sc in BLO of each st across. Turn.
Rows 13–18: Repeat Rows 3–4, using color C for Rows 13–14, color A for Rows 15–16, and color B for Rows 17–18.
Rows 19–24: Repeat Rows 3–4, using color B for Rows 19–20, color C for Rows 21–22, and color A for Rows 23–24.
Continue alternating colors every 2 rows (one ridge row + one shell row) until the piece measures approximately 24 (26, 28) inches from the foundation row, ending with a WS row. Fasten off and weave in ends.
Shaping the Shoulders
Place the piece flat. Mark the center 40 (44, 48) stitches for the back neck. The remaining stitches on each side will form the front panels.
Left Front Panel:
- With RS facing, join color A with a sl st at the left edge of the back neck marker.
- Work in pattern (alternating ridge and shell rows) across the left front stitches only, decreasing 1 stitch at the neck edge every 4 rows (by working 2 sc together at the start of ridge rows) until 20 (22, 24) stitches remain.
- Continue even until the panel measures 8 (9, 10) inches from the underarm. Fasten off.
Right Front Panel:
- Repeat the same process for the right front panel, mirroring the decreases.
Sleeves (Worked Flat, Then Seamed)
Sleeve (make 2):
- With color A, ch 37 (43, 49).
- Work in the same alternating ridge and shell pattern as the body, increasing 1 stitch at each end every 6 rows (by working 2 sc in first and last stitch of ridge rows) until you have 49 (55, 61) stitches.
- Continue even until the sleeve measures 18 (19, 20) inches from the foundation. Fasten off.
Finishing Touches
Now that all your pieces are complete, it's time to assemble your beautiful cardigan. Follow these steps carefully for a professional finish:
- Seam the shoulders: With RS together, use a whip stitch or mattress stitch to seam the outer edges of the front panels to the back panel, leaving the center back neck open.
- Set in the sleeves: Fold each sleeve in half lengthwise to find the center top. Pin the center top to the shoulder seam, then sew the sleeve into the armhole, easing any fullness.
- Seam the sides and sleeve undersides: With RS together, sew from the underarm down to the bottom edge, then continue sewing the sleeve seam from the underarm to the cuff.
- Edging: With RS facing, join color A at the bottom right corner. Work 1 round of sc evenly around the entire outer edge of the cardigan (bottom, front edges, neckline, and cuffs). In each corner, work 3 sc in the corner stitch. Join with a sl st to first sc. Fasten off and weave in all ends.
- Block: Lightly steam block to open up the shell stitches and even out the texture. This step is crucial for achieving that beautiful, drapey finish.
Tips for Success
- Take your time with color changes: When switching colors, work the last yarn over of the previous stitch with the new color to create a seamless transition.
- Count your stitches regularly: Especially during the shell rows, to ensure you maintain the correct pattern.
- Block generously: The steam blocking truly transforms the fabric, opening up the shells and giving the cardigan its beautiful drape.
- Weave ends as you go: This will save you time at the end and keep your work tidy.
Your Whispering Dune Cocoon Cardigan is now complete! This stunning piece is more than just a garment—it's a testament to your creativity and skill. The textured ridges and delicate shells create a fabric that's both visually striking and incredibly comfortable to wear. Whether you're gifting it to a loved one or keeping it for yourself, this cardigan is sure to be treasured for years to come.
Happy crocheting, and may your stitches always be even and your coffee always warm!