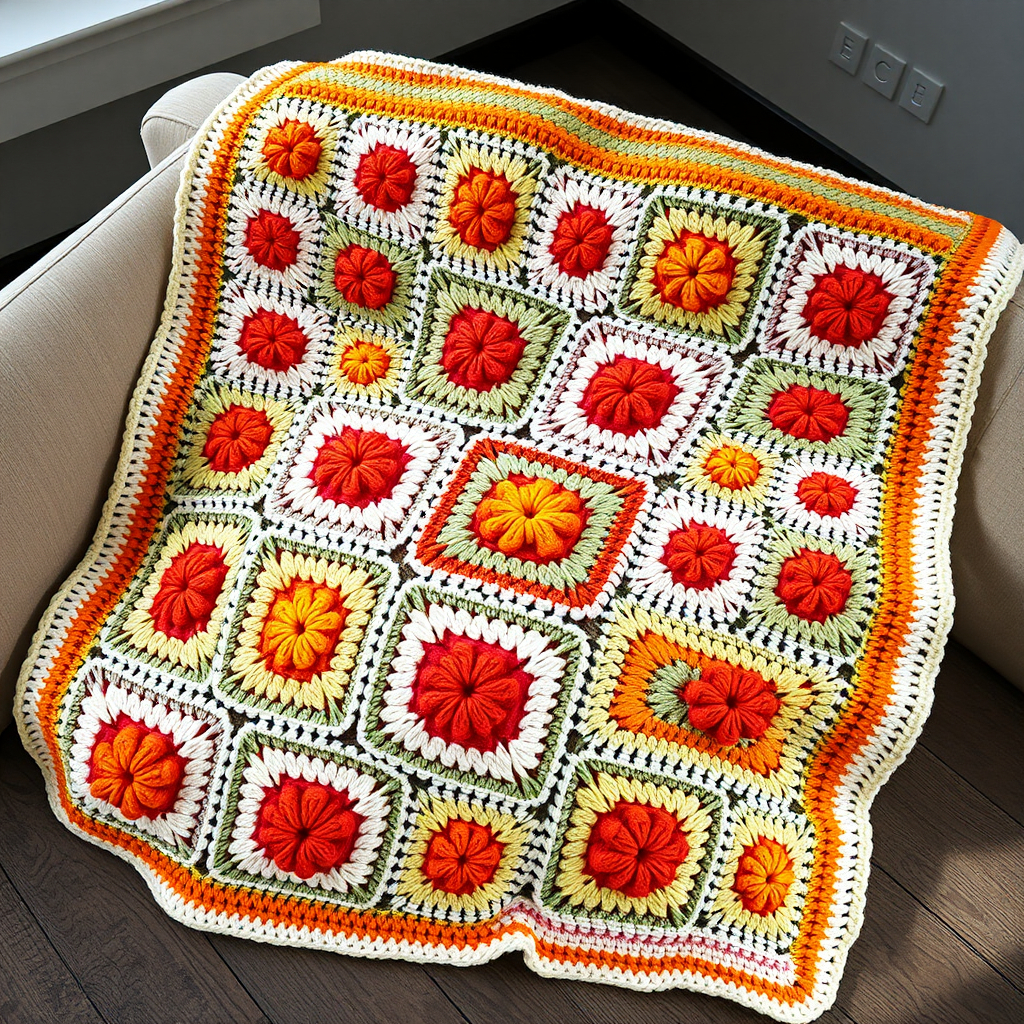
Whispering Dune Chevron Throw Free Pattern – Crochet a Desert Sunset Blanket

Introducing the Whispering Dune Chevron Throw
Imagine the warm, fading light of a desert sunset—terracotta cliffs melting into burnt orange skies, then softening through golden yellows and dusty pinks before settling into the calm of cream. That breathtaking gradient is now something you can wrap yourself in. The Whispering Dune Chevron Throw is a free crochet pattern that brings this serene landscape into your home.
This isn't just another chevron blanket. By alternating smooth rows of classic double crochet with rows featuring front post double crochet (fpdc) stitches, you create a sculptural, textured fabric. The peaks of the chevrons develop subtle, vertical ridges that catch the light beautifully, adding depth and a cozy, handcrafted feel that is both modern and timeless. Whether draped over a sofa or folded at the foot of your bed, this throw is a statement piece that invites you to slow down and get cozy.
Designed with beginners in mind, this pattern uses a simple, rhythmic repeat. Once you master the first few rows, the entire blanket flows effortlessly. Let's gather your materials and start creating your own piece of desert sunset.
Materials Needed
Before you begin, ensure you have all your supplies ready. This project is wonderfully portable and works up faster than you might think with a larger hook.
- Yarn: Worsted weight yarn in 5 colors. The approximate yardage is 1800-2200 yards total. Here’s the color palette to mimic the desert sunset:
- Color A (Terracotta): Approx. 400-450 yards
- Color B (Burnt Orange): Approx. 400-450 yards
- Color C (Golden Yellow): Approx. 400-450 yards
- Color D (Dusty Pink): Approx. 400-450 yards
- Color E (Cream): Approx. 400-450 yards (You will use this for the final color block and the border).
- Crochet Hook: US Size I/9 (5.5 mm) crochet hook. Using this size ensures the correct gauge and a drapey, yet dense, fabric.
- Other Tools: Yarn needle for weaving in ends, scissors, and blocking pins (for the final step).
Gauge: 14 double crochet (dc) stitches x 8 rows = 4 inches in the chevron pattern (after blocking). It's always a good idea to make a small swatch to check your tension, but this pattern is forgiving.
Step-by-Step Instructions
This pattern is worked in rows. The stitch repeat is simple: you'll be working groups of double crochet, making increases at the "peaks" and decreases at the "valleys" of the chevron. Let's break it down.
Getting Started: The Foundation Chain
Chain (ch) 146 loosely. A loose foundation chain is crucial for a stretchy edge. If you tend to crochet tightly, consider using a hook one size larger just for the foundation chain, then switch to your 5.5 mm hook for the rest of the pattern.
Row 1: Establishing the Chevron Base
This first row sets the entire pattern. Take your time and count your stitches carefully.
- Dc in 4th ch from hook (the skipped chains count as your first double crochet).
- Dc in the next 3 ch. (You now have 5 dc total, including the starting chain).
- *3 dc in the next ch. (This creates the "peak" or top of your chevron).
- Dc in the next 4 ch.
- Skip the next 2 ch. (This creates the "valley" or bottom of your chevron).
- Dc in the next 4 ch.
- Repeat from * across the row. You will end your final repeat with 3 dc in the last ch of the row. Turn your work.
Pro Tip: You should have 7 distinct chevron points (peaks) across your row.
Row 2: Building the Ripple
This row is a simple repeat of Row 1, but working into the stitches instead of the chain.
- Ch 3 (this counts as your first dc).
- Dc in the next 3 dc.
- *3 dc in the next dc. (This is the center dc of the peak from the row below).
- Dc in the next 4 dc.
- Skip the next 2 dc. (These are the two dc that form the valley).
- Dc in the next 4 dc.
- Repeat from * across. End the row by working 3 dc in the top of the turning chain from the previous row. Turn.
Row 3: Introducing the Texture (Front Post Double Crochet)
This is where the magic happens! We'll add the sculptural ridge to the center of each peak.
- Ch 3 (counts as first dc).
- Dc in the next 3 dc.
- *Front Post Double Crochet (fpdc) around the next dc. This is the center dc of the 3-dc group from the row below. To do a fpdc: Yarn over, insert your hook from front to back to front around the post of the stitch (not through the top loops), yarn over and pull up a loop, complete the dc as normal.
- Dc in the next 4 dc.
- Skip the next 2 dc.
- Dc in the next 4 dc.
- Repeat from * across. End the row with a fpdc around the center dc of the last 3-dc group, then dc in the top of the turning ch. Turn.
Row 4: Smooth Sailing
This row is exactly like Row 2. No front post stitches, just plain double crochet. This smooth row helps the textured ridges pop.
- Ch 3 (counts as first dc).
- Dc in the next 3 dc.
- *3 dc in the next dc (the fpdc from the row below), dc in the next 4 dc, skip next 2 dc, dc in next 4 dc; repeat from * across, ending with 3 dc in the top of the turning ch. Turn.
Rows 5-8: Repeating the Pattern
You're on a roll! Now we simply repeat the last two rows to build the pattern.
- Row 5: Repeat Row 3 (with the fpdc in the center of each peak).
- Row 6: Repeat Row 2 (plain dc).
- Row 7: Repeat Row 3 (with the fpdc).
- Row 8: Repeat Row 2 (plain dc).
Color Sequence & Repeating the Rows
Now that you have the rhythm, it's time to let the colors do the talking. Follow this sequence to create the beautiful gradient. Remember to fasten off your yarn at the end of each color block and weave in the ends as you go.
- Rows 1-8: Color A (Terracotta)
- Rows 9-16: Color B (Burnt Orange)
- Rows 17-24: Color C (Golden Yellow)
- Rows 25-32: Color D (Dusty Pink)
- Rows 33-40: Color E (Cream)
- Rows 41-48: Color D (Dusty Pink)
- Rows 49-56: Color C (Golden Yellow)
- Rows 57-64: Color B (Burnt Orange)
- Rows 65-72: Color A (Terracotta)
Fasten off after completing Row 72.
Finishing Touches: The Border
A clean border frames your work beautifully and helps stabilize the wavy edges.
- Attach Color E (Cream) to any corner of the blanket.
- Round 1: Ch 1, then single crochet (sc) evenly around the entire blanket. Work 3 sc in each corner to help the corners lie flat and turn nicely. Join with a slip stitch (sl st) to the first sc.
- Round 2: Ch 1, sc in each sc around, working 3 sc in each corner again. Join with a sl st to the first sc. Fasten off and weave in this final end.
Blocking: The Secret to Perfect Chevrons
Blocking is essential for this pattern. It opens up the stitches, evens out the tension, and makes your chevron points sharp and beautiful.
- Pin the blanket to your desired dimensions (approximately 50 inches wide x 65 inches long) on a blocking mat or a clean, padded surface. Use rust-proof pins to secure the points of the chevrons.
- Use a steam iron or garment steamer to gently steam the blanket. Do not press down heavily; just let the steam penetrate the fibers.
- Allow the blanket to dry completely before unpinning. This will lock in the shape and dimensions.
Once dry, your Whispering Dune Chevron Throw is ready to be draped, admired, and enjoyed. The combination of the rhythmic stitch pattern and the soothing color gradient makes this a truly rewarding project. Happy crocheting!