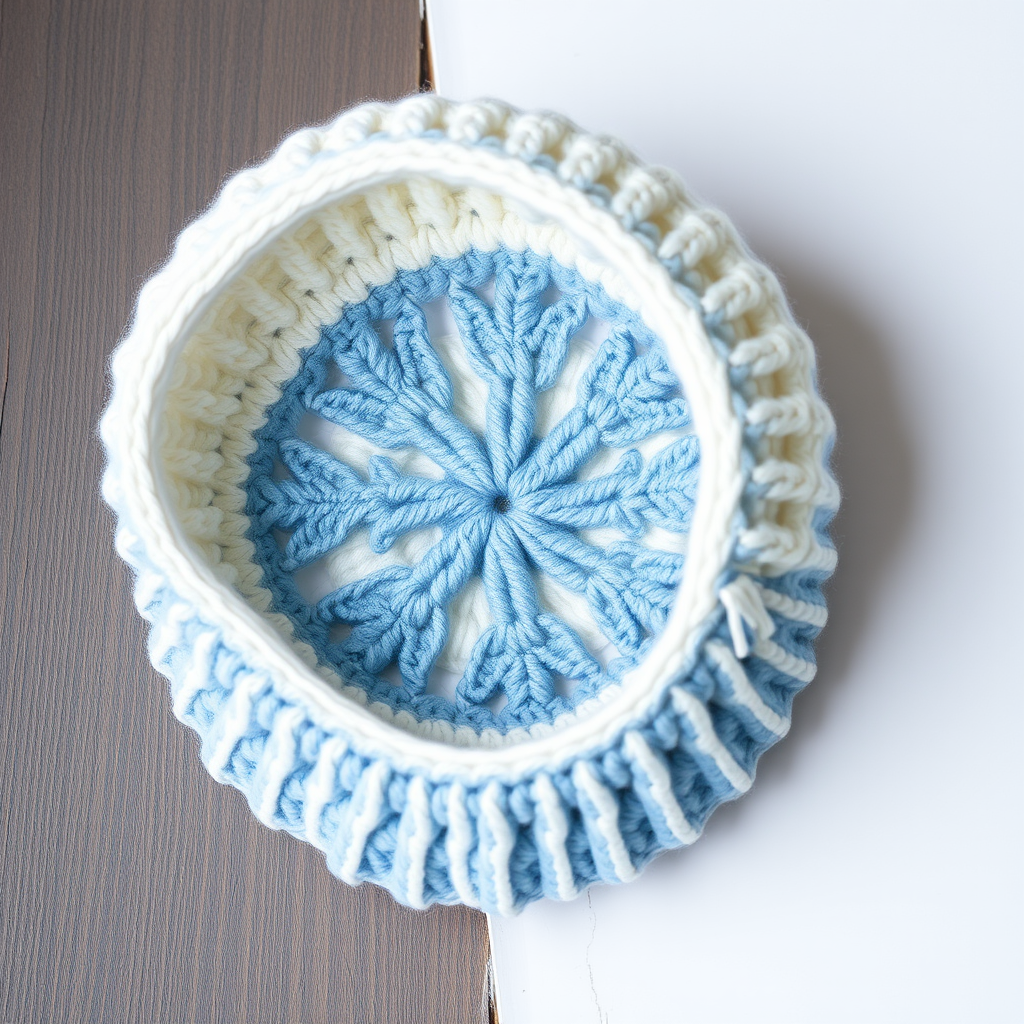
Whimsical Wisteria Bloom Beanie Free Pattern

Whimsical Wisteria Bloom Beanie: A Free Crochet Pattern
Wrap your head in a cascade of textured crochet blossoms with this enchanting beanie, featuring a unique puff stitch flower motif that mimics the graceful droop of wisteria vines. This intermediate-level pattern offers a fresh, botanical twist on the classic winter hat, perfect for adding a touch of handmade elegance to any chilly day. The combination of soft sage green and dusty lavender creates a soothing, nature-inspired palette that will make this hat your new cold-weather favorite.
Whether you're looking for a thoughtful handmade gift or a special treat for yourself, this pattern delivers stunning results. The puff stitches cluster together like tiny blossoms, creating a three-dimensional floral effect that drapes beautifully over the crown and cascades down the sides. Let's dive into this delightful project!
Materials Needed
Before you begin, gather the following supplies to ensure a smooth crochet session:
- Yarn: Worsted weight yarn in two colors:
- Main Color (MC): Soft sage green – approximately 180-200 yards
- Contrast Color (CC): Dusty lavender – approximately 50-60 yards (for edging and optional pompom)
- Crochet Hook: H/8 (5.0 mm) crochet hook
- Other Tools: Yarn needle for weaving in ends, scissors, stitch markers (optional but helpful)
Gauge: 16 single crochet (sc) x 18 rows = 4 inches in single crochet. Always check your gauge to ensure the correct fit. If your hat is too small, try a larger hook; if too large, go down a hook size.
Special Stitches You'll Need
This pattern uses two special stitches that create the beautiful wisteria effect. Practice these before starting to build confidence:
Puff Stitch (PF)
Yarn over, insert hook into indicated stitch, yarn over and pull up a loop (3 loops on hook). Repeat this process 3 more times in the same stitch (you'll have 7 loops on hook). Yarn over and pull through all 7 loops. Chain 1 to close and secure the puff.
Single Crochet Decrease (sc2tog)
Insert hook into next stitch, yarn over, pull up a loop (2 loops on hook). Insert hook into the next stitch, yarn over, pull up a loop (3 loops on hook). Yarn over and pull through all 3 loops on hook. This decreases your stitch count by one.
Step-by-Step Instructions
This beanie is worked from the top down in joined rounds. Follow each round carefully, and you'll have a gorgeous wisteria beanie in no time!
Crown (Top of Hat)
Round 1: With MC, make a magic ring. Work 6 single crochet (sc) into the ring. Pull the tail tight to close the ring. Join with a slip stitch (sl st) to the first sc. (6 sc)
Round 2: Chain 1 (ch 1). Work 2 sc in each sc around. Join with sl st to first sc. (12 sc)
Round 3: Ch 1. *Work 2 sc in next sc, sc in next sc.* Repeat from * to * around. Join. (18 sc)
Round 4: Ch 1. *Work 2 sc in next sc, sc in next 2 sc.* Repeat from * to * around. Join. (24 sc)
Round 5: Ch 1. *Work 2 sc in next sc, sc in next 3 sc.* Repeat from * to * around. Join. (30 sc)
Round 6: Ch 1. *Work 2 sc in next sc, sc in next 4 sc.* Repeat from * to * around. Join. (36 sc)
Round 7: Ch 1. *Work 2 sc in next sc, sc in next 5 sc.* Repeat from * to * around. Join. (42 sc)
Round 8: Ch 1. *Work 2 sc in next sc, sc in next 6 sc.* Repeat from * to * around. Join. (48 sc)
Round 9: Ch 1. *Work 2 sc in next sc, sc in next 7 sc.* Repeat from * to * around. Join. (54 sc)
Round 10: Ch 1. *Work 2 sc in next sc, sc in next 8 sc.* Repeat from * to * around. Join. (60 sc)
Your crown should now be a flat circle measuring approximately 5-6 inches in diameter. If it's smaller, you may need to add an extra increase round; if larger, consider starting the body earlier.
Body with Wisteria Motif
Now we'll begin creating the beautiful puff stitch blossoms that give this hat its signature look.
Round 11: Ch 1. Work 1 sc in each sc around. Join with sl st to first sc. (60 sc)
Round 12 (First Puff Round): Ch 1. Work sc in the first 10 sc. *Work a Puff Stitch (PF) in the next sc, then sc in the next 4 sc.* Repeat from * to * around, ending with sc in the last 4 sc. Join. (12 PF, 48 sc)
Tip: The puff stitches should be evenly spaced. After completing this round, you'll have 12 puffs around the hat.
Round 13: Ch 1. Work 1 sc in each sc AND in each ch-1 space from the PF stitches around. Join. (60 sc)
Important: Don't skip the chain-1 spaces at the top of each puff stitch. These count as stitches and keep your count at 60.
Round 14: Ch 1. Work 1 sc in each sc around. Join. (60 sc)
Round 15 (Staggered Puff Round): Ch 1. Work sc in the first 5 sc. *Work a PF in the next sc, then sc in the next 4 sc.* Repeat from * to * around, ending with sc in the last 3 sc. Join. (12 PF, 48 sc)
This staggered placement ensures the puffs in this row sit between the puffs of the previous row, creating a beautiful offset pattern like real wisteria clusters.
Round 16: Ch 1. Work 1 sc in each sc and in each ch-1 space from the PF stitches around. Join. (60 sc)
Round 17: Ch 1. Work 1 sc in each sc around. Join. (60 sc)
Rounds 18-23: Repeat Rounds 12-17 once more for a second tier of wisteria blossoms. This gives your hat two full layers of cascading puffs.
After completing Round 23, your hat should measure approximately 6-7 inches from the crown. Try it on to check the fit—it should cover your ears but leave room for the band.
Lower Band
Rounds 24-26: Ch 1. Work 1 sc in each sc around. Join with sl st to first sc. (60 sc)
Round 27: Ch 1. Work 1 sc in each sc around, but DO NOT join. Fasten off MC and weave in the end.
This final round without joining creates a smooth edge for the decorative trim.
Decorative Edging
Now we'll add the delicate scalloped trim that frames the bottom of the beanie.
With CC (dusty lavender), join yarn with a slip stitch to any stitch on the last round. Ch 1. *Work 1 sc in the next sc, ch 3, skip the next sc.* Repeat from * to * around the entire edge. Join with a sl st to the first sc. Fasten off. Weave in all ends securely.
The chain-3 loops will create a lovely scalloped effect that echoes the floral theme of the hat.
Finishing Touches
Fold the brim up about 1.5 inches. The wisteria puff stitches will naturally drape downward, creating a cascading floral effect that mimics real wisteria vines in bloom.
Optional: Create a small CC pompom and attach it to the crown for extra whimsy. To make a pompom, wrap CC yarn around a 2-inch cardboard square about 50 times, tie tightly in the middle, cut the loops, and trim to shape.
Care Instructions
To keep your Whimsical Wisteria Bloom Beanie looking its best, hand wash in cool water with a gentle wool wash. Lay flat to dry, reshaping gently. Avoid wringing or hanging, as this can stretch the puff stitches out of shape.
Final Thoughts
This pattern is perfect for intermediate crocheters looking to expand their skills with puff stitches and textured motifs. The result is a stunning, one-of-a-kind accessory that's sure to spark conversations. The combination of the soft sage green base with dusty lavender blossoms creates a serene, botanical aesthetic that pairs beautifully with neutral winter coats or denim jackets.
Don't be afraid to experiment with different color combinations! A cream base with rose puffs would be romantic, while a charcoal base with mustard puffs would be bold and modern. The possibilities are endless with this versatile pattern.
Happy crocheting, and enjoy your beautiful new wisteria beanie!