Sunlit Dune Visor Hat Free Pattern – Crochet a Breezy Textured Brim Cap
Sunlit Dune Visor Hat Free Pattern – Crochet a Breezy Textured Brim Cap
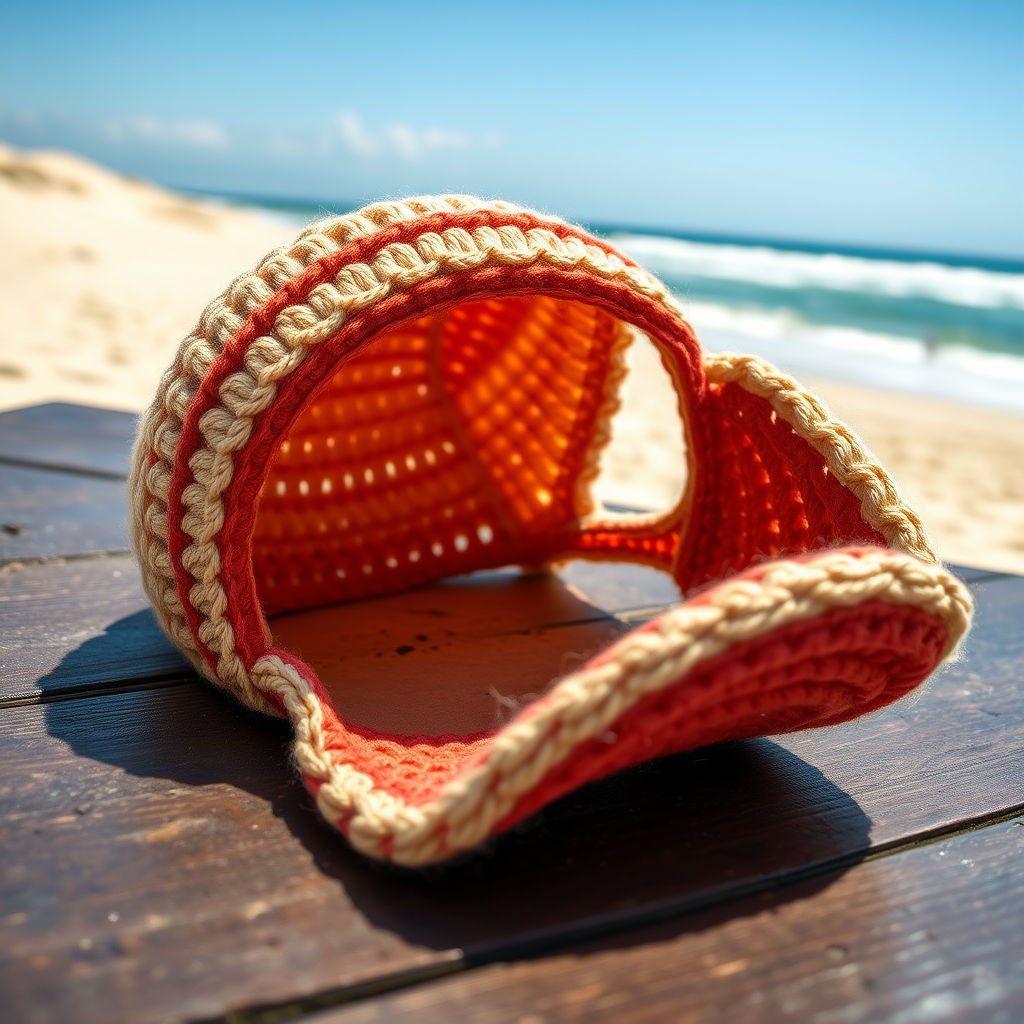
Imagine a warm desert sunset captured in a wearable accessory—that's the magic of the Sunlit Dune Visor Hat. This crochet pattern combines a soft, airy crown with a structured, ridged brim, making it the perfect companion for sunny days, coastal strolls, or any outdoor adventure. The gradient of sand, coral, and terracotta evokes the serene beauty of dunes at dusk, creating a standout piece that's both stylish and practical. Whether you're a seasoned crocheter or just starting your yarn journey, this beginner-friendly pattern will guide you through every step to create a hat that's as functional as it is beautiful.
This visor hat isn't just about looks—it's designed with comfort in mind. The breathable cotton yarn keeps you cool, while the structured brim offers excellent sun protection. The classic baseball cap silhouette gets a handmade twist, with visible yarn texture and subtle color blocking that sets it apart from anything you'd find in a store. Let's dive into this delightful project!
Materials Needed
Before you begin, gather the following materials to ensure a smooth crocheting experience:
- Yarn: Worsted weight cotton yarn (e.g., Lion Brand 24/7 Cotton) in 3 colors:
- Color A (Sand) – for the crown
- Color B (Coral) – for the transition
- Color C (Terracotta) – for the brim
- Hook: 5.0 mm (H-8) crochet hook
- Other: Yarn needle for weaving in ends, scissors, stitch marker (optional but helpful)
Gauge: 16 single crochet (sc) x 18 rows = 4 x 4 inches (10 x 10 cm). Always check your gauge to ensure the hat fits properly. If your gauge is off, adjust your hook size accordingly.
Step-by-Step Instructions
This pattern is worked in three main sections: the crown (in a continuous spiral), a color transition, and the brim (worked in rows). Follow along carefully, and you'll have a beautiful visor hat in no time!
Part 1: The Crown (Worked in Continuous Spiral)
Note: When working in a continuous spiral, do not join rounds with a slip stitch. Instead, work continuously, and use a stitch marker to keep track of the beginning of each round.
Round 1: With Color A (Sand), make a magic ring. Chain 1 (does not count as a stitch), then work 6 single crochet (sc) into the ring. Pull the tail to tighten the ring closed. (6 stitches)
Round 2: Work 2 sc in each stitch around. (12 stitches)
Round 3: *Sc in the next stitch, 2 sc in the next stitch*; repeat from * to * around. (18 stitches)
Round 4: *Sc in the next 2 stitches, 2 sc in the next stitch*; repeat from * to * around. (24 stitches)
Round 5: *Sc in the next 3 stitches, 2 sc in the next stitch*; repeat from * to * around. (30 stitches)
Round 6: *Sc in the next 4 stitches, 2 sc in the next stitch*; repeat from * to * around. (36 stitches)
Round 7: *Sc in the next 5 stitches, 2 sc in the next stitch*; repeat from * to * around. (42 stitches)
Round 8: *Sc in the next 6 stitches, 2 sc in the next stitch*; repeat from * to * around. (48 stitches)
Round 9: *Sc in the next 7 stitches, 2 sc in the next stitch*; repeat from * to * around. (54 stitches)
Round 10: *Sc in the next 8 stitches, 2 sc in the next stitch*; repeat from * to * around. (60 stitches)
Rounds 11-18: Sc in each stitch around. (60 stitches each round)
These rounds form the crown depth. The hat should now measure approximately 5-6 inches from the center top to the edge, depending on your tension. If you prefer a deeper crown, you can add a few more rounds of sc without increases.
Part 2: Color Transition
Now we'll introduce the beautiful gradient effect. When changing colors, work the last yarn over of the previous stitch with the new color to create a seamless transition.
Round 19: Switch to Color B (Coral). Sc in each stitch around. (60 stitches)
Round 20: Continuing with Color B, sc in each stitch around. (60 stitches)
Round 21: Switch to Color C (Terracotta). Sc in each stitch around. (60 stitches)
Round 22: Continuing with Color C, sc in each stitch around. (60 stitches)
At this point, you should have a beautiful crown with a sand-colored top, a coral middle band, and a terracotta bottom edge. Cut the yarn from Colors A and B, leaving tails to weave in later.
Part 3: The Brim (Worked in Rows, Back and Forth)
The brim is worked only on the front half of the hat, creating the visor shape. We'll work in rows, turning at the end of each row.
Row 1: Chain 1, turn. Sc in the first 30 stitches. Leave the remaining 30 stitches unworked—these will form the back of the hat. (30 stitches)
Row 2: Chain 1, turn. Sc in each stitch across. (30 stitches)
Row 3: Chain 1, turn. Sc in the first 2 stitches, 2 sc in the next stitch, *sc in the next 4 stitches, 2 sc in the next stitch*; repeat from * to * 4 more times, sc in the last 2 stitches. (36 stitches)
Row 4: Chain 1, turn. Sc in each stitch across. (36 stitches)
Row 5: Chain 1, turn. Sc in the first 3 stitches, 2 sc in the next stitch, *sc in the next 5 stitches, 2 sc in the next stitch*; repeat from * to * 4 more times, sc in the last 3 stitches. (42 stitches)
Row 6: Chain 1, turn. Sc in each stitch across. (42 stitches)
Row 7: Chain 1, turn. Sc in the first 4 stitches, 2 sc in the next stitch, *sc in the next 6 stitches, 2 sc in the next stitch*; repeat from * to * 4 more times, sc in the last 4 stitches. (48 stitches)
Row 8: Chain 1, turn. Sc in each stitch across. (48 stitches)
Row 9: Chain 1, turn. Sc in the first 5 stitches, 2 sc in the next stitch, *sc in the next 7 stitches, 2 sc in the next stitch*; repeat from * to * 4 more times, sc in the last 5 stitches. (54 stitches)
Row 10: Chain 1, turn. Sc in each stitch across. (54 stitches)
Row 11: Chain 1, turn. Sc in each stitch across. (54 stitches)
Row 12: Chain 1, turn. Sc in each stitch across. (54 stitches)
Fasten off, leaving a long tail (about 18-20 inches) for sewing the brim to the crown.
Part 4: Finishing Touches
Now it's time to bring your visor hat to life!
Step 1: Fold the Brim
Fold the brim upward along the edge where the crown meets the brim. The brim should curve naturally, creating a visor shape that shades your face. The increases in the rows create the gentle curve that gives the hat its classic baseball cap silhouette.
Step 2: Sew the Brim
Using the long tail you left when fastening off, thread it through a yarn needle. Whip stitch the sides of the brim to the crown. Start at one edge where the brim meets the crown, and work your way around the curved edge, securing the brim to the crown. Make sure your stitches are even and secure, but not too tight—you want the brim to maintain its shape.
Step 3: Weave in All Ends
Using your yarn needle, weave in all loose ends from color changes and the beginning of the work. Make sure to weave them in securely so they don't come loose with wear.
Step 4: Optional Decoration
For a personal touch, you can add a button or a small crochet flower at the center front of the hat where the brim meets the crown. This adds a charming detail and can help hide any imperfections in your sewing.
Tips for Success
- Check your gauge: Before starting, crochet a small swatch to ensure your tension matches the pattern. This ensures the hat fits properly.
- Use a stitch marker: When working in the spiral, a stitch marker at the beginning of each round will help you keep track of your place.
- Keep tension consistent: The brim needs to be firm to hold its shape. Try to maintain even tension throughout, especially in the brim rows.
- Blocking: If your brim feels a bit floppy, you can block it by lightly steaming it and shaping it while it dries. This helps the brim hold its curve.
Your Sunlit Dune Visor Hat is now complete! This beautiful, handcrafted accessory is perfect for sunny days, beach trips, or simply adding a touch of desert-inspired style to your outfit. The breathable cotton yarn keeps you cool, while the structured brim provides excellent sun protection. Plus, the gradient colors make it a unique piece that's sure to draw compliments.
This pattern is wonderfully versatile—you can experiment with different color combinations to match your personal style. Try cool ocean blues for a beach vibe, or earthy greens for a forest-inspired look. The possibilities are endless!
Happy crocheting, and enjoy your new favorite sun hat!