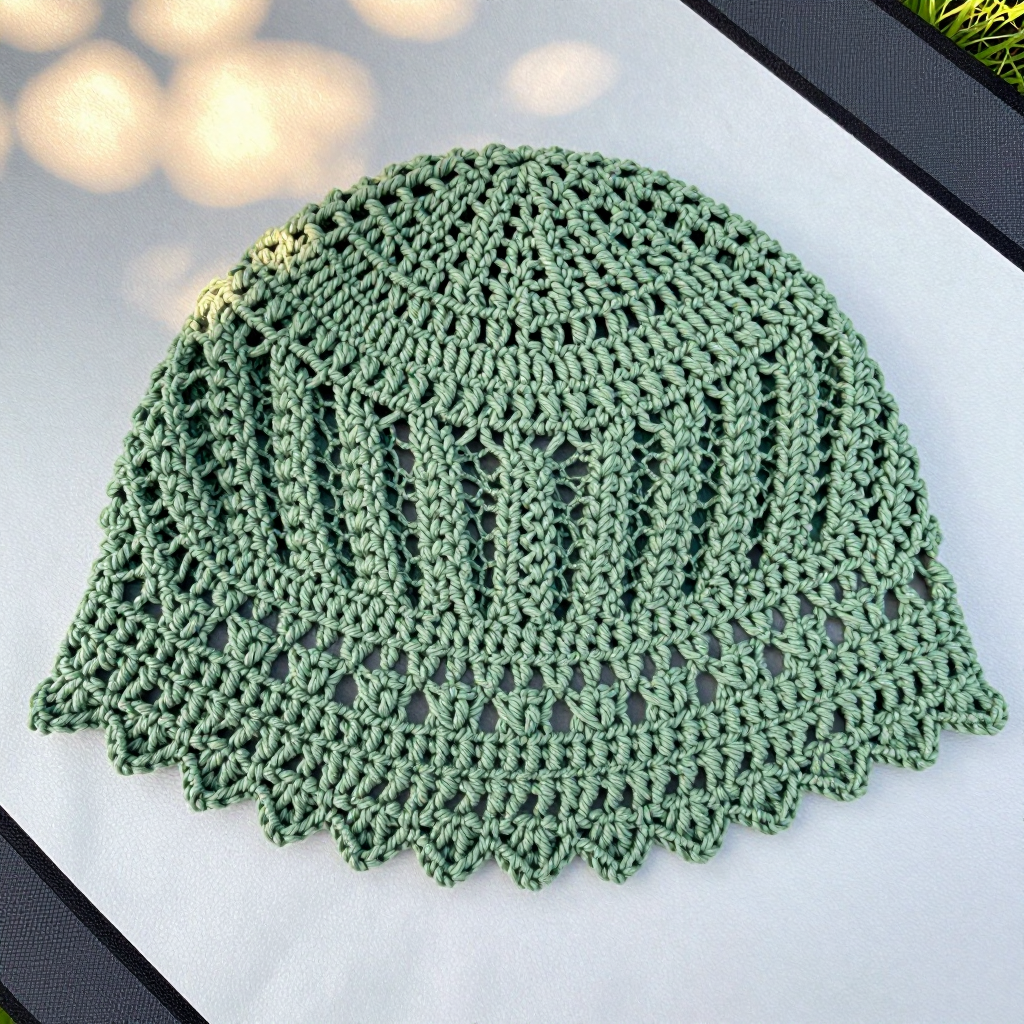
Pinstripe Tapered Crochet Cap Free Pattern

Pinstripe Tapered Crochet Cap: A Free Beginner-Friendly Pattern
Introduction
If you have ever wanted to make a hat that looks like it came from a boutique but is secretly simple enough for your very first project, this is the one. The Pinstripe Tapered Crochet Cap is a minimalist, cylinder-shaped hat worked from the bottom up in the round, with fine charcoal pinstripes running up a warm oatmeal ground and a clean, flat-closed crown. It is perfect for complete beginners because it uses only two basic stitches (single crochet and half double crochet) and one easy color change, yet the finished hat looks tailored, graphic, and modern. The fabric feels smooth, dense, and cozy, with a firm brim that holds its shape and a gentle taper that hugs the top of the head. No pom-poms, no motifs, no fuss — just a quiet, wearable hat you will be proud to say you made.
Materials Needed
- Yarn: Worsted weight (category 4) yarn, approximately 180 yd (165 m) total: 150 yd (137 m) oatmeal (Color A) and 30 yd (27 m) charcoal (Color B). Sample shown in a smooth, low-halo wool-acrylic blend.
- Hook: US J/10 (6.0 mm) crochet hook, or the size needed to match gauge.
- Stitch markers: at least 1 (to mark the first stitch of each round).
- Tapestry needle: a blunt-tipped needle with a large eye for seaming and weaving in ends.
- Scissors for cutting yarn.
- Measuring tape for checking gauge and brim length.
Finished sizes:
- Adult: circumference 21 in (53 cm), height 8.5 in (21.5 cm), slightly tapered toward the crown. Fits a head of 21–23 in (53–58 cm).
- Tween: circumference 19 in (48 cm), height 7.75 in (19.5 cm).
- Toddler: circumference 17 in (43 cm), height 7 in (18 cm).
Abbreviations and Beginner Glossary
- ch – chain: wrap the yarn over your hook and pull it through the loop on your hook. This makes one chain stitch.
- sc – single crochet: insert your hook into the stitch, yarn over, pull up a loop (2 loops on hook), yarn over, pull through both loops. One single crochet made.
- hdc – half double crochet: yarn over first, insert hook into the stitch, yarn over, pull up a loop (3 loops on hook), yarn over, pull through all 3 loops at once. One half double crochet made.
- hdc2tog – half double crochet two stitches together (a decrease): yarn over, insert hook into the first stitch, yarn over, pull up a loop (3 loops on hook), yarn over, insert hook into the next stitch, yarn over, pull up a loop (5 loops on hook), yarn over, pull through all 5 loops. This turns 2 stitches into 1.
- sl st – slip stitch: insert hook into the stitch, yarn over, and pull the yarn straight through both the stitch and the loop on your hook in one motion. Makes a nearly invisible joining stitch.
- st(s) – stitch(es): one completed loop of yarn in your fabric.
- sp – space: the small gap between stitches.
- rnd – round: one complete circle of stitches worked in the round.
- A – oatmeal (main color).
- B – charcoal (pinstripe color).
- turn – flip your work over so you can work back in the other direction.
- fasten off – cut the yarn a few inches from your work and pull the tail through the last loop to lock it.
- whipstitch – a simple seaming stitch: pass the needle over the edge of both layers and back through, over and over, like a spiral.
Gauge
Gauge: 12 sts and 12 rnds = 4 in (10 cm) in hdc worked in the round; 12 sts and 14 rnds = 4 in (10 cm) in sc worked in the round.
Why gauge matters: Gauge is how many stitches and rounds fit into 4 inches. If your stitches are bigger than the pattern expects, the hat will be too large; if smaller, it will be too tight. Because this hat is worked to a specific circumference, matching gauge is what makes it fit.
How to make a gauge swatch: With your 6.0 mm hook and Color A, chain 20. Work 1 hdc in the 2nd chain from the hook and in each chain across (19 hdc). Work 12 more rows of hdc (ch 1, turn at the start of each row). Lay the swatch flat, measure 4 inches across the middle, and count the stitches. Measure 4 inches up and count the rounds. If you have more stitches than 12, try a larger hook; if fewer, try a smaller hook.
Beginner Tips Before You Start
- Use a stitch marker. Place it in the first stitch of every round so you always know where the round begins and ends. This hat is worked in continuous rounds, so it is easy to lose your place without one.
- Do not pull the yarn too tight. Keep your tension relaxed and even. Tight stitches make a stiff, small hat and make the hook hard to insert.
- Carry Color B loosely. When you switch to charcoal for the pinstripe, do not cut it. Let it travel up the inside of the hat, loose enough that the hat does not pucker.
- Keep the pinstripe vertical. Each charcoal stitch should sit directly above the charcoal stitch of the round below. Check after every round.
- Count your stitches at the end of each round. The counts are given in parentheses. If you are off by one or two, fix it before moving on.
- Work the brim first and try it on. The brim is a flat strip; wrap it around your head to check the fit before you join it into a ring.
Step-by-Step Instructions
Brim (All Sizes)
With A, ch 8.
Row 1: Sc in the 2nd ch from hook and in each ch across. (7 sc)
Row 2: Ch 1, turn. Sc in each st across. (7 sc)
Rows 3–64 (adult): Repeat Row 2 until the brim measures 21 in (53 cm) unstretched, ending with an even number of rows. (7 sc) Do not fasten off.
Tween: Work until the brim measures 19 in (48 cm).
Toddler: Work until the brim measures 17 in (43 cm).
Join the brim into a ring: Bring the two short ends together, ch 1, and work sc through both layers across the 7 sts to seam the brim into a circle. Turn the ring right side out. Do not fasten off.
Body
Set-up rnd: Ch 1. Work 1 sc in the end of each brim row around the top edge of the brim ring. Join with sl st to the first sc. (64 sc adult) (Tween: 58 sc. Toddler: 52 sc.)
Rnd 1: Ch 1, hdc in each st around, join with sl st to the first hdc. (64 hdc)
Rnd 2 (pinstripe set-up): Ch 1. *Hdc in the next 7 sts with A, hdc in the next st with B; repeat from * around, join with sl st to the first hdc. (64 hdc — 8 charcoal pinstripes, each 1 st wide, with 7 oatmeal sts between)
Rnds 3–24 (adult): Repeat Rnd 2, carrying B loosely up the inside of the work and keeping each pinstripe aligned vertically over the stitch from the previous round. (64 hdc) The body measures approximately 8 in (20 cm) from the brim join.
Tween: Work Rnds 3–22.
Toddler: Work Rnds 3–20.
Do not fasten off after the final round.
Taper (Crown Shaping)
The taper is created by working one round of decreases in the last body round before closing.
Taper rnd (adult): Ch 1. *Hdc in the next 6 sts, hdc2tog over the next 2 sts; repeat from * around, join with sl st to the first hdc. (56 hdc) Fasten off, leaving a 24 in (60 cm) tail.
Tween: *Hdc in the next 5 sts, hdc2tog; repeat from * around. (50 hdc)
Toddler: *Hdc in the next 4 sts, hdc2tog; repeat from * around. (44 hdc)
Flat Crown Closure
Step 1: Turn the hat inside out. Thread the long tail onto a tapestry needle.
Step 2: Bring the front and back of the top opening together, aligning the pinstripes so they meet in matching pairs. Whipstitch across the opening through both layers, working from one side to the other, keeping the seam flat and even.
Step 3: Turn the hat right side out. With A, work 1 row of sl st along the outside of the seam line to reinforce and neaten it, working through the seam stitches only. Fasten off and weave in all ends.
Assembly and Finishing
Seaming: The only seam is the flat crown closure described above. Work slowly and keep your whipstitches the same size so the seam lies flat. Align the charcoal pinstripes before you begin so the stripes meet in matching pairs across the top.
Weaving in ends: Thread each tail onto the tapestry needle and run it through the inside of several stitches, changing direction once, then trim close to the fabric. Never knot your ends — knots create bumps.
Blocking: Lightly mist the brim and crown with water. Shape the hat over a bowl or hat form so the tapered silhouette sets and the pinstripes straighten. Let it dry completely before wearing.
Optional brim edge: Work a second row of sc around the brim edge with A for a slightly firmer, more tailored finish.
Pro Tips and Variations
- Change the colors: Swap oatmeal and charcoal for cream and navy, or gray and black, for a different mood. Keep one light and one dark so the pinstripes stay visible.
- Adjust the size: To change the circumference, add or subtract 6 sts in the Set-up rnd (one full pinstripe repeat). To change the height, add or subtract rounds in the body before the taper round. Always keep the 8-stitch pinstripe repeat (7 A + 1 B) intact so the stripes stay evenly spaced.
- Substitute yarn: Any worsted weight (category 4) yarn works. Choose a smooth, low-halo yarn so the fine pinstripes stay crisp; fluffy yarns blur the stripes.
- Make it reversible: Work the reinforcing slip-stitch row on both sides of the crown seam for a neat finish whichever way the hat is worn.