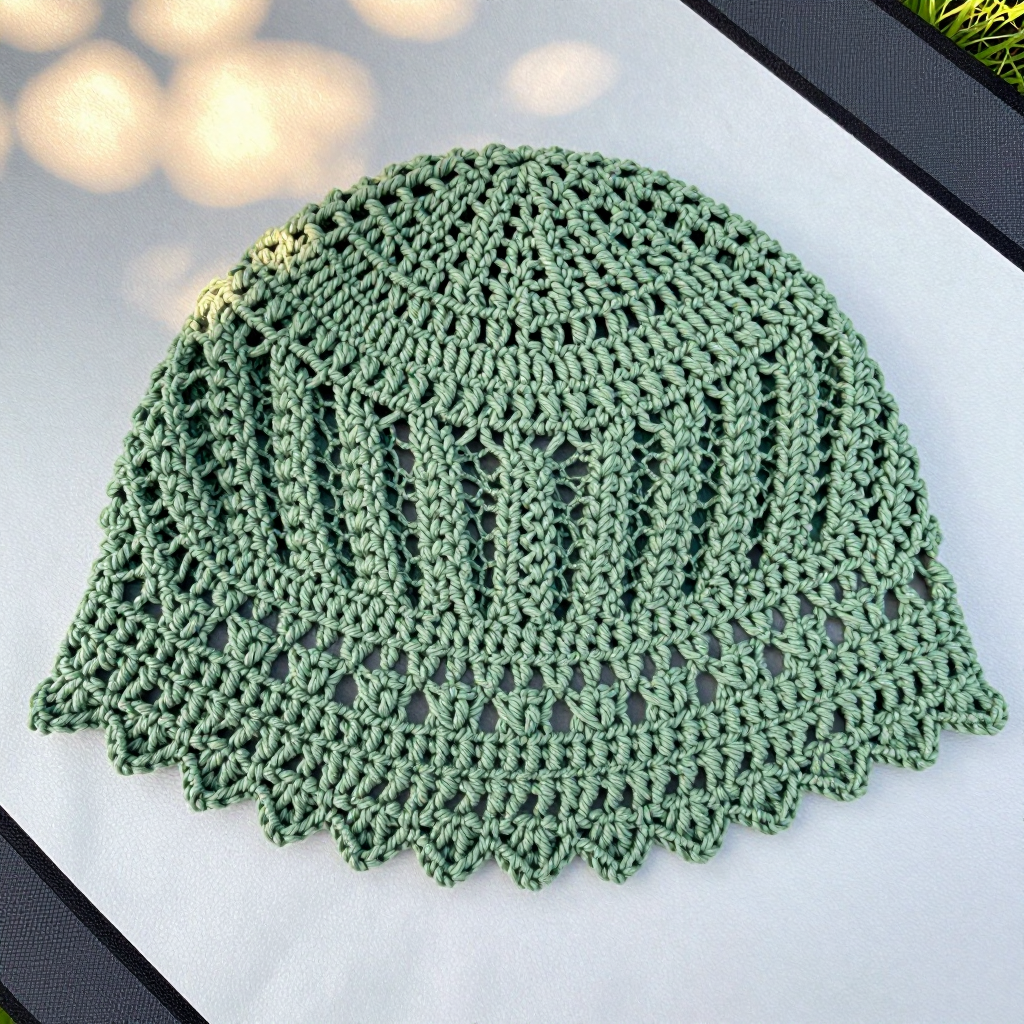
Preppy Pink Beret Free Pattern: A Cotton Candy Crochet Beret with Baby Blue Band

Preppy Pink Beret: A Cotton Candy Crochet Beret with a Baby Blue Band
Introduction
If you have never held a crochet hook before, this preppy pink beret is the perfect first project to fall in love with. It is worked entirely in simple double crochet stitches, starting from a tiny magic ring and growing outward into a soft, round circle before gently closing into a slouchy dome. The finished beret looks like a swirl of cotton candy pink with a crisp baby blue band, and it feels light, soft, and comfortably stretchy on your head. Best of all, it uses only two easy stitches and a handful of yarn, so you can finish it in a weekend and wear it with pride.
Materials Needed
- Yarn (Color A – cotton candy pink): Worsted weight (CYC #4) cotton or cotton-acrylic blend, approximately 150 yds (137 m).
- Yarn (Color B – baby blue): Same worsted weight yarn, approximately 40 yds (37 m).
- Crochet hook: US H-8 / 5.0 mm (or the size you need to meet gauge).
- Stitch markers: At least 1, to mark the first stitch of each round.
- Tapestry needle: A blunt-tipped needle with a large eye for weaving in ends.
- Scissors: Sharp craft scissors for cutting yarn.
- Finished size: Approximately 10.5 in (26.5 cm) flat diameter, fitting a 21–23 in (53–58 cm) head circumference. The band is about 1.75 in (4.5 cm) tall.
Abbreviations and Beginner Glossary
- ch – chain: Wrap the yarn over your hook and pull it through the loop on your hook. This makes a small link called a chain.
- sl st – slip stitch: Insert your hook into the stitch, wrap yarn over, and pull it through both the stitch and the loop on your hook at the same time. It joins rounds together.
- sc – single crochet: Insert hook into the stitch, pull up a loop (2 loops on hook), wrap yarn over, pull through both loops. This is the shortest, tightest basic stitch.
- dc – double crochet: Wrap yarn over hook, insert hook into the stitch, pull up a loop (3 loops on hook), wrap yarn over and pull through 2 loops, wrap yarn over and pull through the last 2 loops. This is a taller stitch that works up quickly.
- dc2tog – double crochet 2 together (a decrease): Wrap yarn over, insert hook into the stitch, pull up a loop (3 loops on hook), pull through 2 loops (2 loops remain), wrap yarn over, insert hook into the next stitch, pull up a loop, pull through 2 loops, wrap yarn over and pull through all 3 remaining loops. This turns two stitches into one and makes the fabric narrower.
- st(s) – stitch(es): One completed loop or "V" in your fabric.
- rnd – round: One complete circle of stitches worked around the center.
- magic ring: A loop of yarn you make with your fingers that you crochet into, then pull tight so the center closes with no hole.
- join with sl st: Finish the round by making a slip stitch into the very first stitch of that round, closing the circle.
- * ... ; repeat from *: Do the instructions between the stars, then do them again as many times as the pattern says.
Gauge
Gauge: 4 rounds of double crochet = 2 in (5 cm) in diameter, and 4 dc = 1 in (2.5 cm).
Gauge simply means how big your stitches come out. If your stitches are too big, the beret will be too large; if too small, it will be too tight. To check, crochet Rounds 1–4 of the body exactly as written. Your little circle should measure about 2 in (5 cm) across. If it is bigger, try a smaller hook; if smaller, try a larger hook. Always make this swatch before starting the real hat.
Beginner Tips Before You Start
- Use a stitch marker. Place it in the first stitch of every round so you always know where a round begins and ends.
- Do not pull your yarn too tight. Keep a relaxed, even tension so your stitches stay soft and your beret stays stretchy.
- Count every round. The stitch counts in parentheses tell you exactly how many stitches you should have. Count before moving on.
- Ch 2 at the start of each dc round but do not count it as a stitch. It just lifts your yarn to the right height.
- Keep your magic ring tail handy. After Round 1, pull the tail firmly to close the center hole completely.
- Work in a continuous circle and join each round with a slip stitch as written. This keeps the rounds even and easy to follow.
Step-by-Step Instructions
Note: The beret is worked in the round from the center top outward as a flat circle, then decreased to form the dome, then finished with a contrasting band. Do not turn your work. Place a stitch marker in the first stitch of each round.
Body (Color A – cotton candy pink)
Rnd 1: Make a magic ring. Ch 2 (does not count as a st), work 12 dc into the ring. Join with sl st to first dc. (12 dc)
Rnd 2: Ch 2, 2 dc in each st around. Join with sl st. (24 dc)
Rnd 3: Ch 2, *2 dc in next st, 1 dc in next st; repeat from * around. Join with sl st. (36 dc)
Rnd 4: Ch 2, *2 dc in next st, 1 dc in each of next 2 sts; repeat from * around. Join with sl st. (48 dc)
Rnd 5: Ch 2, *2 dc in next st, 1 dc in each of next 3 sts; repeat from * around. Join with sl st. (60 dc)
Rnd 6: Ch 2, *2 dc in next st, 1 dc in each of next 4 sts; repeat from * around. Join with sl st. (72 dc)
Rnd 7: Ch 2, *2 dc in next st, 1 dc in each of next 5 sts; repeat from * around. Join with sl st. (84 dc)
Rnd 8: Ch 2, *2 dc in next st, 1 dc in each of next 6 sts; repeat from * around. Join with sl st. (96 dc)
Rnd 9: Ch 2, *2 dc in next st, 1 dc in each of next 7 sts; repeat from * around. Join with sl st. (108 dc)
Rnd 10: Ch 2, *2 dc in next st, 1 dc in each of next 8 sts; repeat from * around. Join with sl st. (120 dc)
Rnd 11: Ch 2, dc in each st around. Join with sl st. (120 dc) — This is the widest point of the beret; the flat circle should measure approx. 10.5 in (26.5 cm) across.
Shaping the Dome (Color A – cotton candy pink)
Rnd 12: Ch 2, *dc2tog, 1 dc in each of next 8 sts; repeat from * around. Join with sl st. (108 dc)
Rnd 13: Ch 2, dc in each st around. Join with sl st. (108 dc)
Rnd 14: Ch 2, *dc2tog, 1 dc in each of next 7 sts; repeat from * around. Join with sl st. (96 dc)
Rnd 15: Ch 2, dc in each st around. Join with sl st. (96 dc)
Rnd 16: Ch 2, *dc2tog, 1 dc in each of next 6 sts; repeat from * around. Join with sl st. (84 dc)
Rnd 17: Ch 2, dc in each st around. Join with sl st. (84 dc)
Rnd 18: Ch 2, *dc2tog, 1 dc in each of next 5 sts; repeat from * around. Join with sl st. (72 dc)
Rnd 19: Ch 2, dc in each st around. Join with sl st. (72 dc)
Rnd 20: Ch 2, *dc2tog, 1 dc in each of next 4 sts; repeat from * around. Join with sl st. (60 dc)
Rnd 21: Ch 2, dc in each st around. Join with sl st. (60 dc) — The dome should now measure approx. 6.5 in (16.5 cm) across at the opening.
Band (Color B – baby blue)
Rnd 22: Change to Color B. Ch 1, sc in each st around. Join with sl st. (60 sc)
Rnds 23–28: Ch 1, sc in each st around. Join with sl st. (60 sc) — The baby blue band should measure approx. 1.75 in (4.5 cm) tall.
Assembly and Finishing
Fasten off: Cut your yarn about 6 in (15 cm) from the last stitch, pull the tail all the way through the loop, and tug gently to secure it.
Weave in ends: Thread each tail onto your tapestry needle and pass it back and forth through the inside of the fabric for about 2 in (5 cm), then trim close to the fabric. Do this for the pink tail at the center and the blue tail at the band.
Blocking: Lightly mist the beret with water until damp but not soaking. Pin the flat circle to a 10.5 in (26.5 cm) diameter circle (a dinner plate works well) and let it dry completely. This sets the shape so the dome stays soft and slouchy and the band stays snug.
Pro Tips and Variations
- Change the colors: Swap the cotton candy pink for any worsted weight color and the baby blue band for a contrasting shade to match your wardrobe.
- Adjust the size: For a smaller beret, stop increasing at Round 10 (108 dc). For a larger beret, add one more increase round before Round 11.
- Substitute yarn: Any worsted weight (CYC #4) yarn works — acrylic gives a bouncier hat, while cotton gives a crisper, more structured beret. Always check your gauge first.
- Add a little extra: Work one more round of sc in Color B for a slightly taller band, or add a small crocheted flower or button at the side for extra preppy charm.