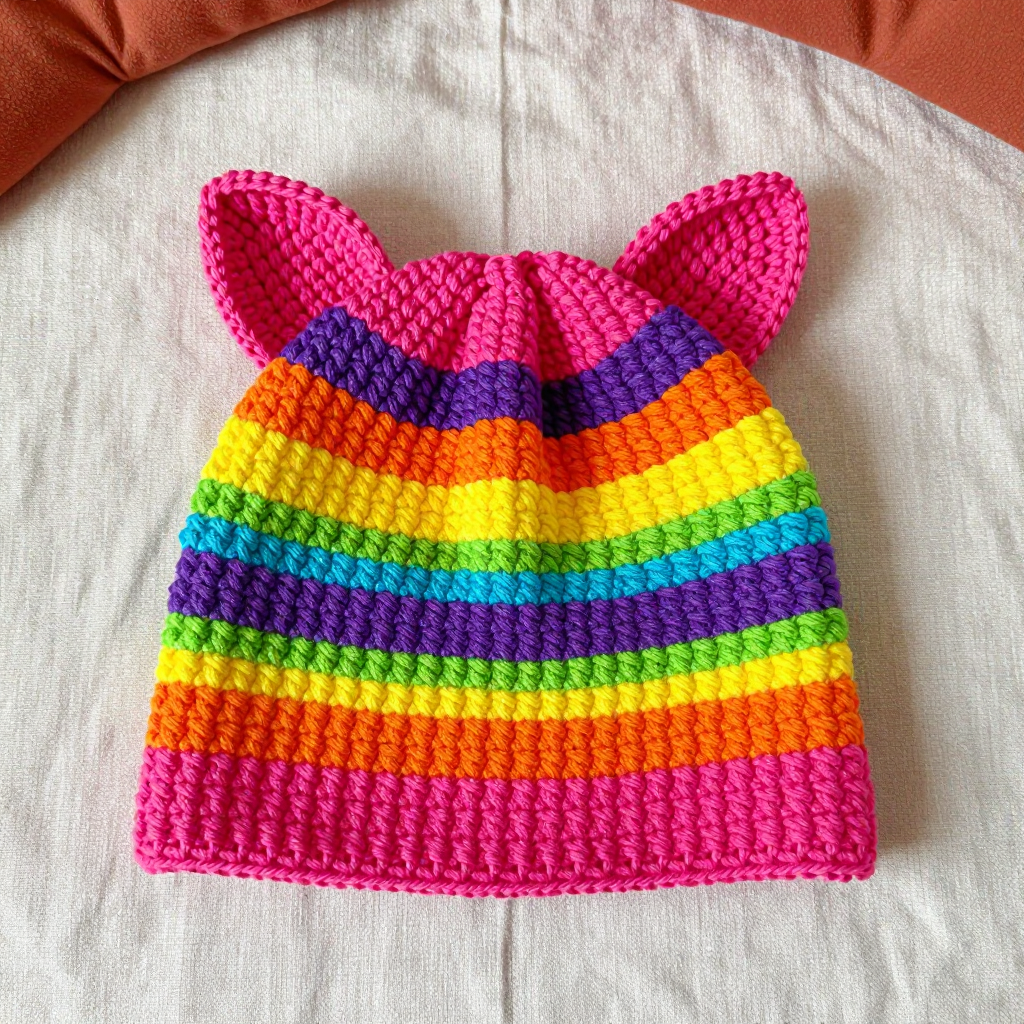
Moon Club Cap Free Crochet Pattern: Crater Appliqué Baseball Hat

Moon Club Cap: A Crater Appliqué Baseball Hat
Introduction
Welcome to the Moon Club! This crochet baseball cap is the perfect first project for anyone who has just learned to hold a hook and make a single crochet stitch. It is worked almost entirely in one simple stitch, shaped from the top down in a continuous spiral, so there are no complicated joins to master and no seams to sew on the crown. The finished hat is a soft, rounded cap in pale grey with a small flat brim and a scatter of raised circle and oval "craters" in two shades of silver-grey, giving it a playful space-age look. It feels light but dense and cozy, holds its shape beautifully, and fits an average adult head of 21–23 inches (53–58 cm). If you can make a single crochet, you can make this hat — and you will have something genuinely wearable to show off at the end.
Materials Needed
- Yarn: Worsted weight (category 4) acrylic or cotton-blend yarn, approximately 220–250 yards total:
- 180–200 yards pale grey (MC — main color)
- 40–50 yards light silver-grey (CC1 — contrast color 1)
- 15–20 yards medium grey (CC2 — contrast color 2)
- Crochet hook: 5.5 mm (US size I/9) for the hat
- Crochet hook: 4.5 mm (US size G/7) for the crater appliqués
- Stitch marker (one is enough; a safety pin or scrap of contrasting yarn works too)
- Tapestry needle (a blunt, large-eyed needle for sewing and weaving in ends)
- Scissors
Finished size: Fits an average adult head of 21–23 inches (53–58 cm) circumference. The finished crown measures approximately 7 inches (18 cm) tall from the brim edge to the top, and the brim extends about 2 inches (5 cm) from the crown edge. Each small round crater is about 1.25 inches (3 cm) across; each oval crater is about 1.5 inches (4 cm) long and 1 inch (2.5 cm) wide.
Abbreviations and Beginner Glossary
- ch — chain. Make a loop of yarn over the hook and pull it through the loop already on your hook. This creates a small "chain" link.
- sc — single crochet. Insert your hook into the stitch, yarn over (wrap yarn around hook), pull up a loop (you now have 2 loops on the hook), yarn over again, and pull through both loops. One single crochet made.
- sl st — slip stitch. Insert hook into the stitch, yarn over, and pull the yarn straight through both the stitch and the loop on your hook in one motion. It joins or moves without adding height.
- sc2tog — single crochet 2 stitches together (a decrease). Insert hook into the first stitch, yarn over, pull up a loop (2 loops on hook). Insert hook into the next stitch, yarn over, pull up a loop (3 loops on hook). Yarn over and pull through all 3 loops. Two stitches become one.
- 2 sc in next st — work two single crochets into the same stitch. This is an increase and adds one stitch.
- st(s) — stitch or stitches.
- rnd — round. One complete circle of stitches worked in the round.
- rep — repeat.
- RS — right side. The "public" or outward-facing side of your work.
- magic ring — an adjustable loop of yarn that you crochet into, then pull closed so there is no hole in the center. (If you prefer, chain 2 and work your first stitches into the second chain from the hook instead.)
- MC — main color (pale grey).
- CC1 — contrast color 1 (light silver-grey).
- CC2 — contrast color 2 (medium grey).
- fasten off — cut the yarn a few inches from your work and pull the tail all the way through the last loop to lock it.
- weave in ends — thread a yarn tail onto a tapestry needle and run it back and forth through the fabric so it disappears and cannot unravel.
Gauge
14 single crochet x 16 rounds = 4 inches (10 cm) in single crochet worked in the round with the 5.5 mm hook.
Why gauge matters: Gauge is how big your stitches come out. If your stitches are bigger than the pattern expects, the hat will be too large; if smaller, it will be too tight. Checking first saves you from ripping out a whole hat.
How to make a gauge swatch: With the 5.5 mm hook and MC, make a magic ring and work 6 sc into it. Work increase rounds as in the crown until you have about 30 stitches, then work plain rounds until the piece is at least 4 inches (10 cm) across. Lay it flat, mark 4 inches (10 cm) across the middle with pins, and count the stitches between the pins. Count 4 inches (10 cm) of rounds the same way. If you have more than 14 stitches or 16 rounds in 4 inches, switch to a larger hook; if fewer, switch to a smaller hook.
Beginner Tips Before You Start
- Use your stitch marker every single round. Because the hat is a continuous spiral, the beginning of each round drifts. Place the marker in the first stitch of each new round and move it up as you go, or you will lose your place.
- Do not pull your yarn too tight. Tension is the number one beginner struggle. Keep your loops relaxed and even; tight stitches make a stiff, small hat and are very hard to work into.
- Count your stitches at the end of every increase round. The numbers in parentheses tell you exactly how many stitches you should have. Catching a mistake early is far easier than fixing it later.
- Work your first round loosely. The magic ring can be fiddly. If it feels too tight to work into, try the chain-2 alternative explained in the glossary.
- Keep your hook size honest. Use the 5.5 mm hook for the hat and switch to the 4.5 mm hook only for the appliqués — the smaller hook makes the craters denser so they sit flat and neat.
- Don't worry about the "wrong" side. In spiral single crochet the fabric looks slightly different on each side. Either side can be the outside; just be consistent.
Step-by-Step Instructions
Hat Crown (worked in a continuous spiral — do not join rounds)
With the 5.5 mm hook and MC, make a magic ring.
Rnd 1: Work 6 sc into the magic ring. Pull the tail to close the ring. (6 sc)
Rnd 2: 2 sc in each st around. (12 sc)
Rnd 3: [2 sc in next st, 1 sc in next st] around. (18 sc)
Rnd 4: [2 sc in next st, 1 sc in each of next 2 sts] around. (24 sc)
Rnd 5: [2 sc in next st, 1 sc in each of next 3 sts] around. (30 sc)
Rnd 6: [2 sc in next st, 1 sc in each of next 4 sts] around. (36 sc)
Rnd 7: [2 sc in next st, 1 sc in each of next 5 sts] around. (42 sc)
Rnd 8: [2 sc in next st, 1 sc in each of next 6 sts] around. (48 sc)
Rnd 9: [2 sc in next st, 1 sc in each of next 7 sts] around. (54 sc)
Rnd 10: [2 sc in next st, 1 sc in each of next 8 sts] around. (60 sc)
Rnd 11: [2 sc in next st, 1 sc in each of next 9 sts] around. (66 sc)
Rnd 12: [2 sc in next st, 1 sc in each of next 10 sts] around. (72 sc)
Rnd 13: [2 sc in next st, 1 sc in each of next 11 sts] around. (78 sc)
Rnd 14: [2 sc in next st, 1 sc in each of next 12 sts] around. (84 sc)
The crown circle should now measure approximately 6.75–7 inches (17–18 cm) across. If you need a larger or smaller hat, add or omit one increase round here before continuing.
Rnds 15–34: Sc in each st around without increasing. (84 sc)
After Rnd 34 the hat should measure approximately 7 inches (18 cm) from the crown center to the lower edge. Do not fasten off.
Brim (worked back and forth in rows)
The brim is worked along 30 stitches of the final round. The remaining stitches stay unworked and form the back opening of the cap.
Row 1 (RS): Continuing with MC, ch 1, sc in each of the next 30 sts. Turn. Leave the remaining stitches unworked. (30 sc)
Rows 2–3: Ch 1, sc in each st across. Turn. (30 sc)
Row 4: Ch 1, sc2tog, sc in each st across to last 2 sts, sc2tog. Turn. (28 sc)
Row 5: Ch 1, sc in each st across. Turn. (28 sc)
Row 6: Ch 1, sc2tog, sc in each st across to last 2 sts, sc2tog. Turn. (26 sc)
Row 7: Ch 1, sc in each st across. Turn. (26 sc)
Row 8: Ch 1, sc2tog, sc in each st across to last 2 sts, sc2tog. Turn. (24 sc)
Row 9: Ch 1, sc in each st across. Turn. (24 sc)
Row 10: Ch 1, sc2tog, sc in each st across to last 2 sts, sc2tog. Turn. (22 sc)
Row 11: Ch 1, sc in each st across. Turn. (22 sc)
Row 12: Ch 1, sc2tog, sc in each st across to last 2 sts, sc2tog. Turn. (20 sc)
Row 13: Ch 1, sc in each st across. Turn. (20 sc)
Row 14: Ch 1, sc2tog, sc in each st across to last 2 sts, sc2tog. Turn. (18 sc)
Row 15: Ch 1, sc in each st across. Turn. (18 sc)
Row 16: Ch 1, sc2tog, sc in each st across to last 2 sts, sc2tog. Turn. (16 sc)
Row 17: Ch 1, sc in each st across. Turn. (16 sc)
Row 18: Ch 1, sc2tog, sc in each st across to last 2 sts, sc2tog. Turn. (14 sc)
Row 19: Ch 1, sc in each st across. Turn. (14 sc)
Row 20: Ch 1, sc2tog, sc in each st across to last 2 sts, sc2tog. Turn. (12 sc)
Row 21: Ch 1, sc in each st across. Turn. (12 sc)
Row 22: Ch 1, sc2tog, sc in each st across to last 2 sts, sc2tog. Turn. (10 sc)
Row 23: Ch 1, sc in each st across. Turn. (10 sc)
Row 24: Ch 1, sc2tog, sc in each st across to last 2 sts, sc2tog. Turn. (8 sc)
Row 25: Ch 1, sc in each st across. Turn. (8 sc)
Row 26: Ch 1, sc2tog, sc in each st across to last 2 sts, sc2tog. Turn. (6 sc)
Row 27: Ch 1, sc in each st across. Turn. (6 sc)
Row 28: Ch 1, sc2tog, sc in each st across to last 2 sts, sc2tog. Turn. (4 sc)
Row 29: Ch 1, sc in each st across. Turn. (4 sc)
Row 30: Ch 1, sc2tog twice. Turn. (2 sc)
Row 31: Ch 1, sc2tog. Fasten off. (1 sc)
The brim should measure approximately 2 inches (5 cm) deep at the center front and taper smoothly into the crown at the sides.
Small Round Crater (make 5)
Use the 4.5 mm hook and CC1.
Rnd 1: Make a magic ring and work 6 sc into it. Join with sl st to first sc. (6 sc)
Rnd 2: Ch 1, 2 sc in each st around. Join with sl st to first sc. (12 sc)
Rnd 3: Ch 1, sc in each st around. Join with sl st to first sc. (12 sc)
Fasten off, leaving a 10-inch (25 cm) tail for sewing.
Oval Crater (make 3)
Use the 4.5 mm hook and CC2.
Setup: Ch 4.
Rnd 1: Work 2 sc in second ch from hook, 1 sc in next ch, 3 sc in last ch. Working along the opposite side of the foundation chain, 1 sc in next ch, 1 sc in same ch as first 2 sc. Join with sl st to first sc. (8 sc)
Rnd 2: Ch 1, 2 sc in next st, 1 sc in next st, 2 sc in each of next 3 sts, 1 sc in next st, 2 sc in each of next 2 sts. Join with sl st to first sc. (14 sc)
Rnd 3: Ch 1, sc in each st around. Join with sl st to first sc. (14 sc)
Fasten off, leaving a 10-inch (25 cm) tail for sewing.
Assembly and Finishing
Weave in the hat's ends. Thread each yarn tail onto the tapestry needle and run it back and forth through the inside of the fabric for about an inch, then trim close. Do the same for the appliqué tails later.
Block the hat. Lightly mist the hat with water, then shape it over a bowl or hat form so the crown is round and the brim lies flat. Let it dry completely — this smooths out uneven stitches and sets the shape.
Arrange the craters. Lay the hat flat and place the appliqués before sewing, using this guide or your own taste:
- 2 small round craters on the upper front of the crown, about 1.5 inches (4 cm) apart.
- 1 oval crater slightly left of the crown center, about 2 inches (5 cm) below the top.
- 1 small round crater on the right side, about 3 inches (7.5 cm) from the top.
- 1 oval crater on the lower left side, about 1 inch (2.5 cm) above the brim edge.
- 1 small round crater at the back, about 2 inches (5 cm) above the lower edge.
- The remaining 1 small round crater and 1 oval crater on the right side and back, spaced evenly.
Sew them on. Thread each appliqué's tail onto the tapestry needle. Working around the outer edge of each piece, take small, neat stitches through the appliqué and into the hat fabric, going all the way around. Do not pull the stitches too tightly or the appliqués will pucker and dent the crown. Fasten off on the inside and weave in all ends.
Optional adjustable back: With MC, ch 6 inches (15 cm). Sew one end to each side of the brim opening at the back of the hat to create a small tie, then tie it in a bow to adjust the fit.
Care: Hand wash gently in cool water with mild soap. Rinse, gently squeeze out excess water (do not wring), reshape, and dry flat away from direct heat.
Pro Tips and Variations
- Change the palette. Swap the greys for any three shades of one color — navy, denim, and sky blue make a lovely "ocean club" cap, and cream, oatmeal, and tan give a soft neutral look. Keep the darkest shade for the ovals so they read as craters.
- Adjust the size. The crown increases by 6 stitches per round, so each extra increase round adds about 0.4 inches (1 cm) to the diameter. For a child's hat, stop increasing at Rnd 11 or 12 and work fewer plain rounds (about 12–14 instead of 20). For a larger adult hat, add one increase round to 90 stitches, then work the plain rounds.
- Substitute yarn. Any worsted weight (category 4) yarn works — cotton blends give a crisper brim, acrylic is softer and more stretchy. Always re-check your gauge, since brands vary.
- Add a little extra detail. Work the final crown round in CC1 for a subtle contrast band above the brim, or add a few tiny embroidered "stars" with a single strand of yarn and the tapestry needle for extra moon-club charm.