Emberwood Slouch Hat Free Pattern – Crochet a Cozy Textured Autumn Beanie

Emberwood Slouch Hat Free Pattern – Crochet a Cozy Textured Autumn Beanie
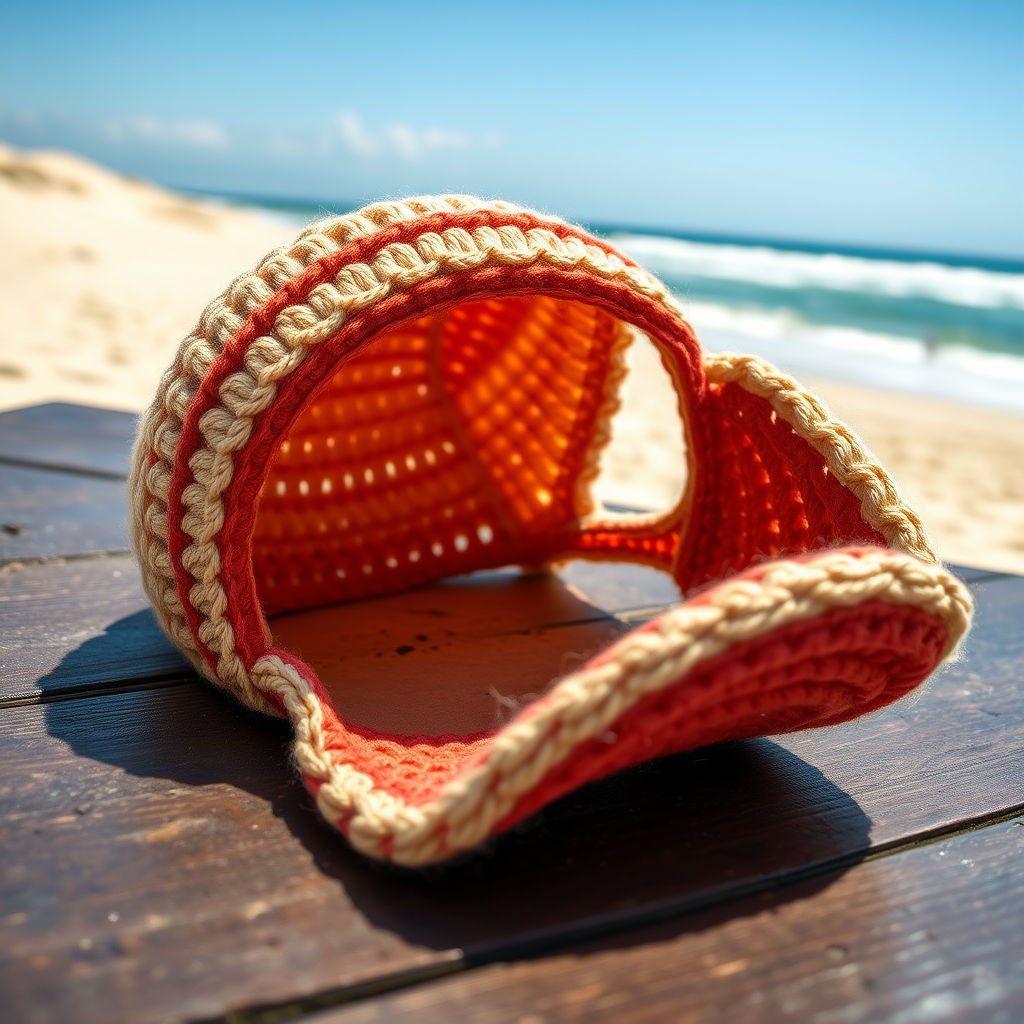
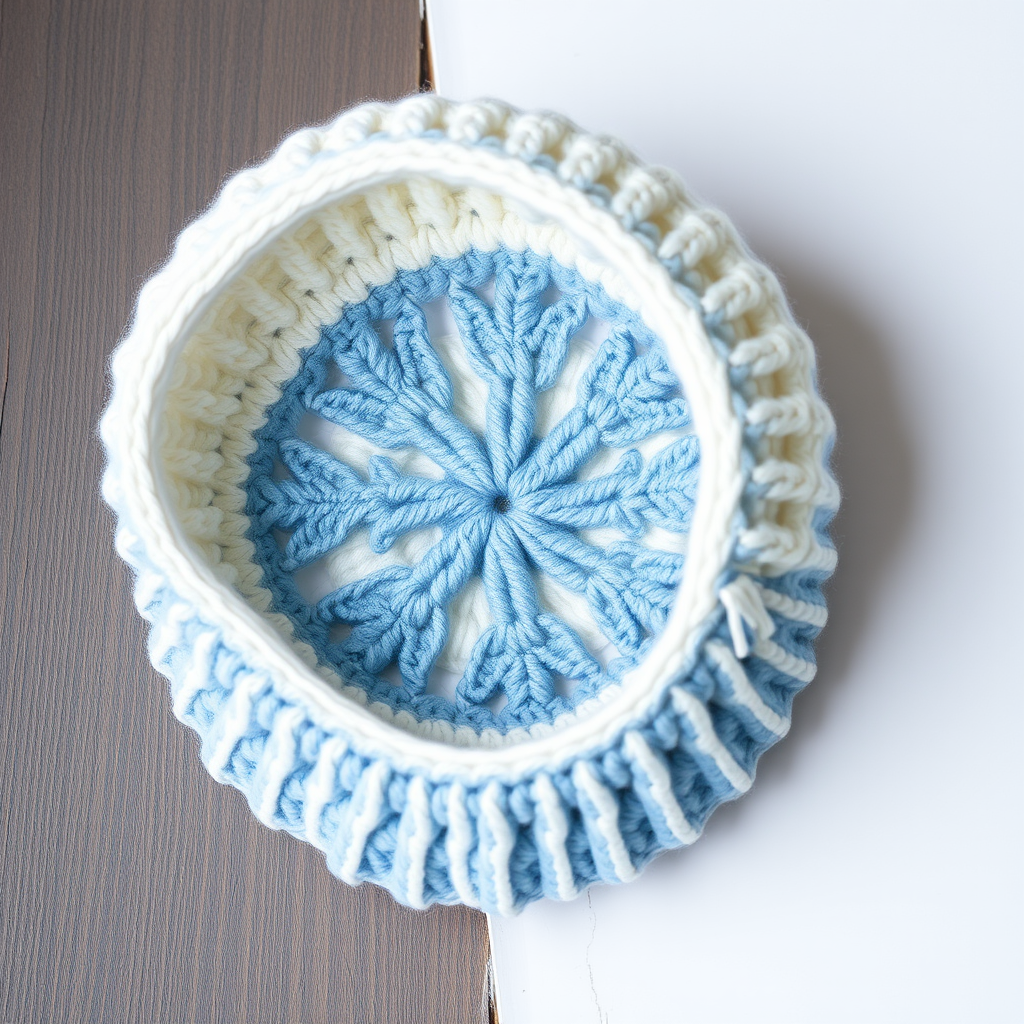
Wrap yourself in the warmth of autumn with this richly textured slouch hat, featuring a unique blend of cable-like stitches and a soft, burnt-orange palette. This pattern is perfect for intermediate crocheters looking to create a stylish, cozy accessory. The Emberwood Slouch Hat combines the beauty of twisted cables with the simplicity of half double crochet, resulting in a stunning, dimensional fabric that resembles autumn leaves. Whether you're crafting for yourself or gifting to a loved one, this hat is sure to become a seasonal favorite.
Materials Needed
Before you begin, gather the following materials to ensure a smooth and enjoyable crochet experience:
- Yarn: Worsted weight yarn in burnt orange (Color A), mustard yellow (Color B), and cream (Color C). Approximately 250 yards of Color A, 100 yards of Color B, and 50 yards of Color C.
- Hook: US Size I/9 (5.5 mm) crochet hook, or size needed to obtain gauge
- Gauge: 14 stitches x 12 rows = 4 inches in half double crochet
- Notions: Stitch marker, yarn needle, scissors
Step-by-Step Instructions
Notes Before You Start
This hat is worked from the brim up in joined rounds. The stitch pattern creates a beautiful, textured fabric that resembles autumn leaves. Use a stitch marker to mark the beginning of each round. Take your time with the cable stitches—they're easier than they look and create a stunning effect!
Brim
Foundation: With Color A, chain 72. Join with a slip stitch to form a ring, being careful not to twist the chain.
Round 1: Chain 2 (counts as first hdc), hdc in each chain around, slip stitch to top of beginning chain-2. (72 hdc)
Rounds 2-4: Chain 2, hdc in each stitch around, slip stitch to top of beginning chain-2. (72 hdc)
Body
Round 5 (Cable Round): Chain 3 (counts as first dc), *skip next 2 stitches, dc in next stitch, working behind the dc just made, dc in the 2 skipped stitches (this creates a cable twist)*, repeat from * to * around, slip stitch to top of beginning chain-3. (72 stitches)
Round 6: Chain 2, hdc in each stitch around, slip stitch to top of beginning chain-2. (72 hdc)
Round 7: Repeat Round 5.
Round 8: Repeat Round 6.
Round 9: Change to Color B. Repeat Round 5.
Round 10: Repeat Round 6.
Round 11: Repeat Round 5.
Round 12: Repeat Round 6.
Round 13: Change to Color C. Repeat Round 5.
Round 14: Repeat Round 6.
Round 15: Repeat Round 5.
Round 16: Repeat Round 6.
Round 17: Change to Color A. Repeat Round 5.
Round 18: Repeat Round 6.
Round 19: Repeat Round 5.
Round 20: Repeat Round 6.
Decrease Rounds
Round 21: Chain 2, *hdc in next 6 stitches, hdc2tog*, repeat from * to * around, slip stitch to top of beginning chain-2. (63 stitches)
Round 22: Chain 2, *hdc in next 5 stitches, hdc2tog*, repeat from * to * around, slip stitch to top of beginning chain-2. (54 stitches)
Round 23: Chain 2, *hdc in next 4 stitches, hdc2tog*, repeat from * to * around, slip stitch to top of beginning chain-2. (45 stitches)
Round 24: Chain 2, *hdc in next 3 stitches, hdc2tog*, repeat from * to * around, slip stitch to top of beginning chain-2. (36 stitches)
Round 25: Chain 2, *hdc in next 2 stitches, hdc2tog*, repeat from * to * around, slip stitch to top of beginning chain-2. (27 stitches)
Round 26: Chain 2, *hdc in next 1 stitch, hdc2tog*, repeat from * to * around, slip stitch to top of beginning chain-2. (18 stitches)
Round 27: Chain 2, *hdc2tog*, repeat from * to * around, slip stitch to top of beginning chain-2. (9 stitches)
Finishing
Fasten off, leaving a long tail. Thread the tail through a yarn needle, weave through the remaining 9 stitches, and pull tight to close the top. Weave in all ends securely.
Pro Tips for Perfect Results
- Keep your tension consistent throughout the cable rounds to ensure the twists look uniform and crisp.
- Use a stitch marker at the beginning of each round—this will save you from counting mistakes, especially during the cable pattern.
- Block your hat gently after finishing to even out the stitches and enhance the cable definition. Simply wet it, shape it, and let it dry flat.
- Customize the slouch by adding or removing a repeat of Rounds 5-6 before starting the decreases.
Your Emberwood Slouch Hat is now complete! This cozy, textured accessory is perfect for crisp autumn days and will surely become a staple in your handmade wardrobe. The combination of burnt orange, mustard yellow, and cream creates a warm, earthy palette that pairs beautifully with fall outfits. Happy crocheting!