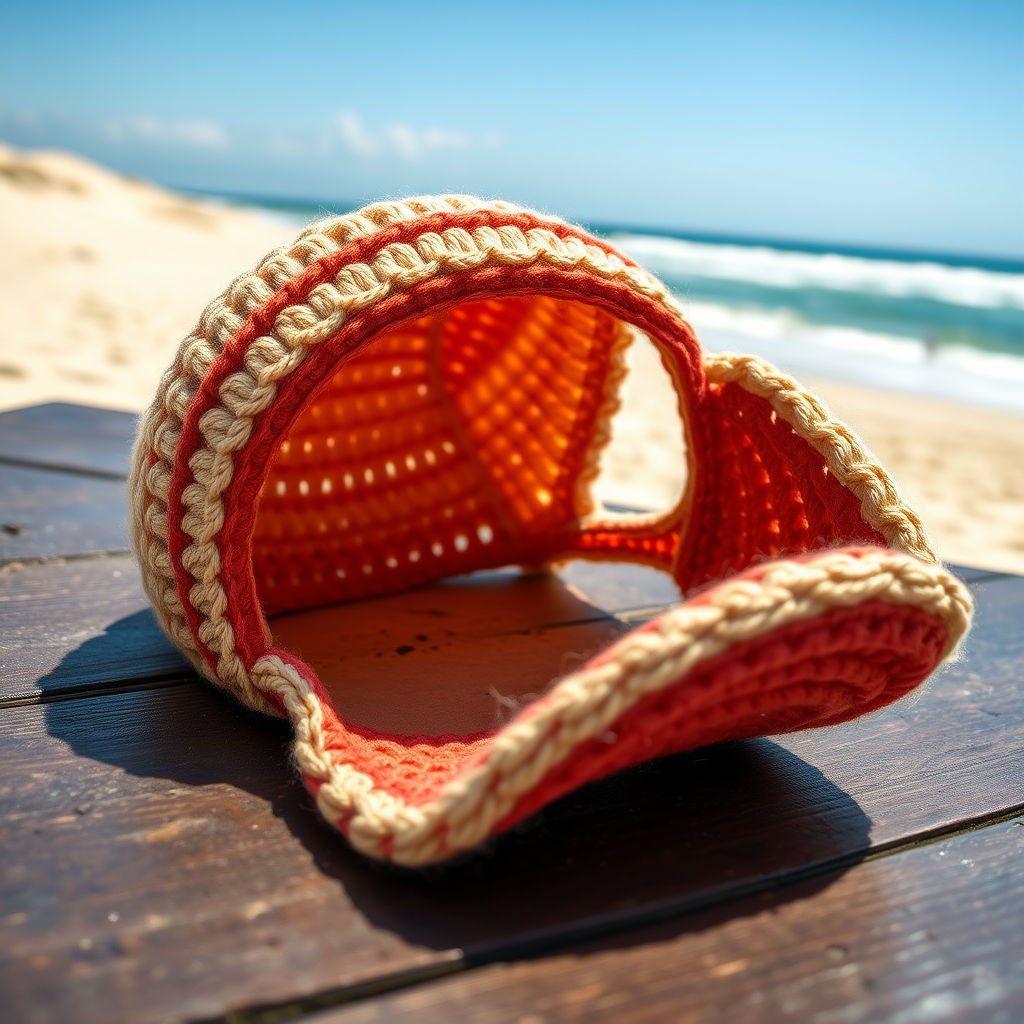
Frostfire Snowflake Cloche Hat Free Pattern – Crochet a Winter Ice Queen Crown
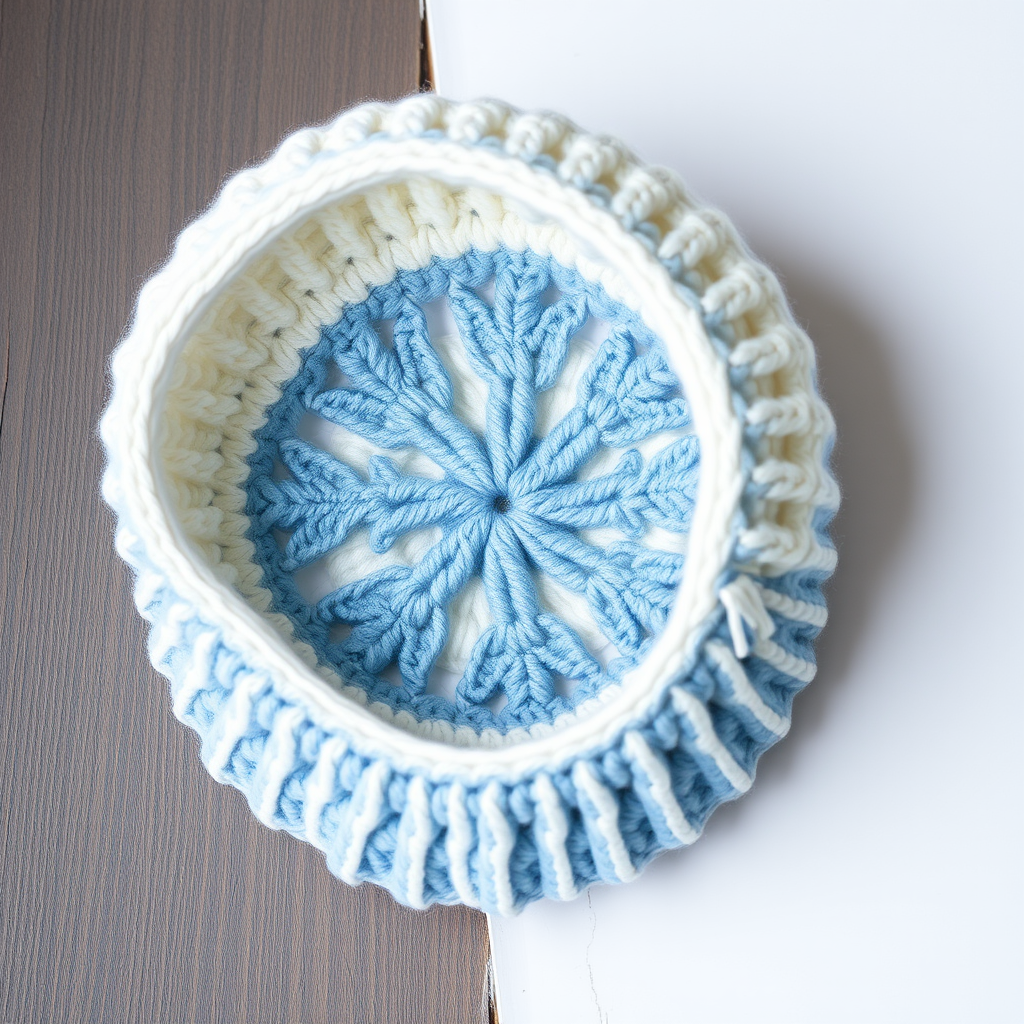
Frostfire Snowflake Cloche Hat Free Pattern – Crochet a Winter Ice Queen Crown
Wrap your head in a cascade of icy lace and chunky texture with this unique snowflake cloche, designed to feel like a frozen garden blooming around your ears. This pattern blends delicate openwork with a cozy, thick yarn base for a hat that's equal parts statement and warmth. Whether you're channeling your inner Ice Queen or simply want a show-stopping winter accessory, this cloche delivers both drama and comfort. The solid crown keeps you warm, while the snowflake lace body adds an ethereal, airy elegance that catches the light beautifully.
Materials Needed
Before you begin, gather the following supplies. This project is perfect for intermediate crocheters, but confident beginners who are comfortable with basic stitches and working in the round will also enjoy it.
- Yarn: Worsted weight yarn in two colors:
- Main Color (MC) – Arctic White: Approximately 180 yards (sample used Lion Brand Wool-Ease in "Fisherman")
- Contrast Color (CC) – Glacier Blue: Approximately 60 yards (sample used Lion Brand Wool-Ease in "Blue Mist")
- Hook: US Size H/8 (5.0 mm) crochet hook
- Notions: Tapestry needle for weaving in ends, scissors
- Optional: Blocking mats and pins for steam blocking
Gauge: 14 dc x 8 rows = 4 inches in standard double crochet. Exact gauge is not critical, but matching it ensures the hat fits as intended. If your gauge is off, adjust your hook size accordingly.
Step-by-Step Instructions
This cloche is worked from the top down in joined rounds. The crown is a solid dc circle, then the body transitions into a snowflake lace pattern, and finally a ribbed brim. The snowflake motif is created using chains and clusters, giving a delicate, airy feel while still being warm.
Abbreviations (US terms)
ch = chain, sl st = slip stitch, sc = single crochet, dc = double crochet, tr = treble crochet, sk = skip, sp = space, st(s) = stitch(es), rnd(s) = round(s), MC = Main Color, CC = Contrast Color
Special Stitches
- Cluster (cl): 3 dc worked together in the same stitch (or space) – yarn over, insert hook, pull up loop, yarn over, pull through 2 loops (2 loops on hook), repeat twice more in same st, yarn over, pull through all 4 loops.
- Picot: ch 3, sl st in the first ch (forms a small loop).
Crown
With MC, make a magic ring.
Rnd 1: Ch 3 (counts as dc), 11 dc in ring, sl st to top of ch-3 to join. (12 dc)
Rnd 2: Ch 3, dc in same st, 2 dc in each st around, sl st to join. (24 dc)
Rnd 3: Ch 3, dc in same st, dc in next st, *2 dc in next st, dc in next st* repeat from * to * around, sl st to join. (36 dc)
Rnd 4: Ch 3, dc in same st, dc in next 2 sts, *2 dc in next st, dc in next 2 sts* repeat around, sl st to join. (48 dc)
Rnd 5: Ch 3, dc in same st, dc in next 3 sts, *2 dc in next st, dc in next 3 sts* repeat around, sl st to join. (60 dc)
Rnd 6: Ch 3, dc in same st, dc in next 4 sts, *2 dc in next st, dc in next 4 sts* repeat around, sl st to join. (72 dc)
Fasten off MC. The crown should measure about 6 inches across.
Body – Snowflake Lace Pattern
Join CC with a sl st to any dc.
Rnd 7: Ch 1, sc in same st, *ch 5, sk 5 sts, sc in next st* repeat from * to * around, ending with ch 5, sk 5 sts, sl st to first sc. (12 ch-5 loops)
Rnd 8: Sl st into the first ch-5 loop, ch 3 (counts as dc), 2 dc in same loop, ch 3, *3 dc in next ch-5 loop, ch 3* repeat around, sl st to top of ch-3. (12 clusters of 3 dc, 12 ch-3 spaces)
Rnd 9: Sl st into the next 2 dc (to reach the ch-3 space), ch 1, sc in that space, *ch 5, sc in next ch-3 space* repeat around, sl st to first sc. (12 ch-5 loops)
Rnd 10: Sl st into the ch-5 loop, ch 3, 2 dc in same loop, ch 3, *3 dc in next ch-5 loop, ch 3* repeat around, sl st to join. (12 clusters, 12 ch-3 spaces)
Rnd 11: Repeat Rnd 9.
Rnd 12: Repeat Rnd 10.
Rnd 13: Repeat Rnd 9.
Rnd 14: Sl st into the ch-5 loop, ch 1, sc in loop, *ch 7, sc in next ch-5 loop* repeat around, sl st to first sc. (12 ch-7 loops)
Rnd 15: Sl st into the ch-7 loop, ch 1, (sc, ch 3, sc) in same loop, *ch 5, (sc, ch 3, sc) in next ch-7 loop* repeat around, sl st to first sc. (12 picot points, 12 ch-5 spaces)
Rnd 16: Sl st into the ch-3 picot space, ch 1, sc in same space, *ch 7, sc in next ch-3 picot space* repeat around, sl st to first sc. (12 ch-7 loops)
Rnd 17: Sl st into the ch-7 loop, ch 1, (sc, ch 3, sc) in same loop, *ch 5, (sc, ch 3, sc) in next ch-7 loop* repeat around, sl st to first sc. (12 picot points, 12 ch-5 spaces)
Rnd 18: Repeat Rnd 16.
Rnd 19: Repeat Rnd 17.
Fasten off CC.
Brim – Ribbed Edge
Join MC with a sl st to any ch-7 loop.
Rnd 20: Ch 1, sc in same loop, *ch 3, sc in next ch-7 loop* repeat around, sl st to first sc. (12 ch-3 loops)
Rnd 21: Sl st into the ch-3 loop, ch 1, 2 sc in same loop, *ch 1, 2 sc in next ch-3 loop* repeat around, sl st to first sc. (24 sc, 12 ch-1 spaces)
Rnd 22: Ch 1, sc in each sc and in each ch-1 space around, sl st to join. (36 sc)
Rnd 23: Ch 1, working in back loops only, sc in each st around, sl st to join. (36 sc)
Rnd 24: Ch 1, working in back loops only, sc in each st around, sl st to join. (36 sc)
Rnd 25: Repeat Rnd 24.
Fasten off, weave in all ends.
Finishing
Gently steam block the hat to open up the lace pattern and set the shape. Do not stretch the brim too much – it should fit snugly around the head. To steam block, pin the hat to a blocking mat at the desired dimensions, then hold a steam iron a few inches above the surface and let the steam penetrate the yarn. Allow it to dry completely before removing pins.
Optionally, you can add a small snowflake brooch or a ribbon at the base of the crown for extra flair. A vintage-style brooch or a satin ribbon in a matching icy blue would complement the design beautifully.
Your Frostfire Snowflake Cloche is now complete! This hat makes a stunning gift for the winter season or a luxurious treat for yourself. The combination of the solid, warm crown and the delicate, openwork lace body creates a truly unique piece that will turn heads wherever you go. Enjoy wearing your handmade Ice Queen crown!