Vintage Sewing Machine C2C Crochet Pillow Free Pattern
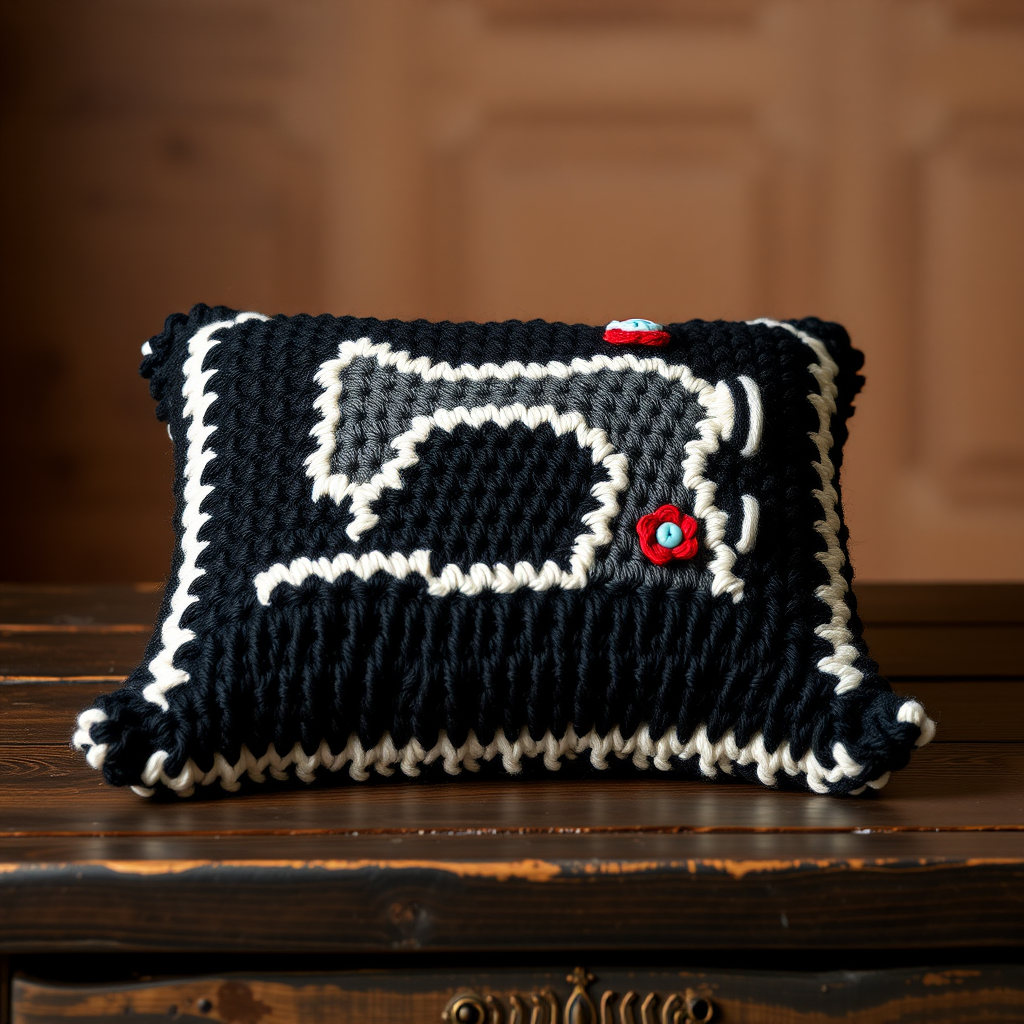
Vintage Sewing Machine C2C Crochet Pillow Free Pattern
Introduction
Welcome to this delightful crochet project where you'll learn to craft a charming vintage-inspired sewing machine pillow using the C2C (corner-to-corner) crochet technique. This cozy and decorative piece is perfect for adding a touch of nostalgia to any sewing room or cozy corner in your home. With its pixelated design and vibrant colors, this pillow not only serves as a functional item but also as a beautiful piece of art that showcases your crochet skills.
Materials Needed
- Yarn: Worsted weight yarn in black, white, and a pop of color for accents (e.g., red or teal).
- Hook: 5.0 mm crochet hook.
- Gauge: 4 blocks = 4 inches.
- Fiberfill: For stuffing the pillow.
- Scissors: For cutting yarn.
- Tapestry needle: For weaving in ends and sewing pieces together.
Step-by-Step Instructions
Step 1: Start with a Magic Ring
Begin your project by creating a magic ring. This will serve as the foundation for your C2C crochet. To create a magic ring:
- Wrap the yarn around your fingers to form a loop.
- Insert your hook into the loop and pull up a loop.
- Chain 3 (this counts as your first double crochet).
Step 2: Increase to Form Blocks
Now, you will begin increasing to form blocks:
- In the magic ring, work 2 double crochets (dc) to complete your first block.
- For each subsequent row, increase by adding one block per row until you have 16 blocks wide. This will create the base for your pillow.
Step 3: Work Even to Create the Sewing Machine Design
Once you have reached the desired width, it’s time to work evenly:
- Continue working blocks evenly in rows to form the body of the sewing machine design.
- Follow a color chart for the sewing machine motif, using black for the main body, white for accents, and your chosen pop of color for decorative elements.
Step 4: Decrease to Finish the Motif
After completing the sewing machine design, you will need to decrease:
- Begin decreasing by working 1 block less in each row until you reach the opposite corner.
- This will shape your pillow into a square as you finish the last row.
Step 5: Add a Border
To give your pillow a polished look:
- Work a single crochet (sc) border around the entire piece.
- Make sure to work evenly around the edges to maintain a neat appearance.
Step 6: Assemble the Pillow
Now it's time to put your pillow together:
- Crochet or sew the front and back pieces together, leaving an opening for stuffing.
- Stuff the pillow with fiberfill until it reaches your desired firmness.
- Once stuffed, close the opening securely by either crocheting or sewing it shut.
Conclusion
Congratulations! You have successfully created your very own Vintage Sewing Machine C2C Crochet Pillow. This project not only enhances your crochet skills but also adds a unique and personal touch to your home decor. Enjoy your new cozy addition, and don't hesitate to share your finished pillow with friends and fellow crafters!


