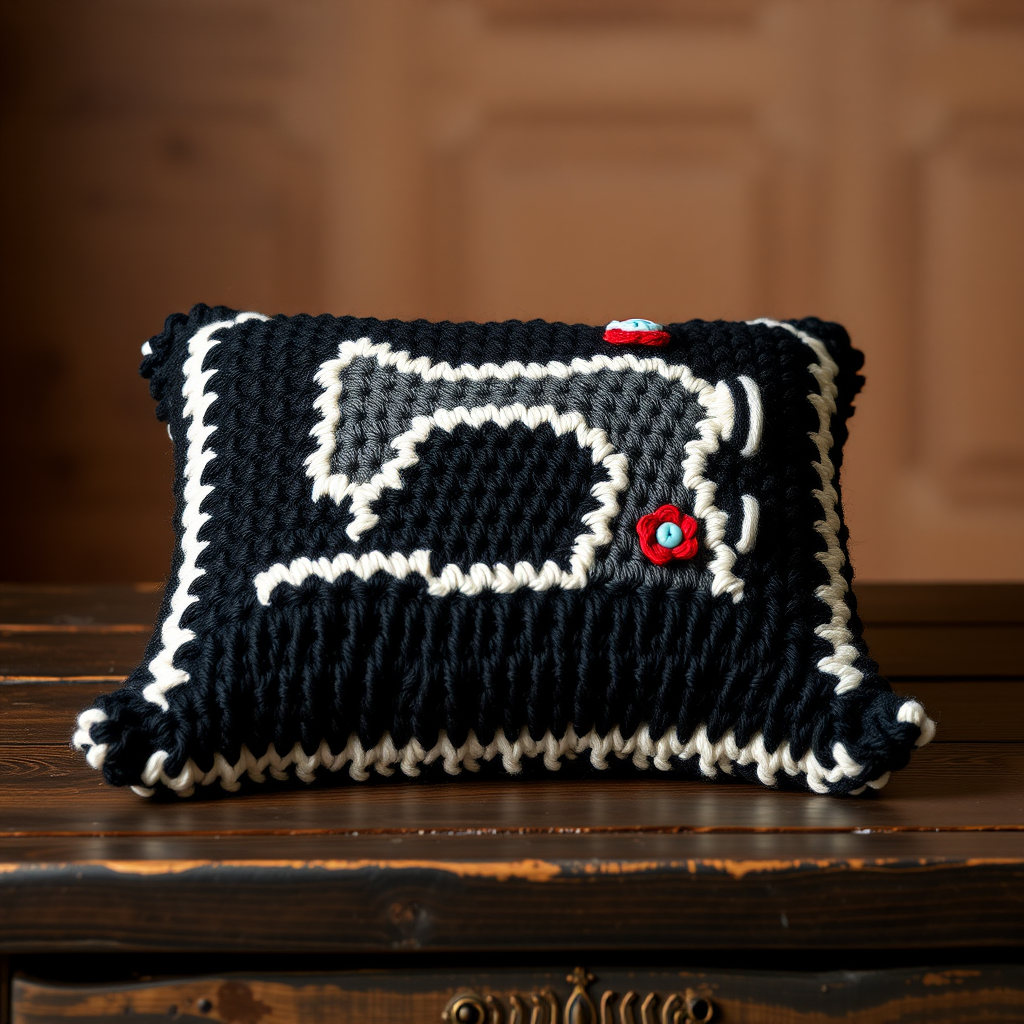
Aurora Bloom Corner-to-Corner Pillow Free Pattern – A Crocheted Midnight Garden

Aurora Bloom Corner-to-Corner Pillow Free Pattern – A Crocheted Midnight Garden
Wrap your space in the quiet magic of a starry night with this corner-to-corner crochet pillow, featuring a lush, dimensional floral motif in deep twilight hues. This plush, textured accent piece brings a handcrafted, botanical elegance to any cozy corner. Whether you're an experienced crocheter or a confident beginner ready to try the corner-to-corner (c2c) technique, this pattern will guide you through creating a stunning, heirloom-quality pillow that evokes a midnight garden under a starry sky.
The Aurora Bloom pillow is worked in two identical c2c squares, then seamed and stuffed to create a plump, soft accent piece. The deep navy background sets off a stylized flower motif: a diamond of dusty lavender petals, a soft sage green leaf shape, and a cream-colored center. The c2c blocks create a subtle, pixelated texture that mimics a woven tapestry, giving your finished pillow a rich, dimensional look that will elevate any room.
Materials Needed
Before you begin, gather the following supplies. All yarn amounts are approximate and based on the specified gauge.
Yarn
- Color A (Deep Navy): Worsted weight yarn – approximately 200g (main background)
- Color B (Dusty Lavender): Worsted weight yarn – approximately 100g (flower petals)
- Color C (Soft Sage): Worsted weight yarn – approximately 60g (leaf shape)
- Color D (Cream): Worsted weight yarn – approximately 40g (flower center)
Total yarn needed: approximately 400g of worsted weight yarn.
Hook and Notions
- 5.5mm crochet hook (US I-9)
- Yarn needle for weaving in ends
- Scissors
- Stitch markers (optional, but helpful for counting)
- 16-inch pillow form (or polyester fiberfill for stuffing)
Gauge
4 c2c blocks = 4 inches (10 cm) square. Be sure to check your gauge before starting. If your gauge is off, adjust your hook size accordingly. A tighter gauge will result in a firmer pillow; a looser gauge will be softer and drapier.
Step-by-Step Instructions
This pillow is worked in two identical corner-to-corner (c2c) squares, each measuring 30 blocks by 30 blocks. The c2c technique creates a diagonal grid of blocks, and you'll follow a color chart to create the floral motif. Don't worry if you're new to c2c – the instructions below are detailed and will guide you through every step.
Understanding the C2C Technique
Before you begin, familiarize yourself with the basic c2c stitch. Each "block" consists of a chain-3 (which counts as the first double crochet) followed by 3 double crochets worked into the same space. Blocks are joined to the previous row with a slip stitch and chain-3.
First Block (Starting Block): Chain 6. Double crochet in the 4th chain from the hook. Double crochet in the next 2 chains. This creates your first block (3 double crochets total, with the chain-3 counting as the first dc).
Increasing Rows: Chain 6, double crochet in the 4th chain from hook, double crochet in the next 2 chains. Then, slip stitch into the chain space of the previous row's last block. Chain 3, work 3 double crochets in that same chain space. This creates the next block. Continue this pattern across the row, adding one new block at the beginning of each row.
Working Even (Straight Rows): When you reach the widest point of your square, you'll work even. Slip stitch into the chain space of the previous row's last block, chain 3, work 3 double crochets in that same space. Continue across the row, working one block in each chain space.
Decreasing Rows: Slip stitch across the first 3 double crochets of the first block. Then, chain 3 and work 3 double crochets in the next block's chain space. Continue across the row, working one block in each chain space. At the end of the row, you'll have one fewer block than the previous row.
Color Chart and Row-by-Row Instructions
Each square is 30 blocks by 30 blocks. You'll increase for the first 30 rows, work even for 30 rows, then decrease for 30 rows, reversing the color pattern symmetrically. Follow the color chart below carefully. Each "row" refers to the diagonal row of blocks.
Rows 1–5: Work entirely in Color A (Deep Navy).
Rows 6–10: Work in Color A, with Color B (Dusty Lavender) in the center 4 blocks of each row. The center blocks are the ones closest to the middle of the diagonal.
Rows 11–15: Work in Color A, with Color B forming a diamond shape (8 blocks per row). Add Color C (Soft Sage) in the center 2 blocks of each row.
Rows 16–20: Work in Color A for the border, Color B for the diamond (12 blocks per row), Color C for the center (4 blocks per row), and Color D (Cream) in the very center (2 blocks per row).
Rows 21–25: Work in Color A for the border, Color B for the diamond (16 blocks per row), Color C for the center (6 blocks per row), and Color D in the center (4 blocks per row).
Rows 26–30: Work in Color A for the border, Color B for the diamond (20 blocks per row), Color C for the center (8 blocks per row), and Color D in the center (6 blocks per row).
Rows 31–60: Work even, maintaining the color pattern. The diamond should be at its widest point, with the flower motif fully formed.
Rows 61–90: Begin decreasing, reversing the color pattern symmetrically. As you decrease, the diamond will shrink, and the colors will recede back to the center. Continue until you have just 1 block remaining in Color A.
Pro Tip: When changing colors, work the last double crochet of the old color until the last yarn over, then pull through with the new color. This creates a clean color change with no gaps.
Making the Second Square
Repeat the entire process to create a second identical square. Take your time and ensure both squares are the same size and have the same color placement. If you're using a pillow form, the squares should measure approximately 16 inches square before seaming.
Seaming and Finishing
Once both squares are complete, it's time to assemble your pillow.
Step 1: Weave in all ends. Use your yarn needle to weave in all loose ends on both squares. Be sure to weave them in securely so they don't come loose with use.
Step 2: Place the squares together. With right sides together (the sides with the floral motif facing each other), align the edges of both squares. You can use stitch markers or safety pins to hold them together.
Step 3: Single crochet three sides. Starting at one corner, single crochet through both layers along three sides of the square. Work one single crochet in each block's edge, and work 2-3 single crochets in each corner to turn smoothly. When you reach the end of the third side, fasten off and weave in the end.
Step 4: Turn right side out. Carefully turn the pillow cover right side out through the open fourth side. Use a blunt tool (like a knitting needle or the back of a crochet hook) to gently push out the corners.
Step 5: Insert the pillow form. Fold the pillow form in half and insert it through the open side. Gently adjust it so it fills the corners evenly.
Step 6: Close the fourth side. With the pillow form inside, single crochet the fourth side closed. Work through both layers as before, being careful not to catch the pillow form in your stitches. When you reach the end, fasten off and weave in the end.
Step 7: Final touches. Give your pillow a gentle blocking if needed. You can lightly steam it (without touching the yarn directly) to even out the stitches. Fluff the pillow and place it in your favorite spot.
Care Instructions
To keep your Aurora Bloom pillow looking its best, spot clean with a damp cloth and mild soap. Avoid machine washing, as this can distort the c2c blocks. If you need to wash it, hand wash in cool water and lay flat to dry, reshaping as needed.
Your Aurora Bloom Corner-to-Corner Pillow is now complete! This stunning piece will add a touch of midnight garden magic to any room. The rich, muted colors and textured c2c blocks create a beautiful, heirloom-quality accent that you'll be proud to display. Happy crocheting!