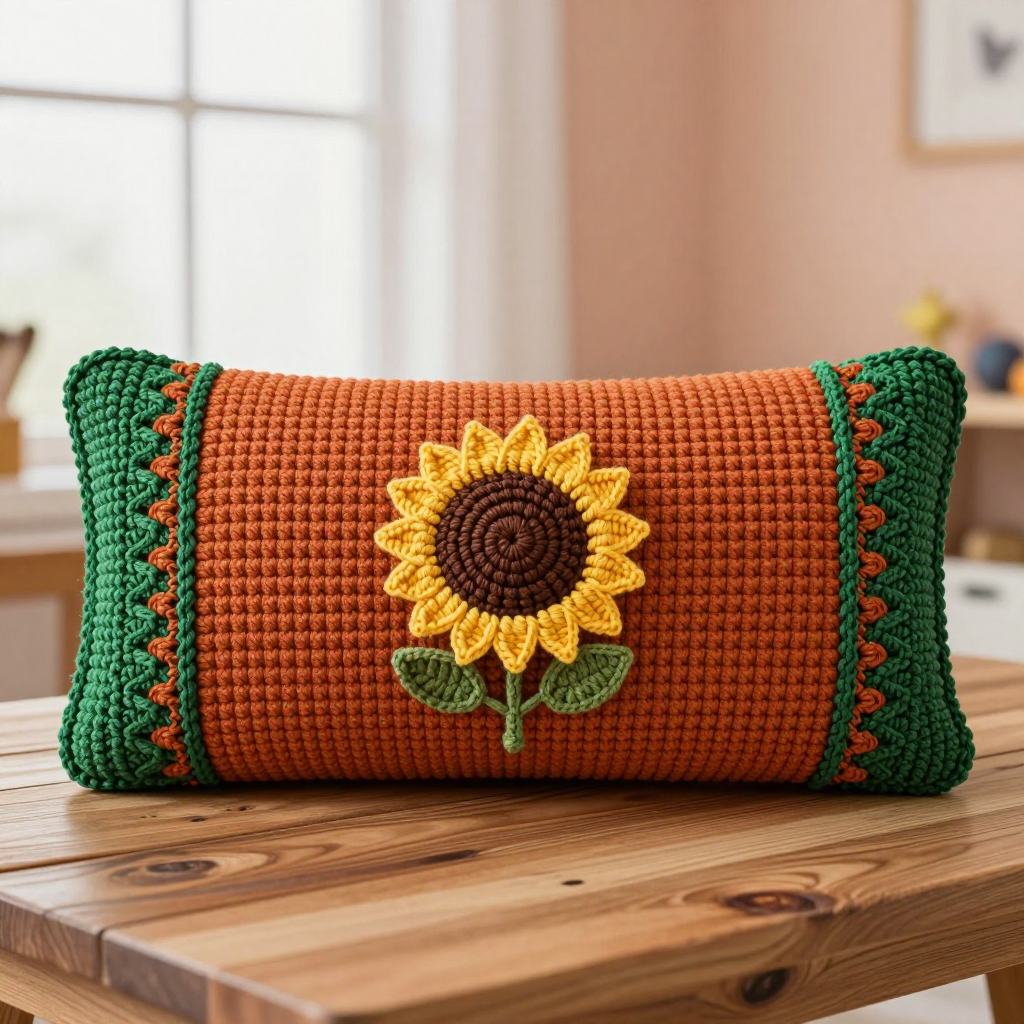
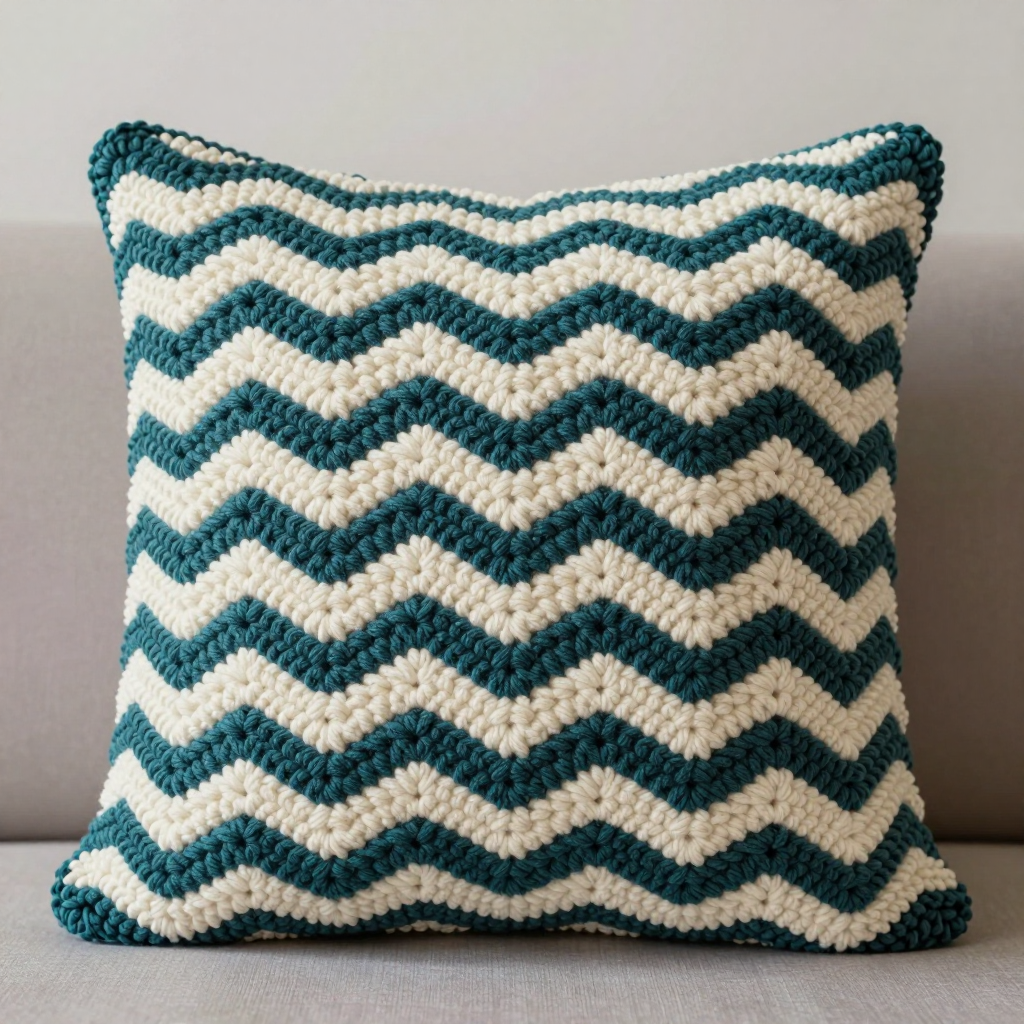
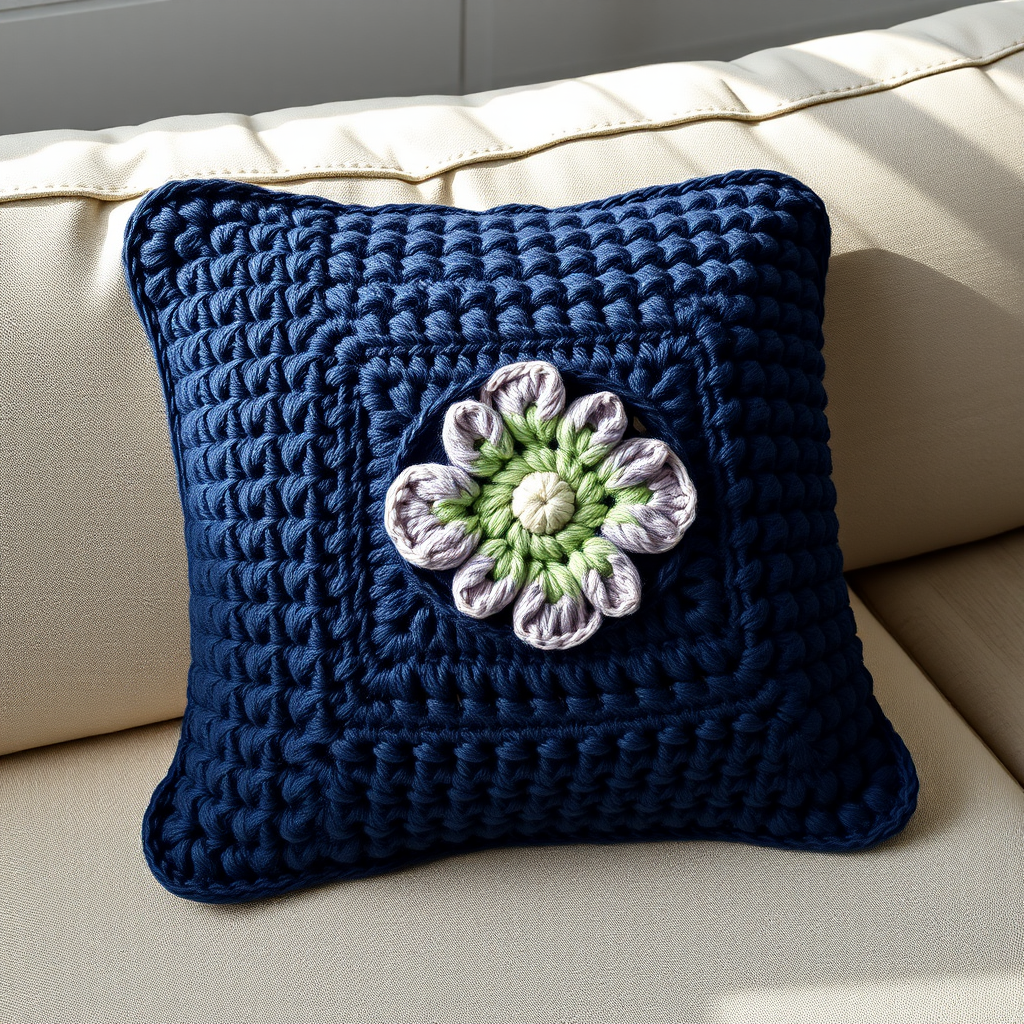
Bold Bunny Granny Square Crochet Cushion Free Pattern
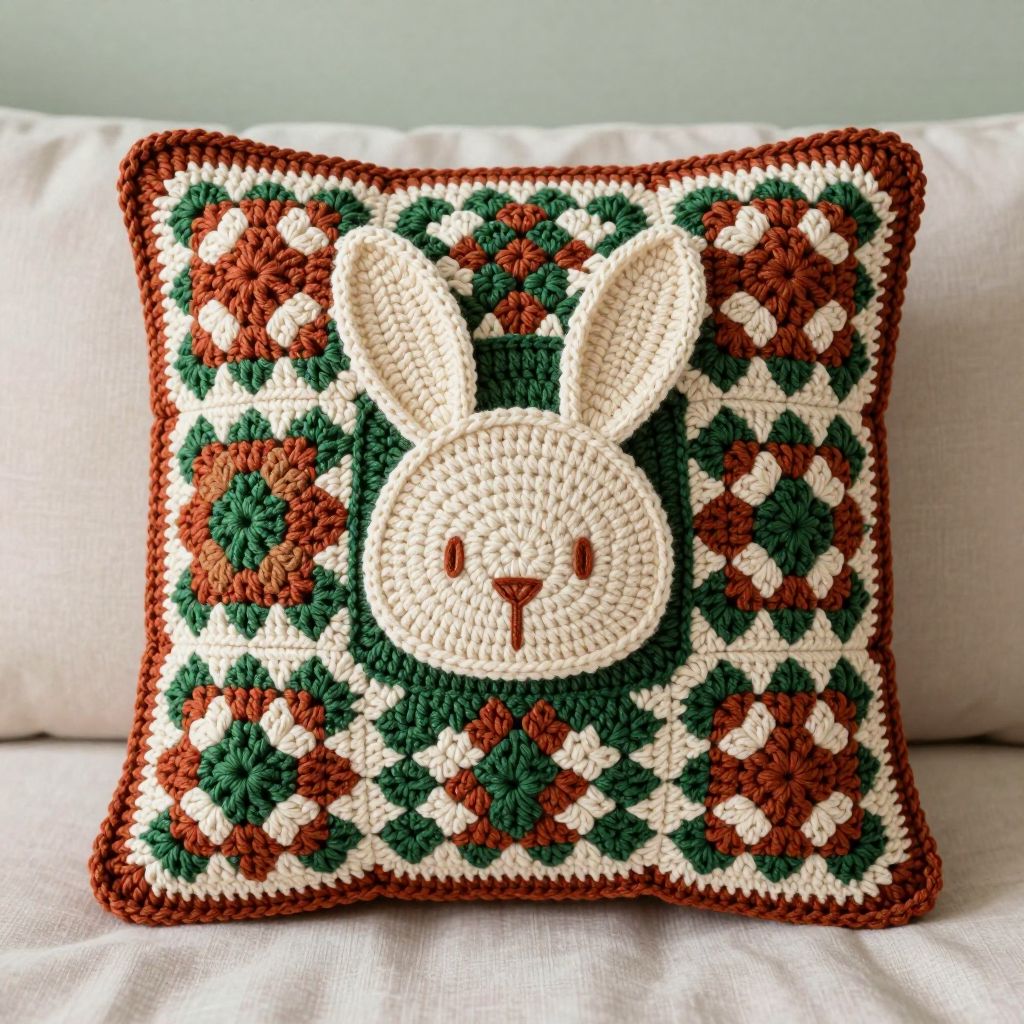
Bold Bunny Granny Square Crochet Cushion — Free Beginner-Friendly Pattern
Introduction
If you have ever wanted to make something that looks like it came straight out of a designer's living room, this is your project. This Bold Bunny Granny Square Cushion is a 16 x 16 inch (40.5 x 40.5 cm) statement pillow built from sixteen simple four-round granny squares in alternating forest green and rust velvet yarn, then topped with a sweet cream bunny-head appliqué and two floppy ears. It is perfect for a confident beginner who has learned the basic stitches and wants to practice color changes, seaming, and a little amigurumi-style shaping — every step is spelled out below, so you never have to guess. The finished cushion is plush, soft, and slightly shiny thanks to the velvet yarn, with a raised grid texture from the granny squares and a cozy, huggable feel. By the end, you will have a maximalist, heirloom-style pillow you will be proud to show off.
Materials Needed
- Yarn: Bernat Velvet (100% polyester, bulky weight / weight category 5). 1 skein Forest Green (approx. 220 yd) — call this A. 1 skein Rust (approx. 220 yd) — call this B. A small amount of Cream or Ivory (approx. 60 yd) — call this C.
- Crochet hook for granny squares: 5.5 mm (US I-9).
- Crochet hook for bunny appliqués: 4.5 mm (US G-7).
- Stitch marker (one, for the bunny head spiral).
- Tapestry needle (a large blunt needle with an eye big enough for bulky yarn).
- Scissors.
- 16 x 16 in (40 x 40 cm) pillow insert.
- Small amount of polyester fiberfill for lightly stuffing the bunny head.
- Pins (for holding appliqués in place while you sew).
Finished size: 16 x 16 in (40.5 x 40.5 cm) square cushion. Each granny square measures 4 x 4 in (10 x 10 cm) after blocking. The bunny head appliqué is approx. 4 in (10 cm) wide, and each ear is approx. 2 in (5 cm) long.
Abbreviations and Beginner Glossary
- ch — chain. Wrap the yarn over your hook and pull it through the loop on your hook. This makes a small link.
- sl st — slip stitch. Insert your hook into the stitch, yarn over, and pull that loop straight through the loop on your hook. It joins without adding height.
- sc — single crochet. Insert hook into stitch, yarn over, pull up a loop (2 loops on hook), yarn over, pull through both loops (1 loop left).
- dc — double crochet. Yarn over, insert hook into stitch, yarn over, pull up a loop (3 loops on hook), yarn over, pull through 2 loops, yarn over, pull through last 2 loops.
- sc2tog — single crochet two stitches together (a decrease). Insert hook into first stitch, yarn over, pull up a loop; insert hook into next stitch, yarn over, pull up a loop (3 loops on hook); yarn over and pull through all 3 loops. Two stitches become one.
- beg — beginning. Refers to the first stitch or chain of a round.
- sp / sps — space / spaces. The gap made by a chain (for example, a ch-2 space is the hole created by two chains).
- st / sts — stitch / stitches.
- rnd / rnds — round / rounds. A complete circle of stitches worked in the round.
- rep — repeat. Do the instruction again.
- * ... * — the section between the asterisks is repeated as many times as stated.
- magic ring — an adjustable loop of yarn you crochet into, then pull tight so no hole remains in the center.
- fasten off — cut the yarn a few inches from your work and pull the tail all the way through the last loop to lock it.
- whipstitch — a simple sewing stitch: bring the needle up through both pieces, over the edge, and back down, making small slanted stitches.
- blocking — gently steaming or wetting your finished piece and pinning it to the correct size so it dries flat and even.
Gauge
Gauge: One granny square = 4 x 4 in (10 x 10 cm) after blocking, worked with the 5.5 mm (I-9) hook. Each square is 4 rounds. The bunny head appliqué = approx. 4 in (10 cm) wide.
Why gauge matters: Gauge is how big your stitches turn out. If your squares come out larger than 4 inches, sixteen of them will not fit a 16-inch insert; if they come out smaller, the cushion will look baggy. How to check: make one complete granny square exactly as written, fasten off, and steam it lightly. Lay a ruler across it. If it is bigger than 4 inches, try again with a smaller hook; if smaller, try a larger hook. Always check gauge before making all sixteen squares.
Beginner Tips Before You Start
- Make one practice square first. Complete a single square and measure it before you commit to all sixteen. It saves hours later.
- Use a stitch marker on the bunny head. The head is worked in a continuous spiral with no join, so place a marker in the first stitch of each round to know where the round begins.
- Do not pull your yarn too tight. Velvet yarn is slippery and has a pile; tight tension crushes the texture and makes seaming hard. Keep your loops relaxed and even.
- Keep your color changes tidy. Fasten off each square completely and weave in the ends as you go, rather than saving sixteen squares' worth of tails for the end.
- Count your clusters every round. Each round of the square adds one 3-dc cluster per side. If a side looks short, you have missed a chain-1 space.
- Steam only, never press. Velvet pile flattens under a hot iron. Hold a steamer (or iron held above the fabric) near the piece and let the steam do the work.
Step-by-Step Instructions
Part 1: Granny Squares (make 16 total — 8 in Forest Green A, 8 in Rust B)
Each square is worked with the 5.5 mm (I-9) hook in joined rounds. Begin with a magic ring.
Rnd 1: Ch 3 (counts as first dc), 2 dc in ring, [ch 2, 3 dc in ring] 3 times, ch 2, join with sl st to top of beg ch-3. (12 dc, 4 ch-2 sps)
Rnd 2: Sl st into next 2 dc and into first ch-2 sp. Ch 3, (2 dc, ch 2, 3 dc) in same sp, *ch 1, (3 dc, ch 2, 3 dc) in next ch-2 sp; rep from * around, ch 1, join with sl st to top of beg ch-3. (24 dc, 4 ch-2 corner sps, 4 ch-1 side sps)
Rnd 3: Sl st into next 2 dc and into first ch-2 sp. Ch 3, (2 dc, ch 2, 3 dc) in same sp, *ch 1, 3 dc in next ch-1 sp, ch 1, (3 dc, ch 2, 3 dc) in next ch-2 sp; rep from * around, ch 1, join with sl st to top of beg ch-3. (36 dc, 4 corner sps, 8 side sps)
Rnd 4: Sl st into next 2 dc and into first ch-2 sp. Ch 3, (2 dc, ch 2, 3 dc) in same sp, *[ch 1, 3 dc in next ch-1 sp] twice, ch 1, (3 dc, ch 2, 3 dc) in next ch-2 sp; rep from * around, ch 1, join with sl st to top of beg ch-3. (48 dc, 4 corner sps, 12 side sps)
Fasten off and weave in ends. Block each square to 4 x 4 in (10 x 10 cm). Repeat until you have 8 squares in A and 8 squares in B.
Part 2: Cushion Front and Back Panels
Arrange your 16 squares in a 4 x 4 grid, alternating colors in a checkerboard:
- Row 1: A, B, A, B
- Row 2: B, A, B, A
- Row 3: A, B, A, B
- Row 4: B, A, B, A
Join the squares with a flat slip-stitch seam or whipstitch using matching yarn, working from the wrong side so the seams lie flat. First join 4 squares into a row, then join the rows together. Make two identical 4 x 4 panels — one for the front and one for the back.
Part 3: Joining the Cushion
Place the two panels right sides together. Join around the outer edge with sc worked through both layers, using Rust (B) yarn: work 1 sc in each st and 1 sc in each ch-1 sp, working 3 sc in each corner. Leave a 10 in (25 cm) opening along the bottom edge. Turn the cushion right side out, insert the pillow insert, and close the opening with slip stitch or whipstitch.
Part 4: Bunny Head Appliqué (make 1, with 4.5 mm / G-7 hook and Cream C)
Work in a continuous spiral; do not join. Use a stitch marker in the first stitch of each round.
Rnd 1: Magic ring, 6 sc in ring. (6)
Rnd 2: 2 sc in each st around. (12)
Rnd 3: [Sc in next st, 2 sc in next st] 6 times. (18)
Rnd 4: [Sc in next 2 sts, 2 sc in next st] 6 times. (24)
Rnd 5: [Sc in next 3 sts, 2 sc in next st] 6 times. (30)
Rnd 6: [Sc in next 4 sts, 2 sc in next st] 6 times. (36)
Rnds 7–10: Sc in each st around. (36)
Rnd 11: [Sc in next 4 sts, sc2tog] 6 times. (30)
Rnd 12: [Sc in next 3 sts, sc2tog] 6 times. (24)
Stuff lightly with fiberfill.
Rnd 13: [Sc in next 2 sts, sc2tog] 6 times. (18)
Rnd 14: [Sc in next st, sc2tog] 6 times. (12)
Rnd 15: Sc2tog 6 times. (6)
Fasten off, leaving a long tail. Draw the tail through the remaining 6 sts and pull closed. Do not overstuff — the head should be slightly flattened so it sits nicely as an appliqué.
Part 5: Ear Appliqués (make 2, with 4.5 mm / G-7 hook and Cream C)
Work flat in rows.
Row 1: Ch 7, sc in 2nd ch from hook and in each ch across. (6 sc)
Row 2: Ch 1, turn, sc in each st across. (6)
Row 3: Ch 1, turn, sc2tog, sc in next 2 sts, sc2tog. (4)
Row 4: Ch 1, turn, sc in each st across. (4)
Row 5: Ch 1, turn, sc2tog twice. (2)
Row 6: Ch 1, turn, sc2tog. (1)
Fasten off, leaving a long tail. Make the second ear identical.
Part 6: Attaching the Appliqués and Face
Pin the bunny head to the center front of the cushion, centered over the middle four squares. Whipstitch around the outer edge with Cream yarn, leaving a small opening to add a tiny bit more stuffing if needed, then close.
Pin one ear at a slight outward angle above each side of the head, overlapping the top edge of the head by about 0.5 in (1.3 cm). Whipstitch in place with Cream yarn.
With Rust yarn and a tapestry needle, embroider two small straight-stitch eyes about 1 in (2.5 cm) apart and 0.75 in (2 cm) above the center of the face. Embroider a small V-shaped nose and a short vertical mouth line below the eyes using Rust yarn.
Assembly and Finishing
Seaming: When joining squares, hold them wrong sides facing you and work small, even whipstitches (or slip stitches) through the outer loops only, catching one loop from each square. Pull each stitch snug but not tight — the seam should be invisible from the front. Work one direction (rows first, then columns) for a neat grid.
Closing the cushion: After inserting the pillow insert, thread a tapestry needle with Rust yarn and whipstitch the 10 in (25 cm) opening closed, catching both layers evenly. Knot securely on the inside and hide the knot under the seam.
Weaving in ends: Thread each tail onto the tapestry needle and weave it back and forth through the back of several stitches (about 1 inch), then trim close. Never knot bulky velvet tails on the surface — they will show.
Blocking: Lightly steam the appliqué edges and seams. Do not press heavily on velvet — use steam only to avoid crushing the pile. Pin the cushion to shape on a towel and let it dry completely before use.
Pro Tips and Variations
- Change the color story: Swap Forest Green and Rust for mustard and cream, or blush pink and charcoal, for a completely different mood. Keep the checkerboard alternation for the same bold effect.
- Adjust the size: For a larger floor cushion, add a fifth round to each square (each extra round adds about 1 inch / 2.5 cm per side) and make a 5 x 5 grid. Always re-check gauge and buy extra yarn.
- Substitute yarn: Any bulky (weight 5) chenille or velvet yarn works; just match the gauge. Avoid fuzzy novelty yarns for the appliqué so the face stays crisp.
- Make it removable: Instead of seaming the bottom closed, crochet a simple button loop and add two large buttons so the cover can be slipped off for washing.