The Woven Willow Wrap: A Free Crochet Pattern for a Textured, Asymmetrical Shoulder Cape
Introducing the Woven Willow Wrap
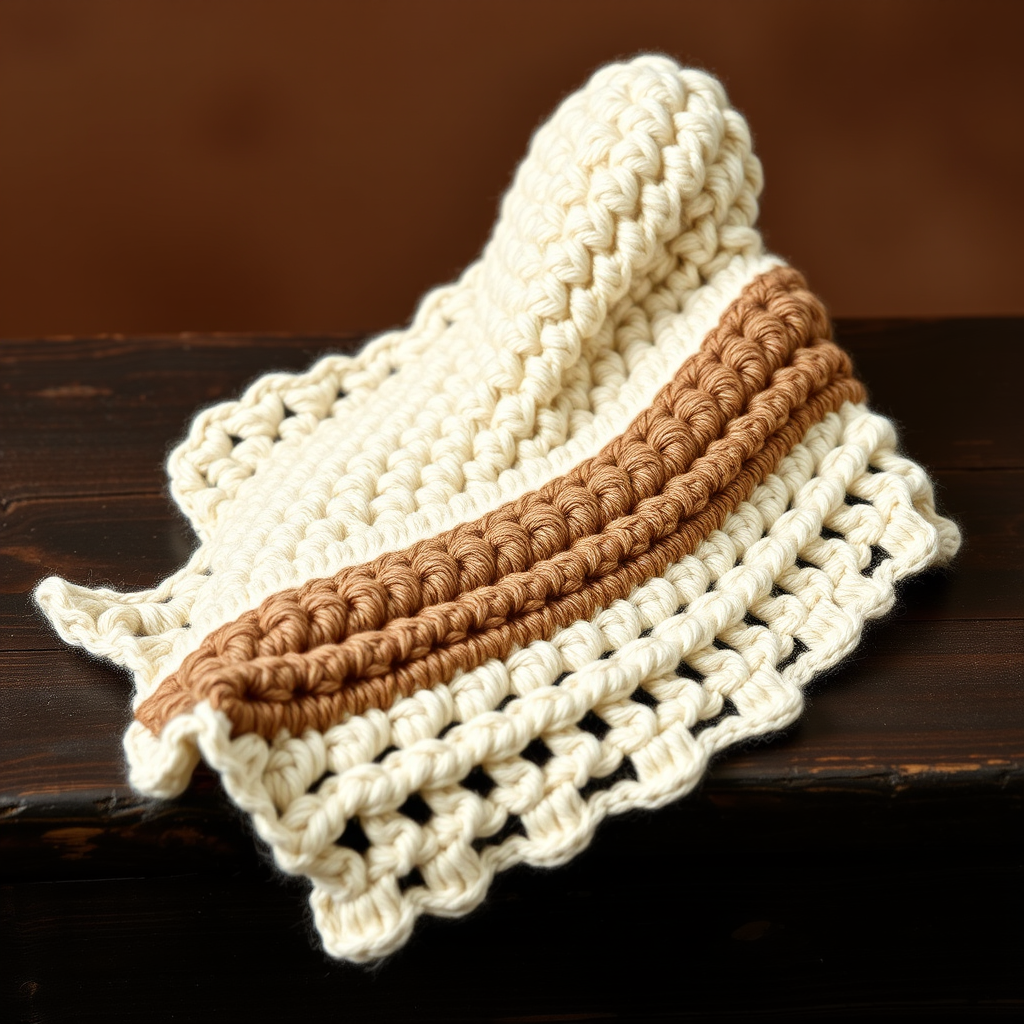
Embrace the cozy elegance of the Woven Willow Wrap, a free crochet pattern that combines a unique asymmetrical silhouette with a richly textured stitch pattern. This modern shoulder cape is perfect for adding a touch of handcrafted warmth to any outfit. Designed to drape gracefully over one shoulder, the wrap features a dense, woven texture created by alternating front and back post double crochet stitches. The result is a fabric-like, non-lacy appearance that feels both sophisticated and cozy. Whether you're a seasoned crocheter or a confident beginner looking for a rewarding project, this pattern will guide you through creating a stunning, wearable piece of art.
Materials Needed
To create your own Woven Willow Wrap, gather the following materials. Gauge is critical for fit, so take the time to check your tension.
- Yarn: Worsted weight (#4) yarn in two colors:
- Color A (Main): 600 yards. Sample uses Lion Brand Wool-Ease in 'Fisherman'.
- Color B (Contrast): 300 yards. Sample uses Lion Brand Wool-Ease in 'Oatmeal'.
- Hook: Size J-10 (6.0 mm) crochet hook
- Other: Yarn needle for weaving in ends, scissors, tape measure, blocking mats and pins (optional but recommended).
- Gauge: 14 stitches and 8 rows in pattern stitch = 4 inches (10 cm). Gauge is critical for fit.
Step-by-Step Instructions
Pattern Notes
- The wrap is worked from the top down in one piece, with increases creating the asymmetrical shape.
- The pattern uses a combination of front post double crochet (fpdc) and back post double crochet (bpdc) to create a woven texture.
- Ch 3 counts as a dc throughout.
Pattern Stitch (Woven Texture)
This stitch creates the beautiful, fabric-like texture of the wrap. Practice it on a small swatch before starting.
- Row 1 (RS): Dc in 4th ch from hook and across. Turn.
- Row 2 (WS): Ch 3, *fpdc around next st, bpdc around next st; repeat from * across, ending with dc in top of turning ch. Turn.
- Row 3 (RS): Ch 3, *bpdc around next st, fpdc around next st; repeat from * across, ending with dc in top of turning ch. Turn.
- Repeat Rows 2-3 for pattern.
Wrap Instructions
Starting the Wrap
- With Color A, ch 62.
- Row 1 (RS): Dc in 4th ch from hook and in each ch across. (60 dc) Turn.
- Row 2 (WS): Ch 3, *fpdc around next st, bpdc around next st; repeat from * across, ending with dc in top of turning ch. Turn.
- Row 3 (RS): Ch 3, *bpdc around next st, fpdc around next st; repeat from * across, ending with dc in top of turning ch. Turn.
- Repeat Rows 2-3 for pattern until piece measures 8 inches from beginning, ending with a WS row.
Begin Asymmetrical Increases
These increases will create the unique, one-sided triangular shape of the wrap.
- Row 1 (RS): Ch 3, work in pattern across first 30 sts, 2 dc in next st, pattern across remaining 29 sts, dc in top of turning ch. (61 sts) Turn.
- Row 2 (WS): Ch 3, pattern across 30 sts, 2 dc in next st, pattern across remaining 30 sts, dc in top of turning ch. (62 sts) Turn.
- Repeat these two increase rows, working the increases in the same location (the center of the wrap) on every RS row, until you have 80 sts. You will have a triangular shape forming on one side.
Color Block Section
This section introduces the contrasting color for a striking design element.
- Continue working in pattern, but now on every RS row, work the first 10 sts with Color B, then the remaining sts with Color A. Carry the unused yarn loosely along the side.
- Work for 6 inches, maintaining the increase pattern (now increasing at the center of the Color B section).
Final Section
- Switch back to Color A only.
- Continue working in pattern, still increasing on every RS row, until the wrap measures 28 inches from the beginning along the longest edge.
- Fasten off.
Finishing
- Weave in all ends using a yarn needle. Be sure to secure them well, especially at color changes.
- Block the wrap to shape, gently stretching the asymmetrical edge. This will help the fabric drape beautifully and even out the stitches.
- Optional: Add a single button or brooch at the top corner to secure the wrap over the shoulder.
Your Woven Willow Wrap is now complete! Enjoy the cozy, sophisticated warmth of your handcrafted creation. The unique asymmetrical shape and rich texture make it a standout piece for any wardrobe.