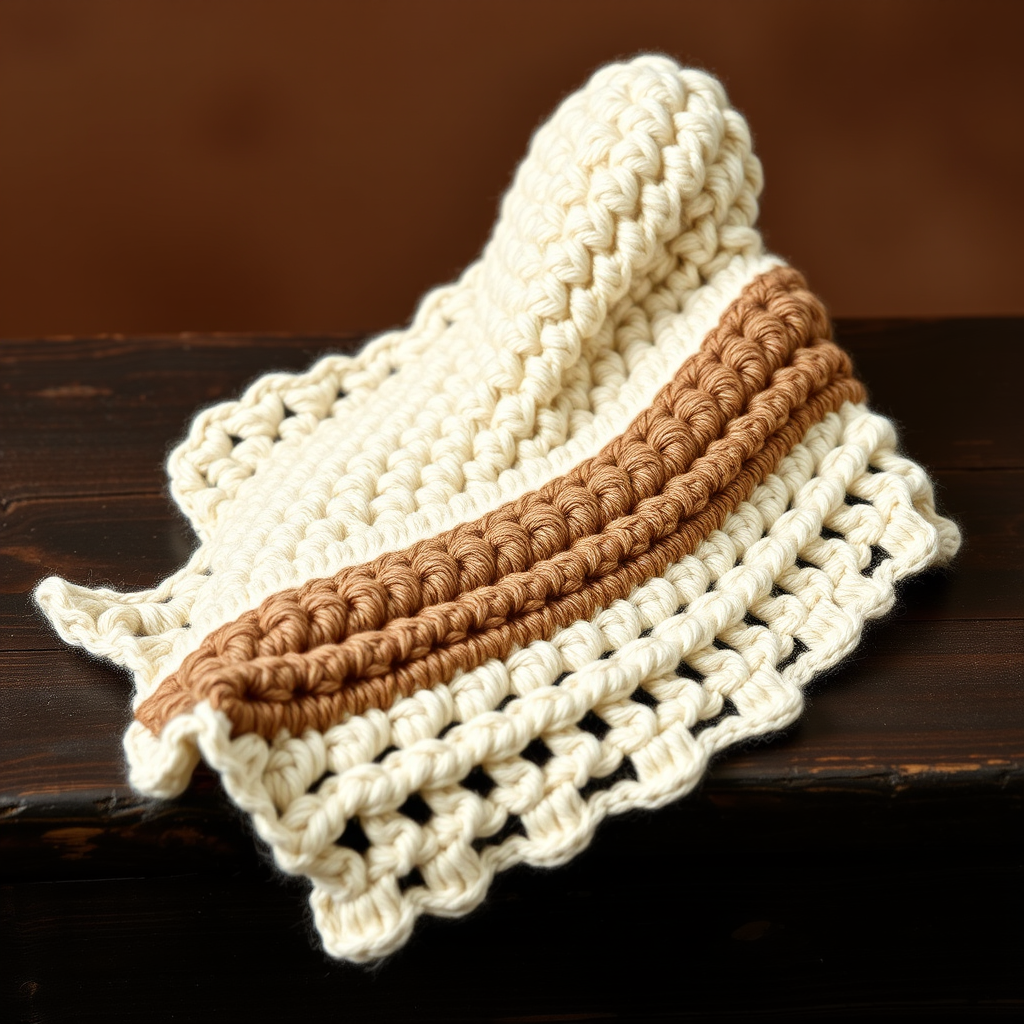
Aurora Borealis Cocoon Cardigan Free Pattern – Crochet a Shimmering Northern Lights Wrap

Wrap Yourself in the Night Sky: The Aurora Borealis Cocoon Cardigan
Imagine draping the ethereal, shifting colors of the Northern Lights over your shoulders. With the Aurora Borealis Cocoon Cardigan, you can turn that celestial vision into a cozy, wearable reality. This free crochet pattern is more than just a garment; it's an experience. Using a stunning gradient of jewel-toned worsted weight yarns, you'll create a seamless, oversized wrap that flows from a deep, midnight teal through emerald, turquoise, and violet, finally bursting into a vibrant magenta at the hem.
This project is perfect for intermediate crocheters looking for a rewarding, stylish piece, but with our detailed, step-by-step instructions, even a confident beginner can successfully create this show-stopping cardigan. The construction is brilliantly simple—worked in one piece from the top down—resulting in a beautifully unstructured, flowing silhouette with no tricky seaming. Whether you're curling up with a book or heading out for a crisp evening, this cocoon cardigan adds a touch of magical elegance to any moment.
Materials Needed: Gathering Your Celestial Palette
Before you begin your journey, gather the following materials. The key to this project's magic is the smooth, gradual color transition, so be sure to have all five colors ready.
- Yarn: Worsted weight (#4) yarn in 5 colors:
- Color A (Deep Teal): Approximately 400g (e.g., 4 x 100g skeins)
- Color B (Emerald Green): Approximately 300g (e.g., 3 x 100g skeins)
- Color C (Turquoise): Approximately 250g (e.g., 3 x 100g skeins)
- Color D (Violet): Approximately 200g (e.g., 2 x 100g skeins)
- Color E (Magenta): Approximately 150g (e.g., 2 x 100g skeins)
- Crochet Hook: 6.0 mm (J-10) crochet hook
- Other: Yarn needle for weaving in ends, scissors, and stitch markers (optional, but helpful).
Gauge: 14 double crochet (dc) x 8 rows = 4 inches (10 cm) in the pattern stitch. It's crucial to check your gauge to ensure your cardigan drapes correctly. If your gauge is off, adjust your hook size accordingly.
Step-by-Step Instructions: Creating Your Aurora
This cocoon cardigan is a marvel of simplicity. It's worked flat in a large rectangle from the top down, then folded and seamed to create the sleeves and body. The color changes are worked in blocks of rows to create the beautiful gradient effect.
Special Stitches to Master
Before you start, familiarize yourself with these two simple stitches that create the beautiful texture of this piece.
- V-stitch (V-st): Work (double crochet, chain 1, double crochet) all in the same stitch or space.
- Shell stitch: Work 5 double crochet (dc) in the same stitch or space.
Getting Started: The Foundation
Row 1 (Foundation): With Color A (Deep Teal), make a slip knot and chain (ch) 80. Double crochet (dc) in the 4th chain from your hook and in each chain across. You should have 78 double crochet stitches total. The initial chain of 3 counts as your first double crochet.
The Main Body: Building the V-Stitch Pattern
Row 2: Chain 3 (this counts as your first double crochet), turn your work. *Skip the next 2 double crochet, work a V-stitch (dc, ch 1, dc) in the next double crochet; repeat from * across the row, ending with a double crochet in the top of the turning chain from the previous row. You will have 26 V-stitches.
Row 3: Chain 3, turn. *Work a V-stitch in the chain-1 space of the next V-stitch from the previous row; repeat from * across, ending with a double crochet in the top of the turning chain. You will still have 26 V-stitches.
Rows 4-6: Repeat Row 3. At the end of Row 6, fasten off Color A and join Color B (Emerald Green) with a slip stitch.
Creating the Gradient: Color Block Sections
Now you will continue the same pattern, simply changing colors to build your aurora gradient. Each color is worked for a set number of rows.
Rows 7-12: With Color B (Emerald Green), repeat Row 3. At the end of Row 12, fasten off Color B and join Color C (Turquoise).
Rows 13-18: With Color C (Turquoise), repeat Row 3. At the end of Row 18, fasten off Color C and join Color D (Violet).
Rows 19-24: With Color D (Violet), repeat Row 3. At the end of Row 24, fasten off Color D and join Color E (Magenta).
Rows 25-30: With Color E (Magenta), repeat Row 3. At the end of Row 30, do not fasten off. You will now have a beautiful, large rectangle with a stunning color gradient.
Finishing Touch: The Scalloped Edging
This beautiful border frames your work and gives it a polished, professional finish.
Round 1: Chain 1, turn your work. Work a single crochet (sc) evenly around the entire outer edge of the rectangle. When you reach a corner, work 3 single crochet in that corner stitch to help the border turn smoothly. Join with a slip stitch to the first single crochet.
Round 2: Chain 1. *Single crochet in the next single crochet, skip 2 single crochet, work a shell stitch (5 dc) in the next single crochet, skip 2 single crochet; repeat from * around the entire edge. When you reach the corners, you may need to adjust the spacing slightly to ensure the shell stitches lie flat. Join with a slip stitch to the first single crochet. Fasten off and weave in this end.
Assembly: Shaping Your Cocoon
This is the magical part where your rectangle transforms into a cardigan!
- Fold: Lay your rectangle flat with the right side facing you. Fold it in half widthwise, bringing the Color A (Deep Teal) edge to meet the Color E (Magenta) edge. The fold will be the top of your shoulders.
- Seam: Using your yarn needle and a length of Color A yarn, sew or crochet the top edges together. Start from the folded edge and sew down for about 10 inches (25 cm). This seamed section will be the back of your neck and shoulders.
- Sleeves: The remaining unsewn portion of the top edges (about 20 inches / 50 cm on each side) will be the openings for your sleeves.
- Weave in Ends: Carefully weave in all remaining loose yarn ends from your color changes and seams.
- Blocking: To give your cardigan its final, beautiful drape, block it to shape. Lightly mist the garment with water and lay it flat on a blocking mat, gently shaping it to the desired dimensions. Allow it to dry completely.
And there you have it! Your very own Aurora Borealis Cocoon Cardigan. Slip it on and enjoy the cozy, celestial magic you've created with your own hands. This stunning piece is sure to become a cherished favorite in your handmade wardrobe.