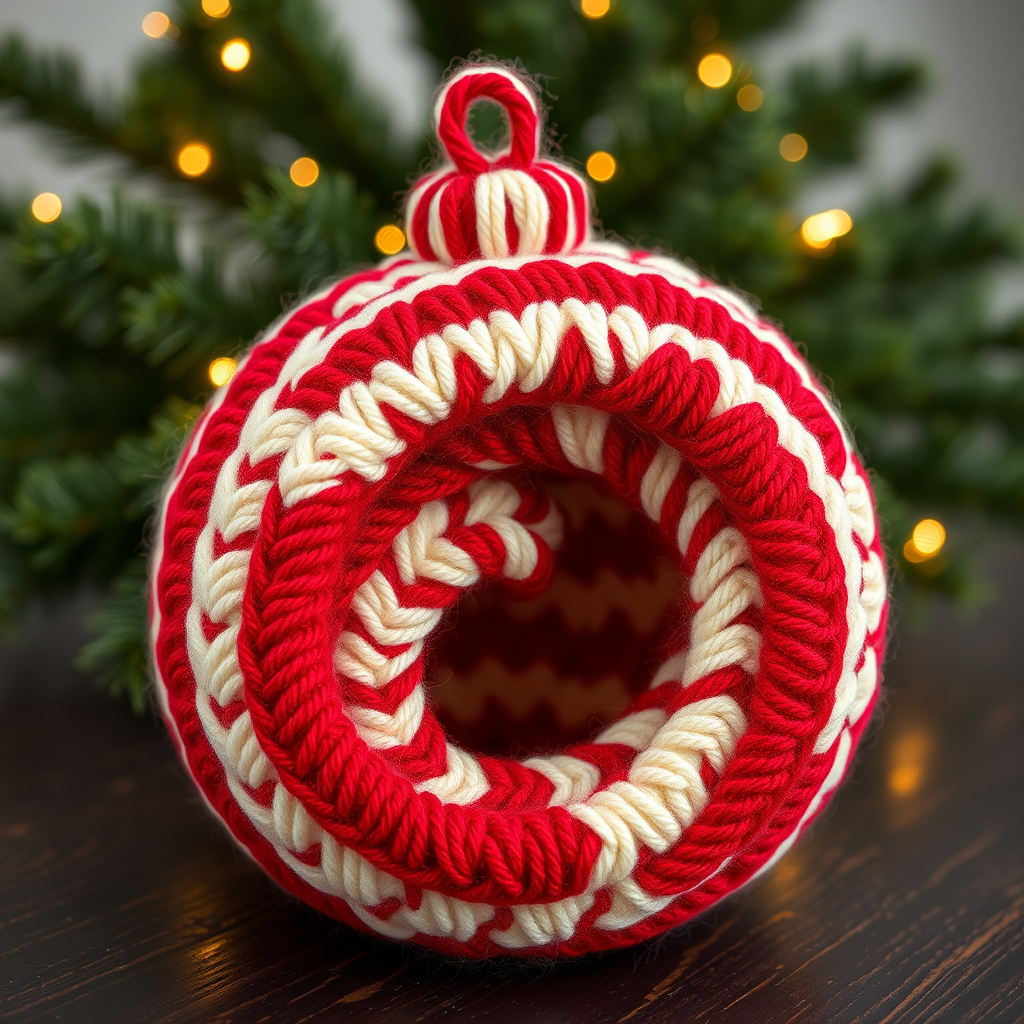
The Starlight Spire Ornament Topper: A Free Knitting Pattern for a Modern, Textured Tree Decoration

Introducing the Starlight Spire Ornament Topper
Elevate your holiday decor with this unique, knitted ornament topper that mimics the look of a delicate, star-tipped spire. Crafted with a soft, heathered yarn and a subtle cable twist, it adds a touch of cozy sophistication to any Christmas ball. This modern, textured tree decoration is perfect for adding a handmade, elegant touch to your festive setup. Whether you're a seasoned knitter or a beginner looking for a quick, satisfying project, this pattern is designed to be clear and achievable. The topper fits over a standard 2.5-inch diameter ornament ball hook, making it a versatile addition to your holiday collection.
Materials Needed
To create your own Starlight Spire Ornament Topper, gather the following materials:
- Yarn: Worsted weight yarn in a heathered grey-blue (e.g., Cascade 220 Heathers in 'Blue Spruce'), approximately 20 yards per topper.
- Needles: US Size 6 (4.0 mm) double-pointed needles (DPNs) or a 9-inch circular needle for small circumference knitting.
- Notions: Cable needle, tapestry needle for weaving in ends, scissors.
- Gauge: 22 stitches and 30 rows = 4 inches in stockinette stitch, after blocking. Gauge is not critical for this project, but matching it ensures a proper fit over the ornament hook.
Step-by-Step Instructions
Note: This pattern is worked in the round from the bottom up. The topper is designed to fit over a standard 2.5-inch diameter ornament ball hook.
Abbreviations
- CO: Cast on
- K: Knit
- P: Purl
- K2tog: Knit two stitches together
- SSK: Slip, slip, knit (decrease)
- M1L: Make one left (increase)
- M1R: Make one right (increase)
- St(s): Stitch(es)
- Rnd(s): Round(s)
- C4F: Cable 4 front (slip 2 stitches to cable needle, hold to front, knit 2 from left needle, then knit 2 from cable needle)
Pattern
Base
Step 1: CO 24 sts. Distribute evenly across 3 DPNs (8 sts per needle). Join for working in the round, being careful not to twist.
Rnd 1-4: *K2, P2* repeat around. (Ribbing) – This creates a 1-inch tall ribbed base that will grip the ornament hook securely.
Body (Cable Section)
Rnd 5: *K4, P2* repeat around. (24 sts) – This sets up the cable pattern with 4 knit stitches for the cable and 2 purl stitches for the background.
Rnd 6: *Slip next 2 sts to cable needle and hold to front, K2 from left needle, then K2 from cable needle (C4F), P2* repeat around. – This creates the first cable twist.
Rnd 7-9: *K4, P2* repeat around. – Work these rounds without cabling to let the cable pattern develop.
Rnd 10: *K4, P2* repeat around. – Continue the pattern.
Rnd 11: *K4, P2* repeat around. – Maintain the established rhythm.
Rnd 12: *C4F, P2* repeat around. – Second cable twist, creating the textured spiral effect.
Rnd 13-15: *K4, P2* repeat around. – Work these rounds straight to complete the cable section. The body should measure approximately 1.5 inches tall.
Decrease for Spire
Rnd 16: *K2tog, K2, P2tog* repeat around. (16 sts) – This begins the taper by decreasing both the knit and purl sections.
Rnd 17: *K3, P1* repeat around. – Adjust the stitch count to prepare for further decreases.
Rnd 18: *K2tog, K1, P1* repeat around. (12 sts) – Continue decreasing the knit stitches.
Rnd 19: *K2, P1* repeat around. – Work even to stabilize the shape.
Rnd 20: *K2tog, P1* repeat around. (8 sts) – Further reduce the stitch count.
Rnd 21: *K2tog* repeat around. (4 sts) – Final decrease to create the spire tip.
Finishing
Step 1: Cut yarn, leaving a 6-inch tail. Thread tail through remaining 4 sts using a tapestry needle, pull tight to close the top. This creates the sharp, star-like spire.
Step 2: Weave in all ends securely on the inside of the topper.
Step 3: Block gently to open the cable pattern. To block, wet the topper lightly, shape it over a small cone or your ornament hook, and let it dry completely. This ensures the cable pattern is crisp and the topper fits perfectly.
Step 4: Slide over the ornament's hook and onto the ball. Your Starlight Spire Ornament Topper is ready to adorn your tree!