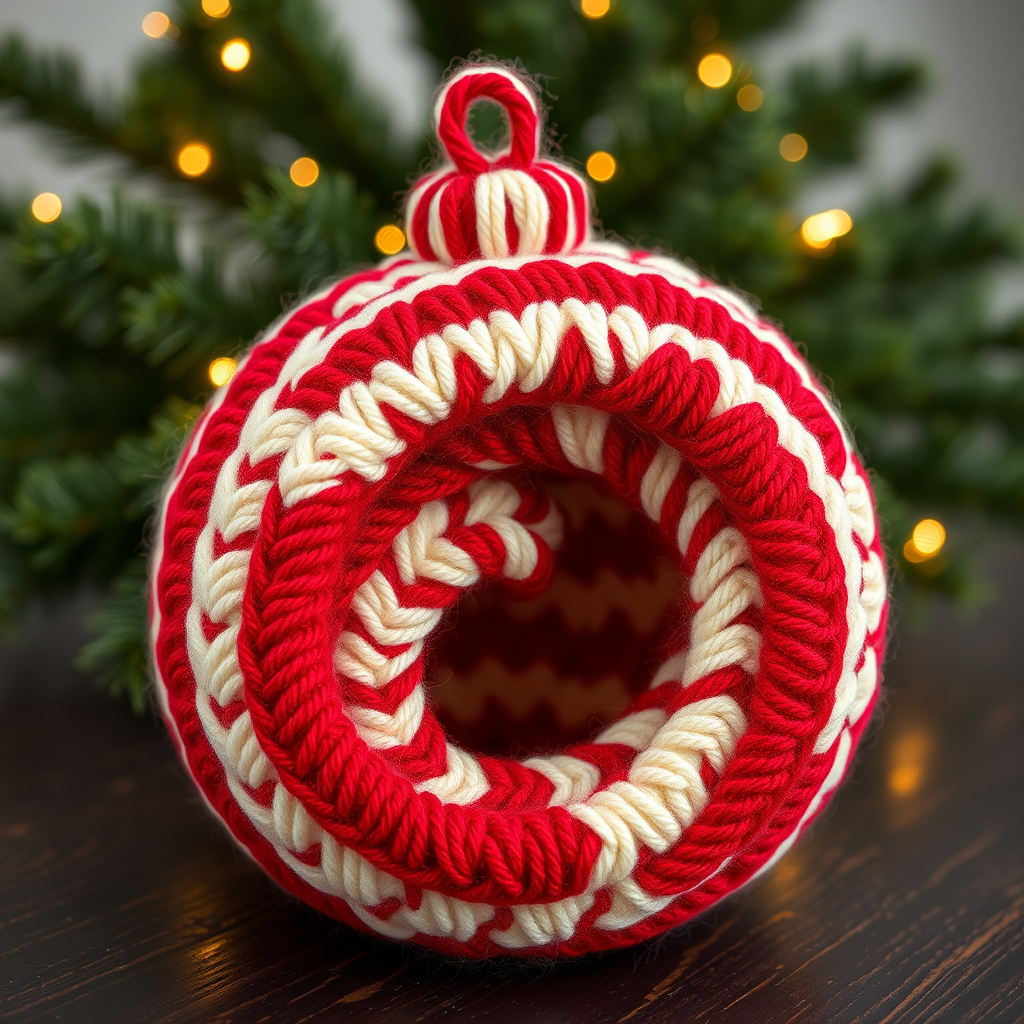
The Celestial Snowflake Bauble: A Free Knitting Pattern for a Textured, Starry Ornament

Introducing the Celestial Snowflake Bauble
Capture the magic of a starry winter night with this stunning, dimensional knitted Christmas bauble. The Celestial Snowflake Bauble features a unique, textured star motif that stands out beautifully against a deep, heathered navy background. This free pattern is designed to be cozy and modern, making it a perfect addition to any holiday tree or a thoughtful handmade gift. The combination of knit and purl stitches creates a raised, dimensional star pattern that mimics the look of snowflakes and celestial bodies, all worked seamlessly in the round from the bottom up.
Materials Needed
- Yarn: Worsted weight yarn in two colors:
- Color A (Heathered Navy): Approximately 20 yards
- Color B (Soft Silver/White): Approximately 20 yards
- Needles: US Size 4 (3.5 mm) double-pointed needles (DPNs) or a circular needle for magic loop method.
- Other: Tapestry needle for weaving in ends, stitch marker (optional), fiberfill for stuffing (optional).
- Gauge: 6 stitches and 8 rows = 1 inch in stockinette stitch, worked in the round. Gauge is not critical for this ornament, but matching it will ensure a 3-inch diameter bauble.
Step-by-Step Instructions
This pattern is worked in the round from the bottom up, creating a seamless sphere. The star motif is created using a combination of knit and purl stitches, with increases and decreases to shape the points. Read all instructions carefully before beginning.
Abbreviations
- k: knit
- p: purl
- k2tog: knit two together (decrease)
- ssk: slip, slip, knit (decrease)
- yo: yarn over
- m1: make one (increase) – pick up the bar between stitches and knit through the back loop
- kfb: knit front and back (increase)
- st(s): stitch(es)
- rnd(s): round(s)
- rep: repeat
Pattern
Bottom (Color A)
- Rnd 1: Using the magic ring method, cast on 6 stitches. (6 sts)
- Rnd 2: kfb in each stitch around. (12 sts)
- Rnd 3: *k1, kfb* rep around. (18 sts)
- Rnd 4: *k2, kfb* rep around. (24 sts)
- Rnd 5: *k3, kfb* rep around. (30 sts)
- Rnd 6: *k4, kfb* rep around. (36 sts)
- Rnd 7: *k5, kfb* rep around. (42 sts)
- Rnd 8: *k6, kfb* rep around. (48 sts)
Body (Color A & B)
Note: When changing colors, carry the unused yarn loosely along the inside of the work. The star motif is created by alternating knit and purl stitches with Color B against a stockinette background of Color A.
- Rnd 9-10: With Color A, knit all stitches. (48 sts)
- Rnd 11: *With Color B, k3, p1, k2, p1, k3* rep around. (48 sts)
- Rnd 12: *With Color B, k2, p1, k1, p1, k2, p1, k2* rep around.
- Rnd 13: *With Color B, k1, p1, k3, p1, k1, p1, k1* rep around.
- Rnd 14: *With Color B, p1, k5, p1, k1, p1* rep around.
- Rnd 15: *With Color B, k1, p1, k3, p1, k1, p1, k1* rep around.
- Rnd 16: *With Color B, k2, p1, k1, p1, k2, p1, k2* rep around.
- Rnd 17: *With Color B, k3, p1, k2, p1, k3* rep around.
- Rnd 18-19: With Color A, knit all stitches.
- Rnd 20: *With Color B, k3, p1, k2, p1, k3* rep around.
- Rnd 21: *With Color B, k2, p1, k1, p1, k2, p1, k2* rep around.
- Rnd 22: *With Color B, k1, p1, k3, p1, k1, p1, k1* rep around.
- Rnd 23: *With Color B, p1, k5, p1, k1, p1* rep around.
- Rnd 24: *With Color B, k1, p1, k3, p1, k1, p1, k1* rep around.
- Rnd 25: *With Color B, k2, p1, k1, p1, k2, p1, k2* rep around.
- Rnd 26: *With Color B, k3, p1, k2, p1, k3* rep around.
- Rnd 27-28: With Color A, knit all stitches.
Top (Color A)
- Rnd 29: *k6, k2tog* rep around. (42 sts)
- Rnd 30: *k5, k2tog* rep around. (36 sts)
- Rnd 31: *k4, k2tog* rep around. (30 sts)
- Rnd 32: *k3, k2tog* rep around. (24 sts)
- Rnd 33: *k2, k2tog* rep around. (18 sts)
- Rnd 34: *k1, k2tog* rep around. (12 sts)
- Rnd 35: *k2tog* rep around. (6 sts)
- Cut yarn, leaving a 6-inch tail. Thread the tail through the remaining 6 stitches using a tapestry needle, pull tight to close the hole, and secure with a knot. Weave in the end.
Finishing
- Weave in all ends: Use a tapestry needle to weave in all yarn tails securely on the inside of the bauble. Trim excess yarn.
- Create a hanging loop: With Color A, crochet a chain of 15-20 stitches, or knit an i-cord of desired length (about 4-5 inches). Attach the loop to the top of the bauble by sewing the ends securely into the top stitches.
- Optional stuffing: Before closing the top completely (after Rnd 34 or 35), lightly stuff the bauble with fiberfill to give it a plump, round shape. Ensure the stuffing is evenly distributed. Then continue with the remaining decrease rounds.
- Blocking (optional): Lightly steam block the bauble to even out the stitches and enhance the textured star motif. Do not press heavily; just hover the steam iron over the surface.
Your Celestial Snowflake Bauble is now complete! Hang it on your tree, give it as a gift, or use it as a festive decoration. The textured stars will catch the light beautifully, adding a touch of winter magic to your home.