The Peppermint Twist Bauble Free Pattern – A Knitted Ode to Candy Cane Cheer
The Peppermint Twist Bauble Free Pattern – A Knitted Ode to Candy Cane Cheer
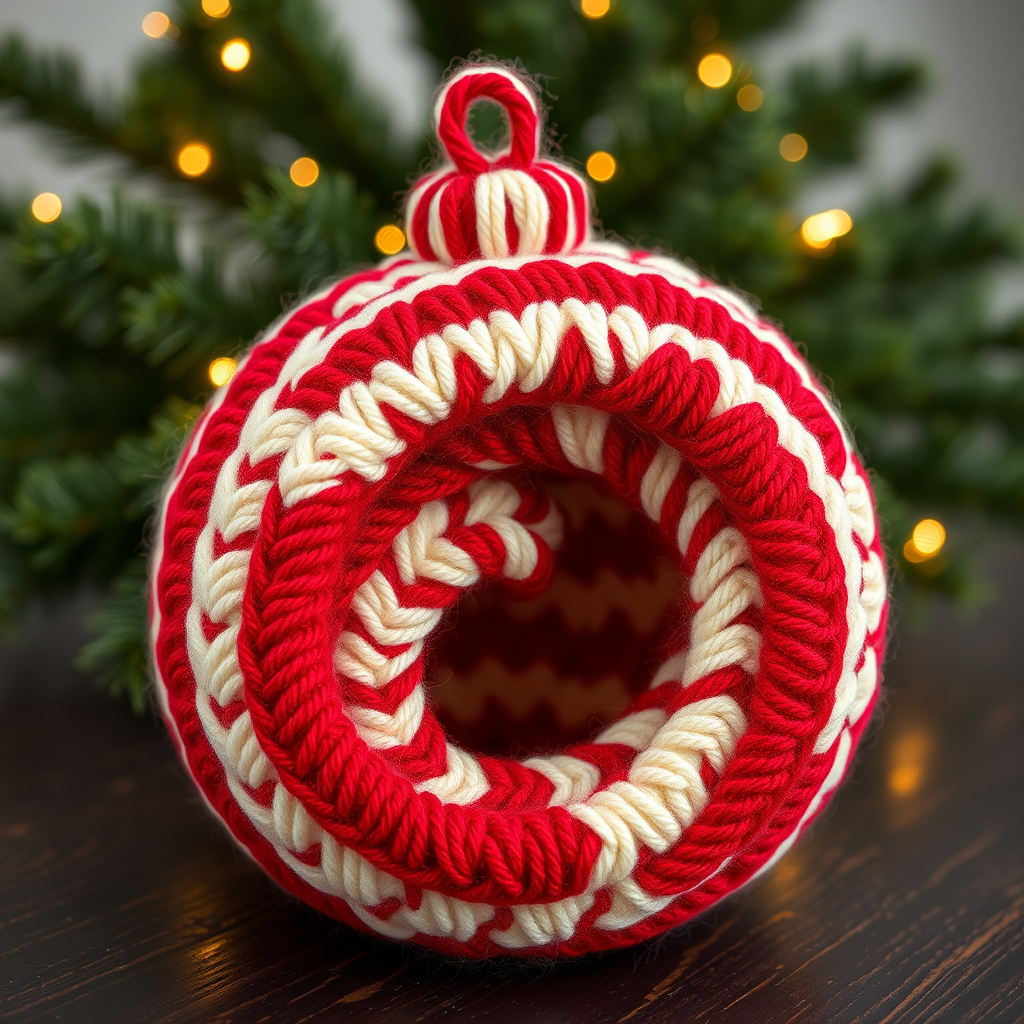
Wrap your tree in the nostalgic sweetness of a candy cane with this knitted bauble, featuring a spiral of crimson and cream that dances around a plump sphere. This pattern is a cozy, quick knit that transforms simple yarn into a heirloom-quality ornament. Whether you're a seasoned knitter looking for a festive afternoon project or a beginner ready to tackle your first in-the-round creation, this pattern is designed to delight. The result is a soft, squishy, and utterly charming decoration that will evoke warm memories for years to come.
Materials Needed
Before you begin, gather the following supplies. This project is wonderfully portable and requires minimal materials, making it perfect for holiday crafting on the go.
- Yarn: Worsted weight yarn in two colors: Candy Red (Color A) and Cream (Color B). You will need approximately 20 grams of each color—enough for a plump, 2.5-inch bauble.
- Needles: US 4 (3.5mm) double-pointed needles (DPNs) or a circular needle long enough for the magic loop technique. DPNs are recommended for beginners to manage the small circumference easily.
- Notions: A tapestry needle for weaving in ends, a stitch marker (optional but helpful), and a small amount of polyester fiberfill for stuffing.
- Gauge: 22 stitches and 30 rows = 4 inches in stockinette stitch. Gauge is important for achieving the correct size, but this is a forgiving project—a slightly tighter or looser fabric will still make a lovely ornament.
Step-by-Step Instructions
This bauble is knitted in the round from the top down, creating a seamless sphere with a beautiful spiral color pattern. We'll start with the magic ring method to create a tight, invisible center. Don't worry if you've never used a magic ring before—it's simple and creates a professional finish.
Abbreviations
- k = knit
- p = purl
- k2tog = knit two together (decrease)
- kfb = knit front and back (increase)
- st(s) = stitch(es)
- rnd(s) = round(s)
Getting Started: The Top of the Bauble
We'll begin by creating the crown of the bauble, increasing stitches rapidly to form a flat circle that will become the top of the sphere.
Rnd 1: With Color A, make a magic ring, k6 into the ring. Pull the tail to close the ring tightly. (6 sts)
Rnd 2: kfb in each st around. (12 sts)
Rnd 3: (kfb, k1) around. (18 sts)
Rnd 4: (kfb, k2) around. (24 sts)
Rnd 5: (kfb, k3) around. (30 sts)
Rnd 6: (kfb, k4) around. (36 sts)
Rnd 7: (kfb, k5) around. (42 sts)
Rnd 8: (kfb, k6) around. (48 sts)
You should now have a flat, circular disc with 48 stitches. This is the perfect width for a plump bauble.
The Spiral Pattern: Creating the Candy Cane Effect
Now for the fun part! We'll switch to Color B to begin the spiral stripes. The key to the spiral effect is alternating colors every 2 rounds. This creates a gentle, diagonal stripe that wraps around the sphere.
Rnd 9-10: With Color B, k all sts.
Rnd 11-12: With Color A, k all sts.
Rnd 13-14: With Color B, k all sts.
Rnd 15-16: With Color A, k all sts.
Rnd 17-18: With Color B, k all sts.
Rnd 19-20: With Color A, k all sts.
Continue alternating every 2 rounds until the piece measures approximately 2.5 inches from the start. You should have about 5 stripes of each color. The fabric will naturally begin to curve, forming the rounded shape of the bauble.
Shaping the Bottom: Decreasing
Once your piece reaches the desired length, it's time to shape the bottom of the sphere. We'll decrease stitches gradually, and continue the spiral pattern by switching colors every 2 rounds as we go. This ensures the stripes remain continuous and beautiful.
Rnd 21: With Color B, (k6, k2tog) around. (42 sts)
Rnd 22: With Color B, k all sts.
Rnd 23: With Color A, (k5, k2tog) around. (36 sts)
Rnd 24: With Color A, k all sts.
Rnd 25: With Color B, (k4, k2tog) around. (30 sts)
Rnd 26: With Color B, k all sts.
Rnd 27: With Color A, (k3, k2tog) around. (24 sts)
Rnd 28: With Color A, k all sts.
Rnd 29: With Color B, (k2, k2tog) around. (18 sts)
Rnd 30: With Color B, k all sts.
Important: Before the opening gets too small, stuff the bauble firmly with polyester fiberfill. Use a blunt tool like a pencil eraser or the end of a knitting needle to push the stuffing into the corners, ensuring a smooth, round shape. Don't be shy—a firm bauble looks much better than a floppy one.
Rnd 31: With Color A, (k1, k2tog) around. (12 sts)
Rnd 32: With Color A, k all sts.
Rnd 33: With Color B, k2tog around. (6 sts)
Cut the yarn, leaving a long tail (about 8 inches). Thread the tail through a tapestry needle, then pass it through the remaining 6 stitches. Pull tight to close the hole completely, and secure with a knot. Weave in all loose ends carefully.
Finishing Touch: The Hanging Loop
Your bauble is almost complete! Now we'll add a simple, elegant hanging loop.
Option 1 (Knitted Loop): With Color A, cast on 12 sts onto a single needle. Bind off loosely. Fold the resulting chain in half and sew the ends securely to the top of the bauble, where you started the magic ring.
Option 2 (Alternative): Use a small piece of ribbon, a store-bought ornament hanger, or even a piece of festive twine. Simply thread it through the top of the bauble and tie a knot.
Weave in any remaining ends, give your bauble a gentle squeeze to fluff it into shape, and it's ready to hang on your tree!
This pattern is a joy to knit and makes a wonderful handmade gift. The combination of the classic candy cane colors and the plush, knitted texture creates a timeless ornament that will be treasured for generations. Happy knitting, and may your holidays be filled with warmth and creativity!


