Vintage Revival Crochet Patterns
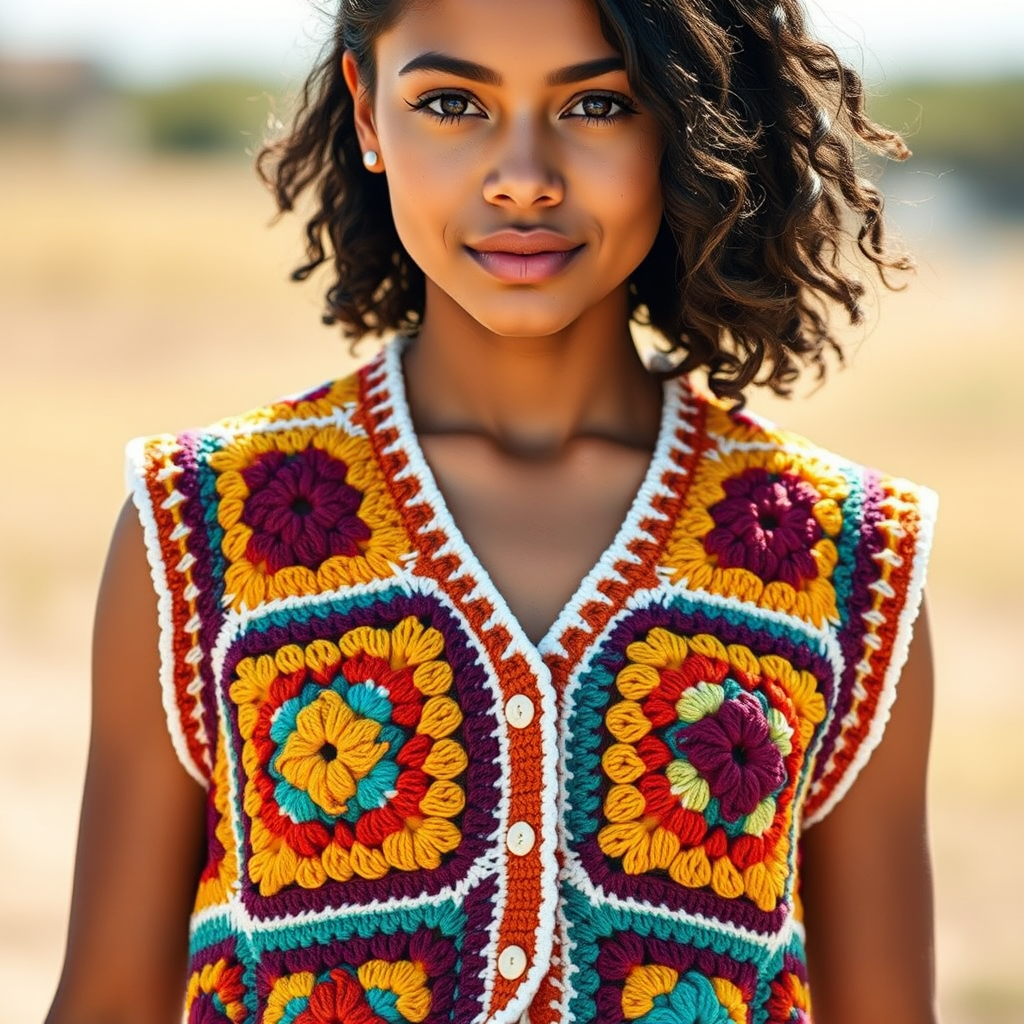
The Retro Granny Square Vest Free Pattern
Anonymous
•
July 03, 2026

The Retro Granny Square Vest Free Pattern
Introduction
Embrace the nostalgia of the 70s with this vibrant granny square vest, perfect for adding a pop of color to any outfit. This pattern combines classic motifs with a modern twist, making it a must-have for any crochet enthusiast. Whether you're dressing up for a casual outing or layering over a simple tee, this vest is sure to become a staple in your wardrobe.
Materials Needed
- Yarn: Worsted weight cotton yarn in assorted colors (e.g., mustard yellow, burnt orange, olive green, cream)
- Hook: 5.0 mm crochet hook
- Gauge: 4 granny squares = 10 cm x 10 cm
Step-by-Step Instructions
1. Creating Individual Granny Squares
Begin by making a total of 24 granny squares. Each square will measure approximately 10 cm x 10 cm.
Granny Square Pattern:
- Round 1:
- Start with a magic ring.
- Chain 3 (this counts as your first double crochet).
- Work 2 double crochets (dc) into the ring.
- Chain 2.
- Repeat the sequence of *3 dc into the ring, chain 2* two more times.
- Join with a slip stitch (sl st) to the top of the initial chain-3. (You should have 12 dc total.)
- Round 2:
- Slip stitch to the next chain-2 space.
- Chain 3, then work 2 dc into the same space.
- Chain 2, then work 3 dc into the same space.
- For each subsequent chain-2 space, repeat the sequence of *3 dc, chain 2, 3 dc*.
- Join with a slip stitch to the top of the initial chain-3. (You should have 24 dc total.)
- Round 3:
- Slip stitch to the next chain-2 space.
- Chain 3, then work 2 dc into the same space.
- Chain 2, then work 3 dc into the same space.
- For each space between the 3-dc groups, work 3 dc, then into the next chain-2 space, repeat the sequence of *3 dc, chain 2, 3 dc*.
- Join with a slip stitch to the top of the initial chain-3. (You should have 36 dc total.)
2. Assembling the Vest
- Create a total of 24 granny squares as described above.
- Arrange the squares in a grid of 4 squares wide by 6 squares tall.
- Using a whip stitch or slip stitch, seam the squares together, ensuring that the pattern aligns correctly.
- Once the squares are joined, fold the assembled piece in half lengthwise to form the vest shape.
- Seam the sides of the vest, leaving openings for the arms to ensure a comfortable fit.
3. Finishing Touches
- Add a border around the armholes and neckline using single crochet stitches to give your vest a polished look.
- Finally, weave in all ends securely to complete your vest.
Now you have your very own Retro Granny Square Vest! Enjoy wearing your handmade creation or gifting it to someone special.