Vintage Revival Crochet Patterns
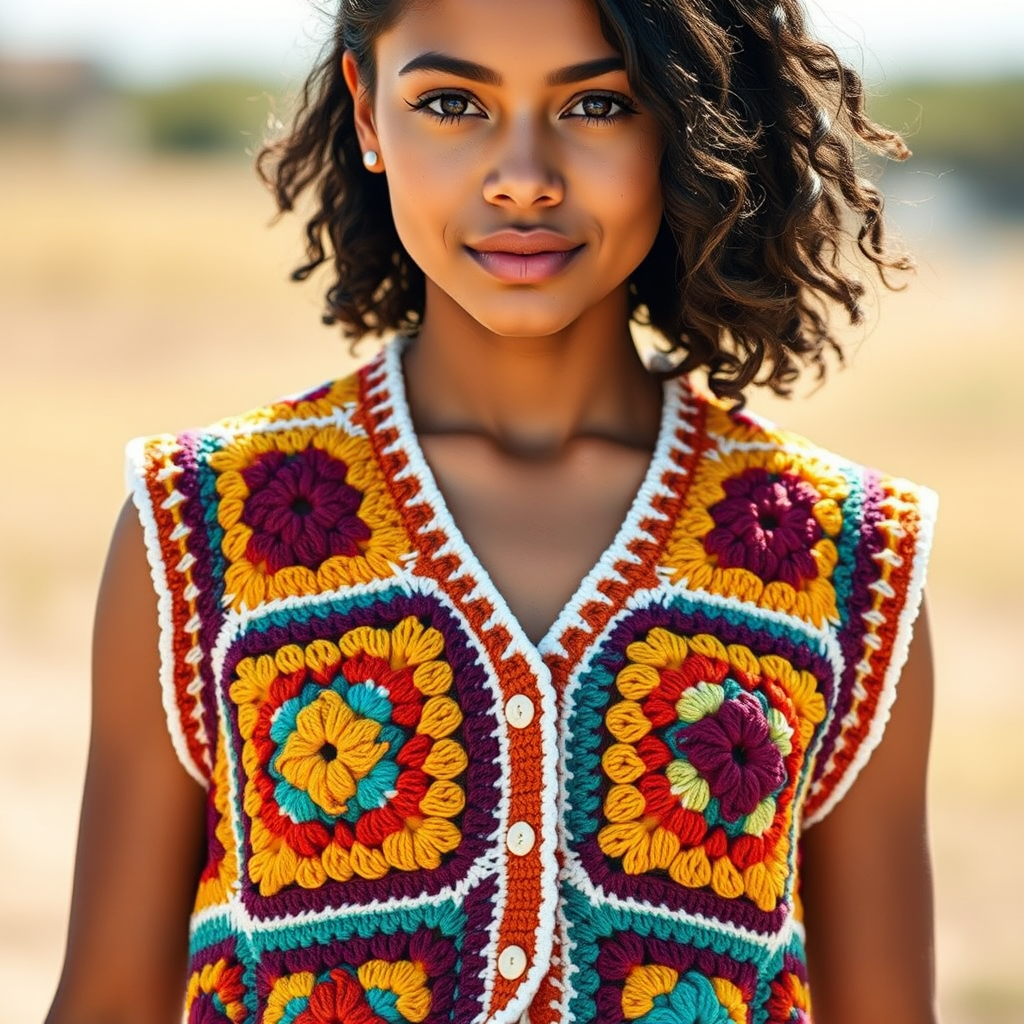
The Retro Granny Square Vest Free Pattern
Anonymous
•
July 03, 2026

The Retro Granny Square Vest Free Pattern
Introduction
Embrace the charm of the past with this delightful Retro Granny Square Vest, a perfect blend of vintage flair and modern style. This pattern brings a nostalgic touch to your wardrobe, ideal for layering over any outfit. With its vibrant colors and classic granny square design, this vest is not only fashionable but also a fun project to crochet!
Materials Needed
- Yarn: Worsted weight yarn in assorted colors (suggested: cream, mustard yellow, burnt orange, olive green, and deep burgundy)
- Hook: 5.0 mm crochet hook
- Other: Yarn needle for weaving ends
Step-by-Step Instructions
Granny Square (Make 24)
Each granny square measures 4 inches x 4 inches. Follow these steps to create each square:
- Round 1: With Color A, make a magic ring. Chain 3 (this counts as your first double crochet), then work 2 double crochets (dc) into the ring. Chain 2, then *work 3 dc into the ring, chain 2; repeat from * two more times. Join with a slip stitch (sl st) to the top of the initial chain-3. You should have 12 dc and 4 chain-2 spaces.
- Round 2: Slip stitch into the next 2 dc and into the chain-2 space. Chain 3, then work 2 dc in the same space, chain 2, and work 3 dc in the same space (this creates a corner). Now, *work 3 dc in the next chain-2 space, chain 2, and work 3 dc in the same space; repeat from * around. Join with a sl st to the top of the initial chain-3. Fasten off.
- Round 3: Join Color B in any chain-2 space. Chain 3, then work 2 dc in the same space, chain 2, and work 3 dc in the same space (corner made). Now, *work 3 dc in the next space between the 3-dc groups, then work 3 dc in the next chain-2 space, chain 2, and work 3 dc in the same space; repeat from * around. Join with a sl st to the top of the initial chain-3. Fasten off.
- Round 4: Join Color C in any chain-2 space. Chain 3, then work 2 dc in the same space, chain 2, and work 3 dc in the same space (corner made). Now, *work 3 dc in each space between the 3-dc groups across to the next chain-2 space, then work 3 dc in the next chain-2 space, chain 2, and work 3 dc in the same space; repeat from * around. Join with a sl st to the top of the initial chain-3. Fasten off.
Assembly
Once you have completed all 24 granny squares, it's time to assemble your vest:
- Arrange the squares in a 4x6 grid.
- Using Color D, join the squares together with a whip stitch or slip stitch through the back loops only. This will create two panels of 2x3 squares for the front and one panel of 4x3 squares for the back.
- To seam the shoulders, join the top squares of the front panels to the corresponding squares of the back panel.
- Seam the sides, leaving the top squares open for armholes.
Edging
To finish your vest, add a simple edging:
- With Color E, join yarn at any point along the bottom edge of the vest.
- Chain 1, then work single crochet (sc) evenly around the entire vest, making sure to work 3 sc in each corner for a clean finish.
- Join with a sl st to the first sc. Fasten off and weave in all ends using a yarn needle.
Congratulations! You have now completed your Retro Granny Square Vest. Enjoy wearing your beautiful, handmade piece that combines vintage charm with modern style!