The Retro Granny Square Vest Free Pattern
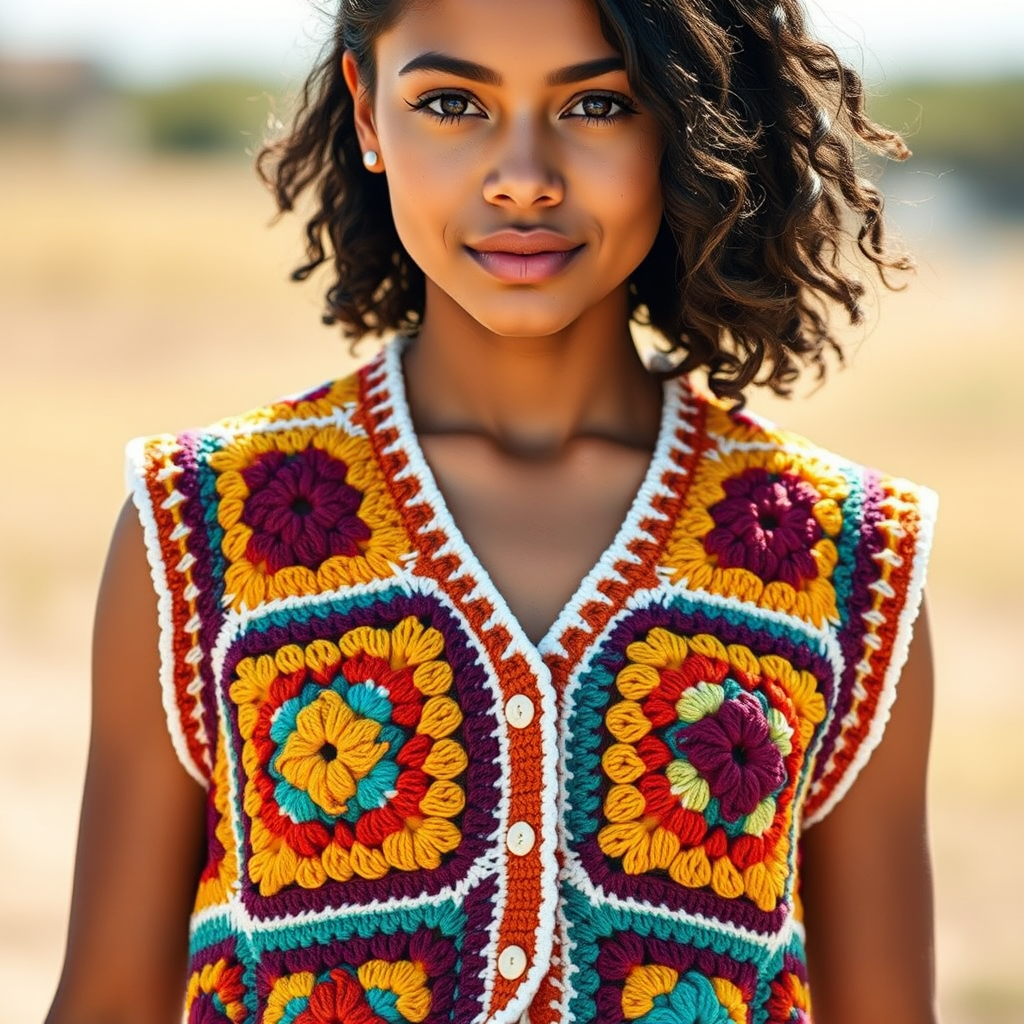
The Retro Granny Square Vest Free Pattern
Introduction
Dive into nostalgia with this vibrant granny square vest, perfect for adding a pop of color to any outfit. This pattern combines classic motifs with a modern twist, making it a must-have for vintage lovers. Whether you're dressing up for a casual outing or looking to make a statement, this vest is sure to turn heads!
Materials Needed
- Yarn: Worsted weight yarn in assorted colors (suggested colors: mustard yellow, burnt orange, teal, deep purple, and white for borders)
- Crochet Hook: 5.0 mm crochet hook
- Gauge: One granny square measures 4x4 inches
- Scissors: For cutting yarn
- Tapestry Needle: For weaving in ends
Step-by-Step Instructions
Creating the Granny Squares
Start by creating individual granny squares. You will need multiple squares to complete the vest.
Round 1:
- Begin with a magic ring.
- Chain 3 (this counts as your first double crochet).
- Work 2 double crochets (dc) into the magic ring.
- Chain 2.
- Repeat the following sequence 3 more times: 3 dc into the ring, chain 2.
- Join with a slip stitch (sl st) to the top of the initial chain-3. You should have 12 dc and 4 chain-2 spaces.
Round 2:
- Slip stitch into the next 2 dc and into the first chain-2 space.
- Chain 3, then work 2 dc, chain 2, and 3 dc into the same chain-2 space.
- Repeat the following sequence around: 3 dc, chain 2, 3 dc into the next chain-2 space.
- Join with a slip stitch to the top of the initial chain-3.
Round 3:
- Slip stitch into the next 2 dc and into the first chain-2 space.
- Chain 3, then work 2 dc, chain 2, and 3 dc into the same chain-2 space.
- Repeat the following sequence around: 3 dc into the next space between 3-dc groups, 3 dc, chain 2, 3 dc into the next chain-2 space.
- Join with a slip stitch to the top of the initial chain-3.
Repeat Round 3
Continue repeating Round 3 until each square measures 4x4 inches. You will need enough squares to form the front and back panels of the vest.
Joining the Squares
Once you have completed all your granny squares, join them using your preferred method (e.g., whip stitch or slip stitch) to form the front and back panels of the vest.
Assembly
- Join the shoulder seams by connecting the top squares of the front and back panels.
- Leave space for armholes and join the side seams.
Edging
With the vest right side out, follow these steps to create a neat edge:
- Attach yarn to any corner of the vest.
- Chain 1.
- Single crochet (sc) evenly around the armholes and neckline.
- Join with a slip stitch to the first single crochet.
- Fasten off and weave in all ends using a tapestry needle.
Conclusion
Congratulations! You have successfully created your very own Retro Granny Square Vest. This colorful piece is not only a fantastic addition to your wardrobe but also a wonderful project to showcase your crochet skills. Wear it with pride and enjoy the compliments!