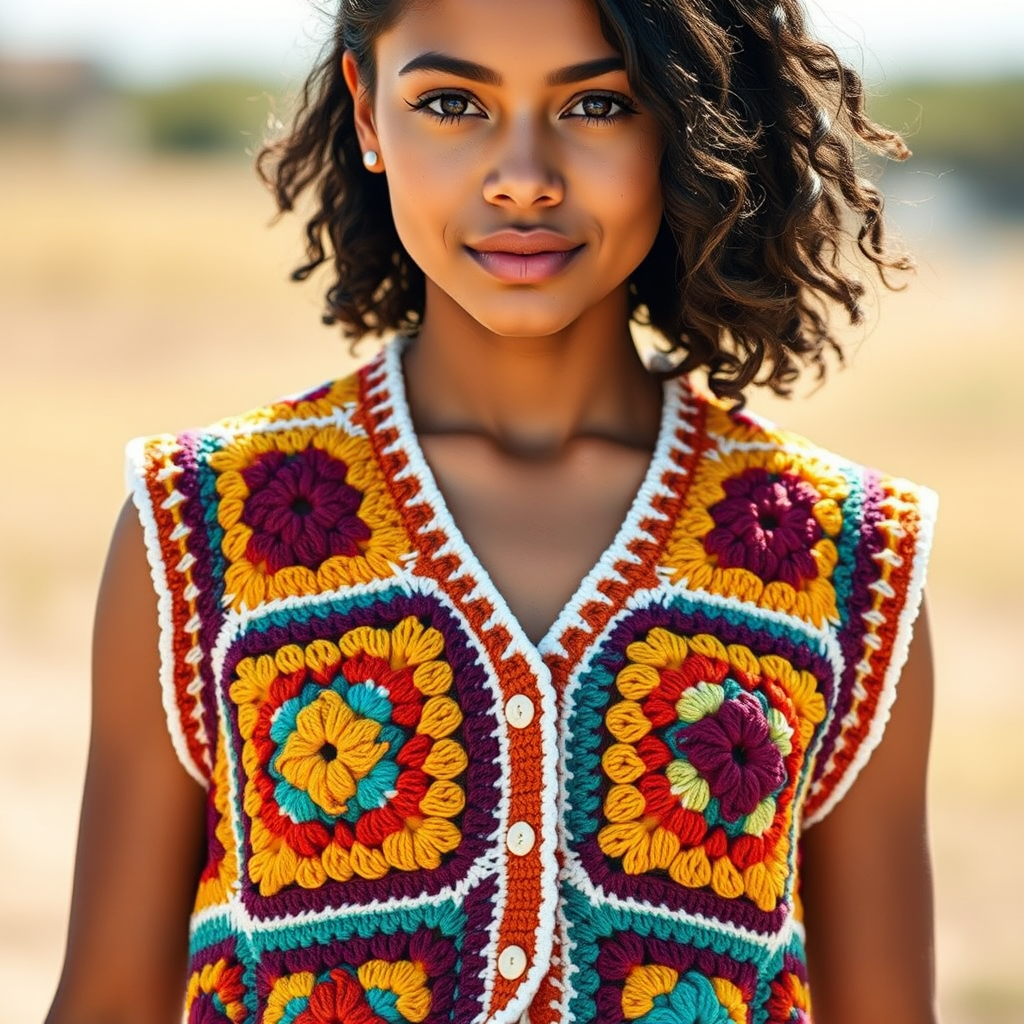
Vintage Revival Crochet Patterns
The Retro Daisy Granny Square Blanket Free Pattern
Anonymous
•
July 03, 2026

The Retro Daisy Granny Square Blanket Free Pattern
Introduction
Embrace the charm of the past with this Retro Daisy Granny Square Blanket, a delightful homage to the vibrant styles of the 1970s. Perfect for adding a touch of nostalgia to any room, this blanket is both a joy to create and a statement piece. Whether you're snuggling up on the couch or adding a pop of color to your decor, this blanket is sure to bring warmth and cheer to your home.
Materials Needed
- Yarn: Worsted weight yarn in the following colors:
- Mustard Yellow
- Olive Green
- Cream
- Burnt Orange
- Hook: 5.0 mm crochet hook
- Gauge: One granny square measures 10 cm x 10 cm
Step-by-Step Instructions
1. Create the Daisy Motif
Follow these detailed steps to create your daisy granny square:
- Round 1: Using mustard yellow yarn, make a magic ring. Chain 3 (this counts as your first double crochet), then work 11 double crochets (dc) into the magic ring. Join the round by slip stitching (sl st) to the top of the initial chain 3. You should have a total of 12 dc.
- Round 2: Change to cream yarn. Chain 2 (this counts as your first dc), then in the next stitch, work 1 dc. Chain 1, and repeat this sequence (dc in the next stitch, chain 1) around the circle. Join with a sl st. You should have 12 dc and 12 chain-1 spaces.
- Round 3: Change to olive green yarn. Slip stitch into the first chain-1 space. Chain 3 (counts as your first dc), then work 2 dc in the same space. In the next chain-1 space, work 3 dc. Repeat this around the circle, joining with a sl st at the end. You should have 36 dc.
- Round 4: Change to burnt orange yarn. Chain 3 (counts as your first dc), then work 1 dc in the next 2 stitches. Now, chain 2, skip the next 3 stitches, and work 3 dc in the next stitch. Repeat this sequence around, joining with a sl st. You should have 36 dc and 12 chain-2 spaces.
- Round 5: Chain 3 (counts as your first dc), then work 1 dc in the next 2 stitches. In the next chain-2 space, work 3 dc. Then, work 1 dc in the next 3 stitches. Repeat this around the circle, joining with a sl st. You should have 48 dc at the end of this round.
2. Assemble the Blanket
- Create a total of 48 daisy granny squares by following the motif instructions above.
- Lay out your squares in a grid of 6 squares across and 8 squares down, alternating colors to achieve a balanced and visually appealing look.
- Join the squares together using either a whip stitch or slip stitch method with cream yarn. Position the squares so that the edges align neatly, ensuring a smooth transition between colors.
- Add a border: With burnt orange yarn, single crochet (sc) around the entire perimeter of the blanket. In each corner, place 3 sc to create a rounded finish. This will give your blanket a polished and professional look.
Conclusion
Congratulations! You’ve just created your very own Retro Daisy Granny Square Blanket. This vibrant tapestry of retro-inspired granny squares will not only keep you warm but also serve as a beautiful decorative piece in your home. Enjoy your crafting journey and the cozy comfort of your new blanket!