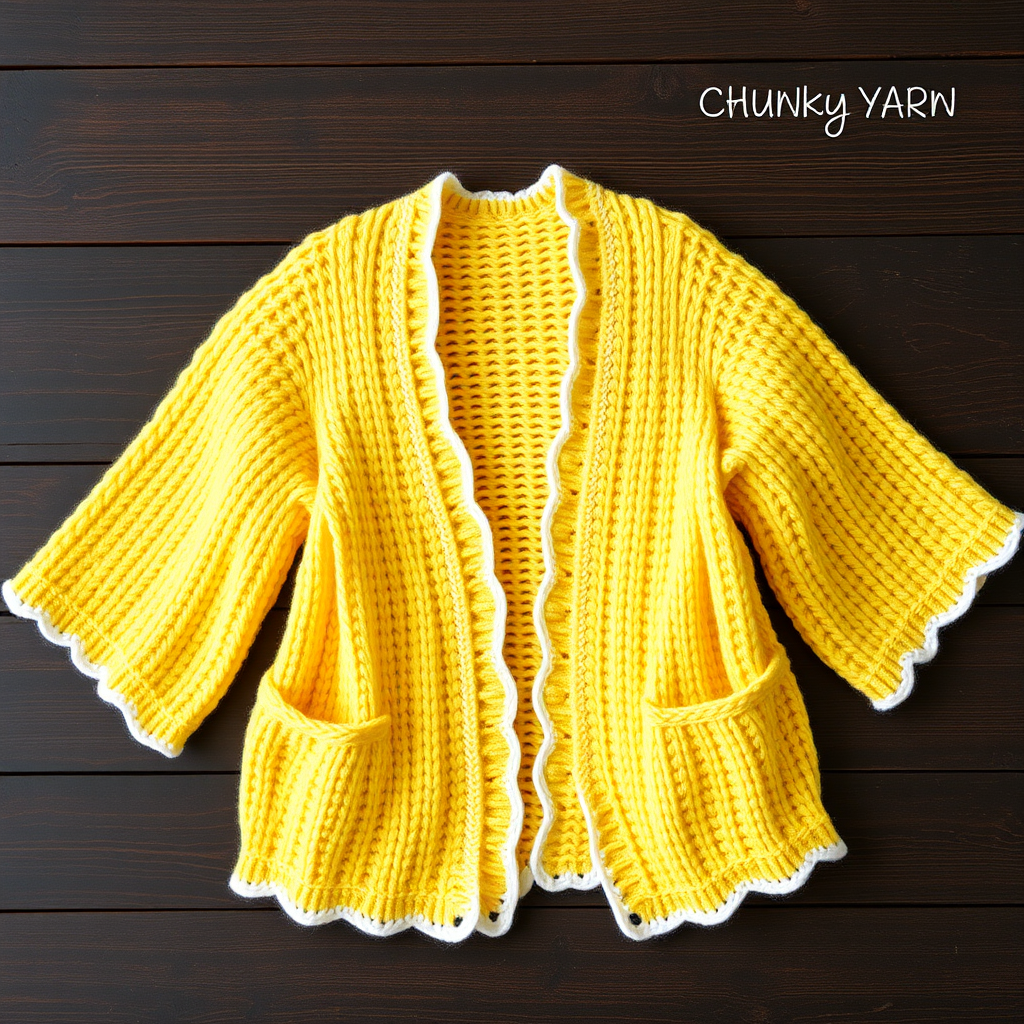
The Raku Oversized Chunky Crochet Coat Cardigan Free Pattern

The Raku Oversized Chunky Crochet Coat Cardigan: A Free Pattern for Cozy, Mindful Mornings
Wrap yourself in the cozy, sculptural warmth of this oversized crochet coat cardigan. Featuring a rich, earthy palette of cream, terracotta, sage, and charcoal, this statement piece combines a dramatic shawl collar with a relaxed, boxy silhouette. The chunky texture and generous drape make it perfect for slow, mindful mornings, chilly evenings, or simply adding a touch of boho sophistication to your wardrobe. This free pattern is designed with beginners in mind, using simple half-double crochet stitches and straightforward panel construction. Let's get started on creating your new favorite handmade layer.
Materials Needed
Before you begin, gather the following supplies. Using the correct materials ensures your cardigan achieves the intended oversized, drapey fit.
- Yarn: Super bulky weight yarn (size 6) in 4 colors:
- Color A (Cream): Approx. 600-700 yards
- Color B (Terracotta): Approx. 400-500 yards
- Color C (Sage): Approx. 400-500 yards
- Color D (Charcoal): Approx. 400-500 yards
- Crochet Hook: 10 mm (N/P) crochet hook, or size needed to obtain gauge. Tip: If your gauge is off, switch hook sizes to match the pattern.
- Tapestry Needle: For weaving in ends and seaming panels.
- Scissors: For cutting yarn.
Gauge
8 stitches x 6 rows = 4 inches in half double crochet (hdc). Always check your gauge before starting. If your swatch is too small, go up a hook size. If it's too large, go down a hook size. A relaxed tension is key for a drapey fabric, so don't pull your stitches too tight.
Step-by-Step Instructions
This pattern is worked in flat panels and seamed together. The oversized fit is achieved through generous width and length. Follow each step carefully, and you'll have a beautiful, custom cardigan in no time.
Abbreviations
- ch: chain
- hdc: half double crochet
- dc: double crochet
- sc: single crochet
- st(s): stitch(es)
- sl st: slip stitch
- sk: skip
- RS: right side
- WS: wrong side
Back Panel (Make 1)
- With Color A (Cream), chain 62. (This creates a panel approximately 31 inches wide.)
- Row 1: Work 1 hdc in the 3rd chain from your hook, and in each chain across. Turn your work. (You should have 60 hdc stitches.)
- Row 2: Chain 2 (this counts as your first hdc), then work 1 hdc in each stitch across. Turn.
- Repeat Row 2 until your piece measures 30 inches from the start. (Optional: For a subtle stripe detail, switch to Color B for the last 2 rows.)
- Fasten off and weave in the ends.
Left Front Panel (Make 1)
- With Color B (Terracotta), chain 32.
- Row 1: Work 1 hdc in the 3rd chain from your hook, and in each chain across. Turn. (You should have 30 hdc stitches.)
- Row 2: Chain 2 (counts as hdc), work 1 hdc in each stitch across. Turn.
- Repeat Row 2 until the piece measures 30 inches. Fasten off and weave in ends.
Right Front Panel (Make 1)
- With Color C (Sage), chain 32.
- Row 1: Work 1 hdc in the 3rd chain from your hook, and in each chain across. Turn. (You should have 30 hdc stitches.)
- Row 2: Chain 2 (counts as hdc), work 1 hdc in each stitch across. Turn.
- Repeat Row 2 until the piece measures 30 inches. Fasten off and weave in ends.
Sleeves (Make 2)
- With Color D (Charcoal), chain 34.
- Row 1: Work 1 hdc in the 3rd chain from your hook, and in each chain across. Turn. (You should have 32 hdc stitches.)
- Row 2: Chain 2 (counts as hdc), work 1 hdc in each stitch across. Turn.
- Repeat Row 2 while increasing 1 stitch at each end every 6 rows. To increase: work 2 hdc in the first stitch and 2 hdc in the last stitch of the row. Continue this pattern until you have 40 hdc stitches total.
- Once you have 40 stitches, continue working even (no increases) until the sleeve measures 18 inches. Fasten off and weave in ends.
Shawl Collar (Make 1)
- With Color A (Cream), chain 80.
- Row 1: Work 1 dc in the 4th chain from your hook, and in each chain across. Turn. (You should have 77 dc stitches.)
- Row 2: Chain 3 (counts as first dc), work 1 dc in each stitch across. Turn.
- Repeat Row 2 until the collar measures 8 inches wide. Fasten off and weave in ends.
Assembly: Seaming Your Cardigan
Now for the fun part—bringing all your panels together! Use your tapestry needle and a length of matching yarn for seaming. A whip stitch or mattress stitch works beautifully for this chunky yarn.
Step 1: Sew Shoulder Seams
- Place the Back Panel and the two Front Panels with their Right Sides (RS) together.
- Align the top edges. Sew 6 inches from the outer edge on each side to create the shoulder seams. This leaves an 18-inch opening in the center for the neckline.
Step 2: Attach Sleeves
- Mark a point 9 inches down from the shoulder seam on both the Back and Front panels. This defines your armhole opening.
- With the RS of the sleeve and the RS of the body together, pin the top of the sleeve to this armhole opening. Ease any extra fabric evenly as you pin.
- Sew the sleeve into the armhole securely.
Step 3: Sew Side Seams
- With RS together, sew from the underarm down to the bottom edge, joining the Front and Back panels. Repeat on both sides.
Step 4: Sew Sleeve Seams
- With RS together, sew the underarm seam of each sleeve closed, continuing from the underarm down to the cuff.
Step 5: Attach the Shawl Collar
- With the RS of the cardigan facing you, pin the collar along the neckline. Start at the bottom edge of one front panel, go around the back neck, and end at the bottom edge of the other front panel.
- Sew the collar in place along the neckline edge.
- Fold the collar back over itself for the dramatic shawl effect. The long ends will drape down the front of the cardigan.
Step 6: Weave in All Ends
- Use your tapestry needle to weave in any remaining loose yarn ends securely. This ensures your cardigan is durable and looks professional.
Finishing Touches
For a clean, polished look, you can add a simple border around the entire front opening and bottom edge.
- With Color A (Cream), work 1 round of single crochet (sc) evenly around the front opening and bottom hem.
- Fasten off and weave in the ends.
Your Raku Oversized Chunky Crochet Coat Cardigan is complete! The earthy tones and chunky texture make it a versatile piece that pairs beautifully with jeans, dresses, or loungewear. Enjoy the process and the cozy, handmade result—perfect for those slow, mindful mornings.