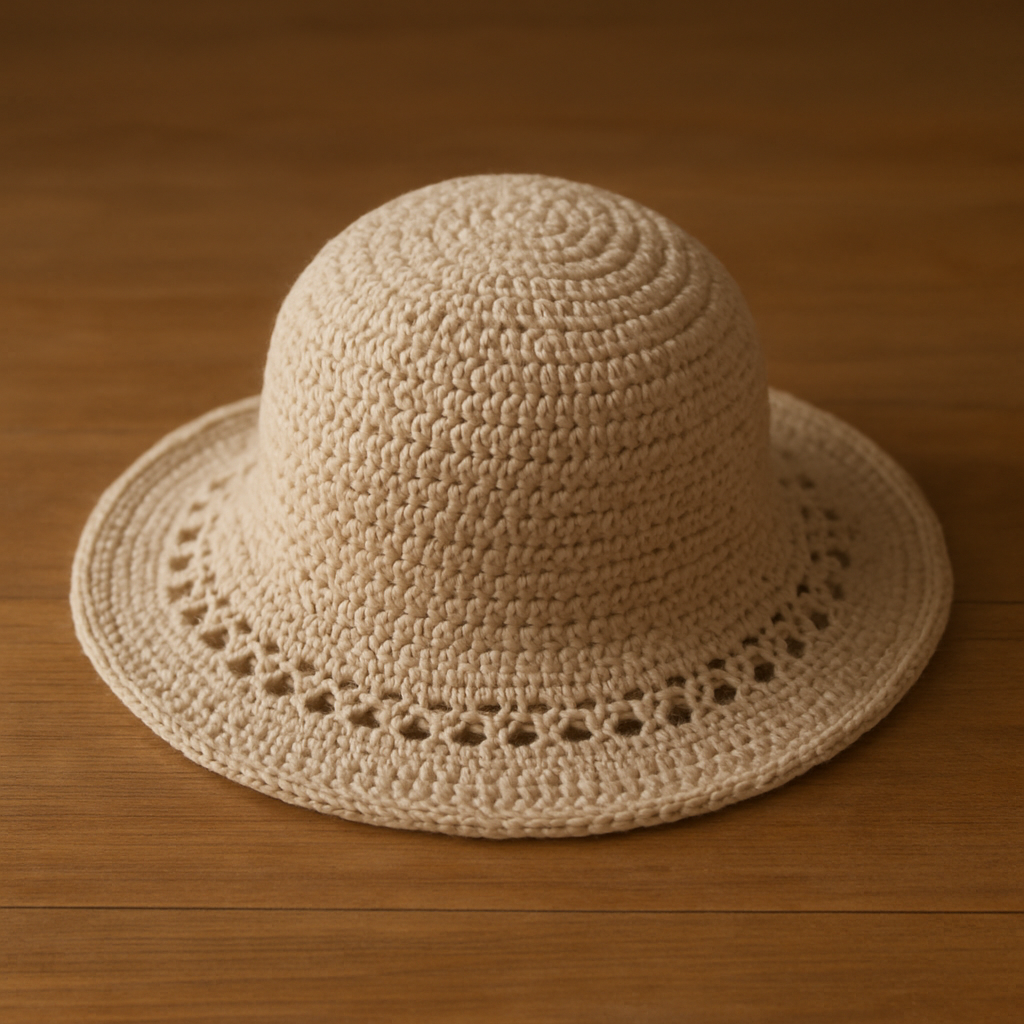
The Mosaic Mélange Beanie: A Scrap-Busting Knit Free Pattern

Introduction: Give Your Scraps a Second Life
Are you a knitter with a growing collection of leftover yarn? Do you love the idea of creating something beautiful and functional while reducing waste? Then the Mosaic Mélange Beanie is the perfect project for you. This free knitting pattern uses a simple, yet stunning mosaic technique to transform your yarn scraps into a modern, one-of-a-kind beanie. Each stripe is a delightful surprise, making every hat completely unique. The result is a cozy, chic accessory that’s as fun to knit as it is to wear. Let's turn those leftovers into a masterpiece!
Materials Needed: What You'll Gather
Before you begin, make sure you have the following materials ready. The beauty of this pattern is its flexibility, so feel free to get creative with your color choices.
Yarn
- Weight: Worsted weight yarn.
- Total Yardage: Approximately 150-200 yards total.
- Colors: You will need a main color (Color A) for the brim and background stripes, plus 4-6 contrasting scrap colors (Colors B, C, D, etc.) for the mosaic pattern. The more contrast, the better the pattern will pop.
- Suggested Palette: Think warm and cool tones like mustard yellow, burnt orange, teal, and charcoal gray for a modern look.
Knitting Needles
- Circular Needle: US Size 7 (4.5mm) 16-inch circular knitting needle.
- Double-Pointed Needles (DPNs): US Size 7 (4.5mm) for the crown decreases, or a set of needles for small circumference knitting.
- Alternative: You can use a long circular needle (e.g., 32-inch) for the magic loop method for the crown.
Other Supplies
- Stitch marker (to mark the beginning of the round).
- Tapestry needle for weaving in ends.
- Scissors.
Gauge
20 stitches and 28 rows = 4 inches in stockinette stitch, after blocking. It's crucial to check your gauge to ensure your beanie fits perfectly. If your gauge is off, adjust your needle size accordingly.
Step-by-Step Instructions: Knitting Your Mosaic Mélange Beanie
This pattern is worked in the round from the brim up. The mosaic technique is simple: you will slip stitches from the previous round to create a woven, geometric pattern. Don't be intimidated—it's easier than it looks!
Abbreviations
- CO: Cast on
- K: Knit
- P: Purl
- Sl: Slip stitch purlwise with yarn in back (wyib)
- K2tog: Knit two stitches together
- St(s): Stitch(es)
- Rnd: Round
Brim
- Cast On: With Color A (your main color), CO 96 stitches.
- Join in the Round: Place a stitch marker on your right needle to mark the beginning of the round. Carefully join the round, ensuring your stitches are not twisted.
- Ribbing: Work the following round 10 times (or until the brim is 2 inches long):
- Rnd 1-10: *K2, P2; repeat from * around.
Body (Mosaic Pattern)
The mosaic pattern is worked over 8 rounds, with a 2-round repeat for each scrap color. You will use Color A as the base and introduce your scrap colors for the slipped-stitch pattern.
- Setup Round (Color A): Knit all stitches around.
- Pattern Repeat: Work the following 8-round sequence. For each new scrap color, you will work Rounds 1-2 with that color, then Rounds 3-4 with Color A. Then repeat with the next scrap color for Rounds 5-6, and so on.
Round 1 (Color B):
- *K1, Sl1 wyib; repeat from * around.
Round 2 (Color B):
- *K1, Sl1 wyib; repeat from * around.
- Important: You are slipping the exact same stitches that you slipped in Round 1. This creates a vertical column of slipped stitches.
Round 3 (Color A):
- Knit all stitches around.
Round 4 (Color A):
- Knit all stitches around.
Round 5 (Color C):
- *Sl1 wyib, K1; repeat from * around.
- Note: This offsets the pattern from Color B, creating a staggered effect.
Round 6 (Color C):
- *Sl1 wyib, K1; repeat from * around.
Round 7 (Color A):
- Knit all stitches around.
Round 8 (Color A):
- Knit all stitches around.
Continue the Pattern: Repeat Rounds 1-8, alternating your scrap colors (B, C, D, etc.) for the slipped rounds. Continue until the hat measures approximately 7 inches from the cast-on edge, ending after a Color A knit round (Round 4 or 8).
Crown Decreases
Now it's time to shape the top of your beanie. Switch to double-pointed needles (or magic loop) when your stitches become too tight for the circular needle. You can continue using Color A for the decreases, or use a final scrap color for a fun pop of color.
- Rnd 1: *K10, K2tog; repeat from * around. (88 sts)
- Rnd 2 and all even rounds: Knit all stitches around.
- Rnd 3: *K9, K2tog; repeat from * around. (80 sts)
- Rnd 5: *K8, K2tog; repeat from * around. (72 sts)
- Rnd 7: *K7, K2tog; repeat from * around. (64 sts)
- Rnd 9: *K6, K2tog; repeat from * around. (56 sts)
- Rnd 11: *K5, K2tog; repeat from * around. (48 sts)
- Rnd 13: *K4, K2tog; repeat from * around. (40 sts)
- Rnd 15: *K3, K2tog; repeat from * around. (32 sts)
- Rnd 17: *K2, K2tog; repeat from * around. (24 sts)
- Rnd 19: *K1, K2tog; repeat from * around. (16 sts)
- Rnd 21: *K2tog; repeat from * around. (8 sts)
Finishing
- Close the Top: Cut your yarn, leaving a 6-inch tail. Thread the tail through a tapestry needle, then pass the needle through the remaining 8 stitches. Pull tight to close the hole.
- Weave in Ends: Weave in all yarn ends on the inside of the hat. Be thorough to ensure your hat is secure and looks neat.
- Blocking: Gently block your beanie to even out the stitches and set the shape. You can do this by lightly steaming or wet blocking. Allow it to dry completely before wearing.
Congratulations! You've just created a beautiful, sustainable, and completely unique Mosaic Mélange Beanie. Wear it with pride, knowing you've turned your yarn scraps into a cozy work of art. Happy knitting!