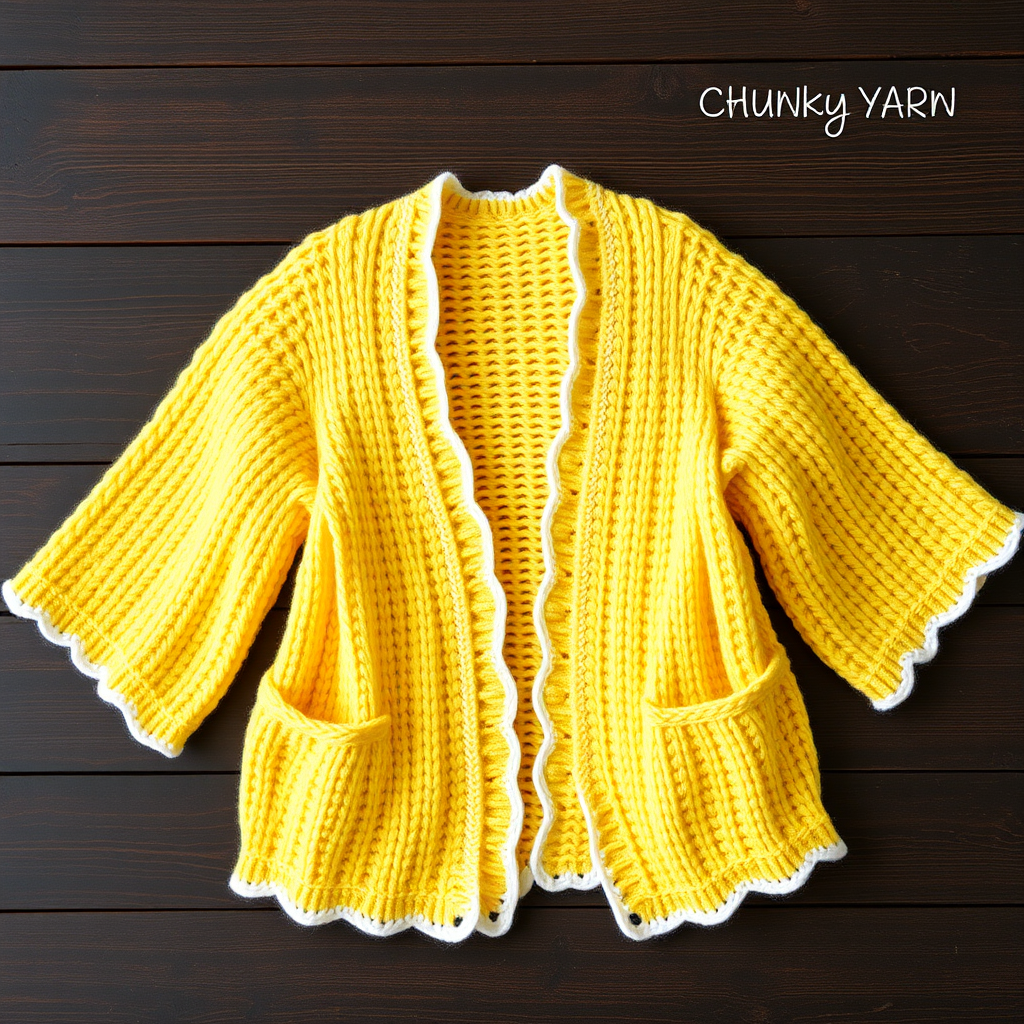
The Enchanted Meadow Cardigan Free Pattern – A Knitted Tapestry of Wildflower Cables and Moss Stitch

The Enchanted Meadow Cardigan: A Knitted Tapestry of Wildflower Cables and Moss Stitch
Wrap yourself in the soft embrace of a meadow in full bloom with this intricately cabled cardigan, where each panel tells a story of petals and leaves. The combination of plush yarn and textured stitches creates a garment that feels like a gentle hug on a cool spring day. This free knitting pattern is designed for intermediate knitters who are ready to explore the beauty of cables and moss stitch in a single, stunning piece. The Enchanted Meadow Cardigan is more than just a garment—it's a wearable work of art that brings the tranquility of nature into your everyday wardrobe.
Materials Needed
Before you begin your knitting journey, gather the following materials to ensure a smooth and enjoyable crafting experience:
- Yarn: Worsted weight yarn in three shades:
- Sage Green (MC) – approximately 1200 (1350, 1500, 1650) yards
- Dusty Rose (CC1) – approximately 200 yards
- Cream (CC2) – approximately 150 yards
- Needles: US 7 (4.5 mm) circular needles (32-inch length) and US 7 double-pointed needles for sleeves
- Notions: Cable needle, stitch markers, tapestry needle for weaving in ends, scissors
- Gauge: 20 stitches and 26 rows = 4 inches in stockinette stitch; 22 stitches and 28 rows = 4 inches in cable pattern (after blocking)
Understanding the Pattern
This cardigan features a beautiful combination of stitches that create its signature meadow-inspired texture. Let's break down the essential elements before you begin:
Abbreviations
- k = knit
- p = purl
- k2tog = knit two together (decrease)
- ssk = slip slip knit (decrease)
- yo = yarn over
- C4F = slip 2 stitches to cable needle, hold to front, knit 2, knit 2 from cable needle
- C4B = slip 2 stitches to cable needle, hold to back, knit 2, knit 2 from cable needle
- pm = place marker
- sl = slip
- st(s) = stitch(es)
Special Stitches
Moss Stitch (worked over a multiple of 2 + 1 stitches):
- Row 1: *k1, p1* repeat to last stitch, k1
- Row 2: *p1, k1* repeat to last stitch, p1
- Repeat these two rows for the pattern
Wildflower Cable Panel (worked over 16 stitches):
- Row 1 (RS): C4F, k4, C4B, k4
- Row 2 and all WS rows: purl all stitches
- Row 3: k2, C4F, k4, C4B, k2
- Row 5: k4, C4F, k4, C4B
- Row 7: k6, C4F, C4B, k4
- Row 9: k4, C4B, C4F, k4
- Row 11: k2, C4B, k4, C4F, k2
- Row 13: C4B, k4, C4F, k4
- Row 15: k4, C4B, k4, C4F
- Row 16: purl all stitches
- Repeat rows 1-16 for the pattern
Sizes and Measurements
This pattern is available in sizes XS (S, M, L, XL) with finished bust measurements of 34 (38, 42, 46, 50) inches. Choose the size that best fits your measurements, keeping in mind that this cardigan has a relaxed, open-front silhouette.
Step-by-Step Instructions
Back Panel
Begin with the foundation: With MC (Sage Green), cast on 86 (96, 106, 116, 126) stitches. Work in moss stitch for 2 inches, ending with a wrong-side row.
Set up the pattern: On the next right-side row, work as follows: Work 10 (15, 20, 25, 30) stitches in moss stitch, place marker, work 16 stitches in Wildflower Cable Panel, place marker, work 34 (34, 34, 34, 34) stitches in stockinette stitch, place marker, work 16 stitches in Wildflower Cable Panel, place marker, work remaining 10 (15, 20, 25, 30) stitches in moss stitch.
Continue in pattern: Work the moss stitch at the edges, the cable panels as established, and stockinette in the center. Continue until the piece measures 12 (13, 14, 15, 16) inches from the cast-on edge, ending with a wrong-side row.
Shape the armholes: Bind off 4 (5, 6, 7, 8) stitches at the beginning of the next 2 rows. Then decrease 1 stitch on each side every right-side row 3 (4, 5, 6, 7) times: work ssk at the beginning of the row and k2tog at the end. Continue in pattern until the armhole measures 7 (8, 9, 10, 11) inches. Bind off all stitches.
Left Front Panel
Begin the foundation: With MC, cast on 46 (51, 56, 61, 66) stitches. Work in moss stitch for 2 inches, ending with a wrong-side row.
Set up the pattern: On the next right-side row, work as follows: Work 10 (15, 20, 25, 30) stitches in moss stitch, place marker, work 16 stitches in Wildflower Cable Panel, place marker, work remaining 20 stitches in moss stitch (this will be the front edge). Continue in pattern, keeping the front edge in moss stitch throughout.
Work to armhole: Continue until the piece measures the same as the back to the armhole, ending with a wrong-side row.
Shape the armhole: Bind off 4 (5, 6, 7, 8) stitches at the armhole edge. Decrease 1 stitch at the armhole edge every right-side row 3 (4, 5, 6, 7) times.
Shape the neck: AT THE SAME TIME, when the armhole measures 2 inches, begin neck shaping: At the front edge, bind off 8 stitches once, then decrease 1 stitch at the neck edge every right-side row 6 times. Continue in pattern until the armhole measures the same as the back. Bind off the remaining stitches.
Right Front Panel
Work as for the left front panel, reversing all shaping (armhole on the left side, neck on the right side).
Sleeves (make 2)
Begin the cuff: With MC, cast on 40 (44, 48, 52, 56) stitches. Work in moss stitch for 2 inches.
Switch to stockinette: Switch to stockinette stitch. Increase 1 stitch on each side every 6th row 10 (11, 12, 13, 14) times. Continue until the piece measures 12 (13, 14, 15, 16) inches.
Shape the cap: Bind off 4 (5, 6, 7, 8) stitches at the beginning of the next 2 rows. Decrease 1 stitch on each side every right-side row until the cap measures 4 (5, 6, 7, 8) inches. Bind off the remaining stitches.
Finishing Touches
Blocking and Assembly
Block all pieces: Gently wet block each piece to the specified measurements. This is crucial for the cables to open up and the moss stitch to relax into its beautiful texture. Lay flat to dry completely.
Sew the seams: Sew the shoulder seams using mattress stitch or your preferred seaming method. Set in the sleeves, matching the cap to the armhole. Sew the side and sleeve seams.
Collar
With CC1 (Dusty Rose), pick up and knit 80 (90, 100, 110, 120) stitches around the neckline. Work in moss stitch for 3 inches. Bind off loosely to maintain the stretch of the collar.
Edging
With CC2 (Cream), pick up and knit stitches along the front edges and collar. Work 3 rows of garter stitch. Bind off. Weave in all ends with a tapestry needle.
Pro Tips for Success
- Use stitch markers wisely: Place markers at the cable panel boundaries to easily track your pattern repeats.
- Keep a row counter: The Wildflower Cable Panel has 16 rows—use a row counter or a simple tally sheet to track your progress.
- Block generously: Cables really shine after blocking. Don't skip this step—it transforms the fabric and makes the stitches crisp and defined.
- Check your gauge: Take time to swatch and block your gauge swatch before starting. This ensures your finished cardigan will fit perfectly.
Your Enchanted Meadow Cardigan will be a treasured addition to your handmade wardrobe—a cozy, organic piece that captures the essence of a misty meadow at dawn. The plush yarn and intricate textures create a garment that's both warm and visually stunning. Happy knitting!